Setting up your editing system to output to tape, Stage 1: connecting your video equipment, Stage 2: choosing video and audio outputs – Apple Final Cut Pro 7 User Manual
Page 1671
Setting Up Your Editing System to Output to Tape
Before you output to tape, you need to set up your video devices and Final Cut Pro settings
and preferences. Some steps are only relevant to particular methods.
•
Stage 1: Connecting Your Video Equipment
•
Stage 2: Choosing Video and Audio Outputs
•
Stage 3: Selecting Playback Settings
•
Stage 4: Selecting Render Settings
•
Stage 5: Selecting Edit to Tape and Print to Video Preferences
•
Stage 6: Preparing Your Videotape with Black and Timecode
•
•
Stage 8: Calibrating Your Timecode
•
Stage 9: Choosing Device Control and Edit Preview Settings
Stage 1:
Connecting Your Video Equipment
Make sure your VTR or camcorder is connected to your computer and turned on. For
more information, see
“Connecting DV Video Equipment.”
Make sure your camcorder or deck is set to VTR (sometimes labeled VCR) mode.
Final Cut Pro cannot record to video equipment that is in Camera mode. If your video
device has multiple inputs (for example TV, Line 1, and Line 2), make sure the input that’s
connected to your computer is the one that is selected.
Stage 2:
Choosing Video and Audio Outputs
Make sure that the A/V devices settings of your Easy Setup match the configuration of
your external video and audio equipment.
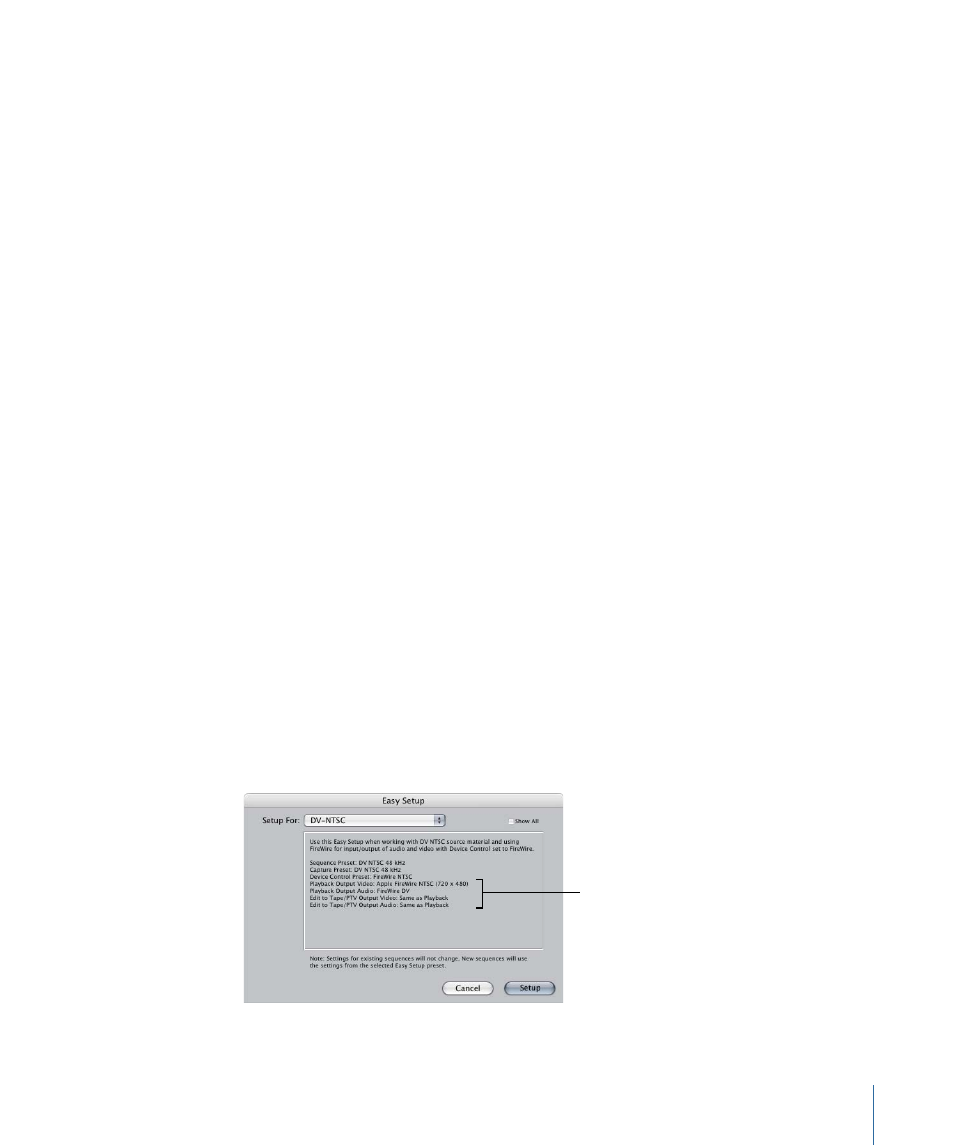
To view a summary of your Easy Setup
µ
Choose Edit > Easy Setup.
Make sure the external
video and audio settings
in your Easy Setup match
the way you configured
your video equipment.
1671
Chapter 100
Preparing to Output to Tape