Timeline options tab, Render control tab – Apple Final Cut Pro 7 User Manual
Page 1878
Timeline Options Tab
New sequences are created using the settings in the Timeline Options tab of the User
Preferences window. Once a sequence is created, you can change Timeline display options
in several places. For more information about Timeline display settings, see
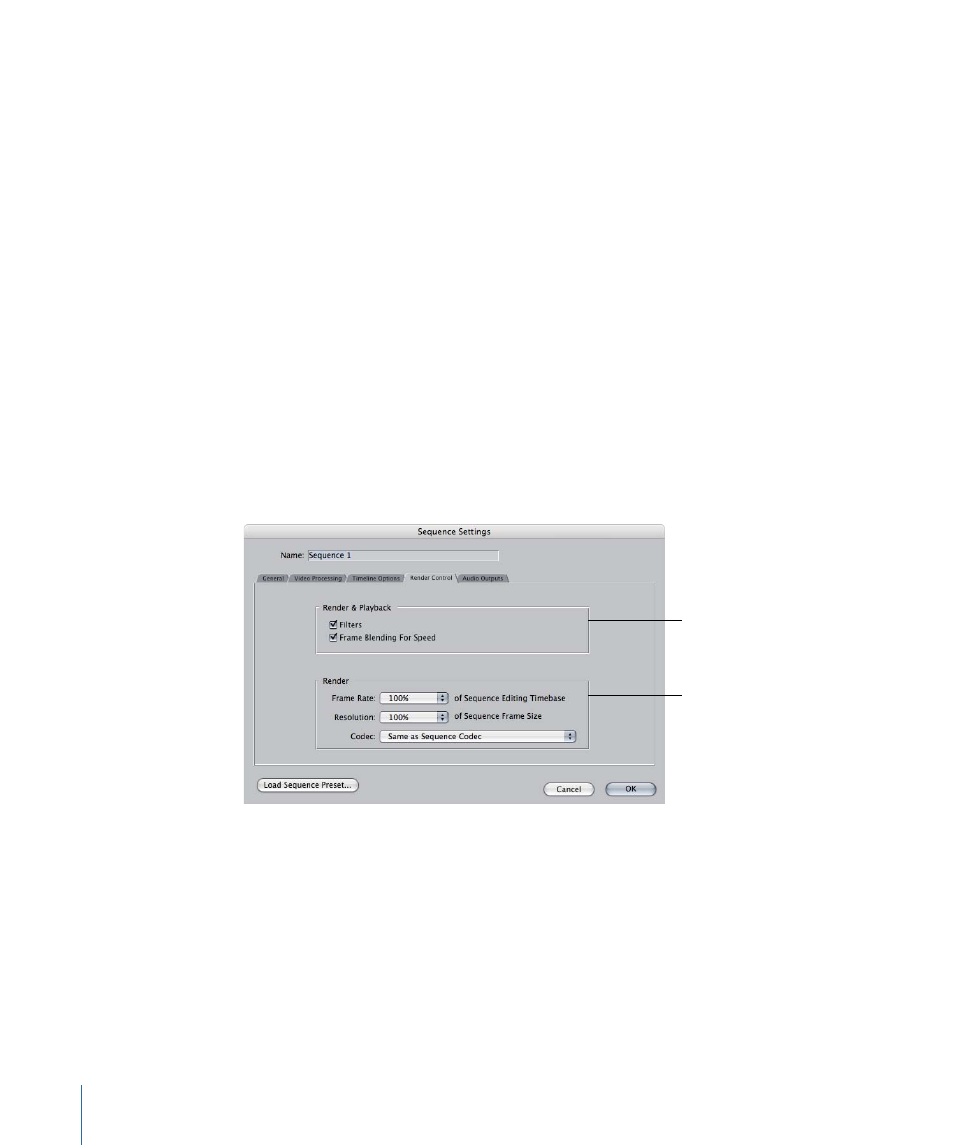
Render Control Tab
New sequences are created with the settings in the Render Control tab of the User
Preferences window. Once a sequence is created, you can change render control options
by selecting the sequence and then choosing Sequence > Settings.
These settings allow you to turn on and turn off different processor-intensive effects in
Final Cut Pro, such as filters and motion blending. This is useful if you want to speed up
processing by not rendering all effects during playback, but you don’t want to remove
or individually disable these effects in the sequences of your project. These settings affect
real-time playback, rendering, video output, and QuickTime output.
You can control many of these settings by assigning keyboard shortcuts or adding buttons
to the button bar using the Keyboard Layout window. For more information on using
the Keyboard Layout window, see
Render and
playback settings
Additional
render settings
Render and Playback Settings
• Filters: If this option is not selected, all filters are ignored during playback, improving
real-time performance.
• Frame Blending for Speed: If this option is selected, clips with speed adjustments are
processed with frame blending. Frame blending makes slow-motion video smoother
by synthesizing in-between frames. This requires more processing power, so you can
turn it off when you are working on a rough cut. If this option is not selected, motion
blur is ignored for all clips in your sequence.
1878
Chapter 115
Sequence Settings and Presets