Exporting an avi file, Exporting, An avi file – Apple Final Cut Pro 7 User Manual
Page 1779
6
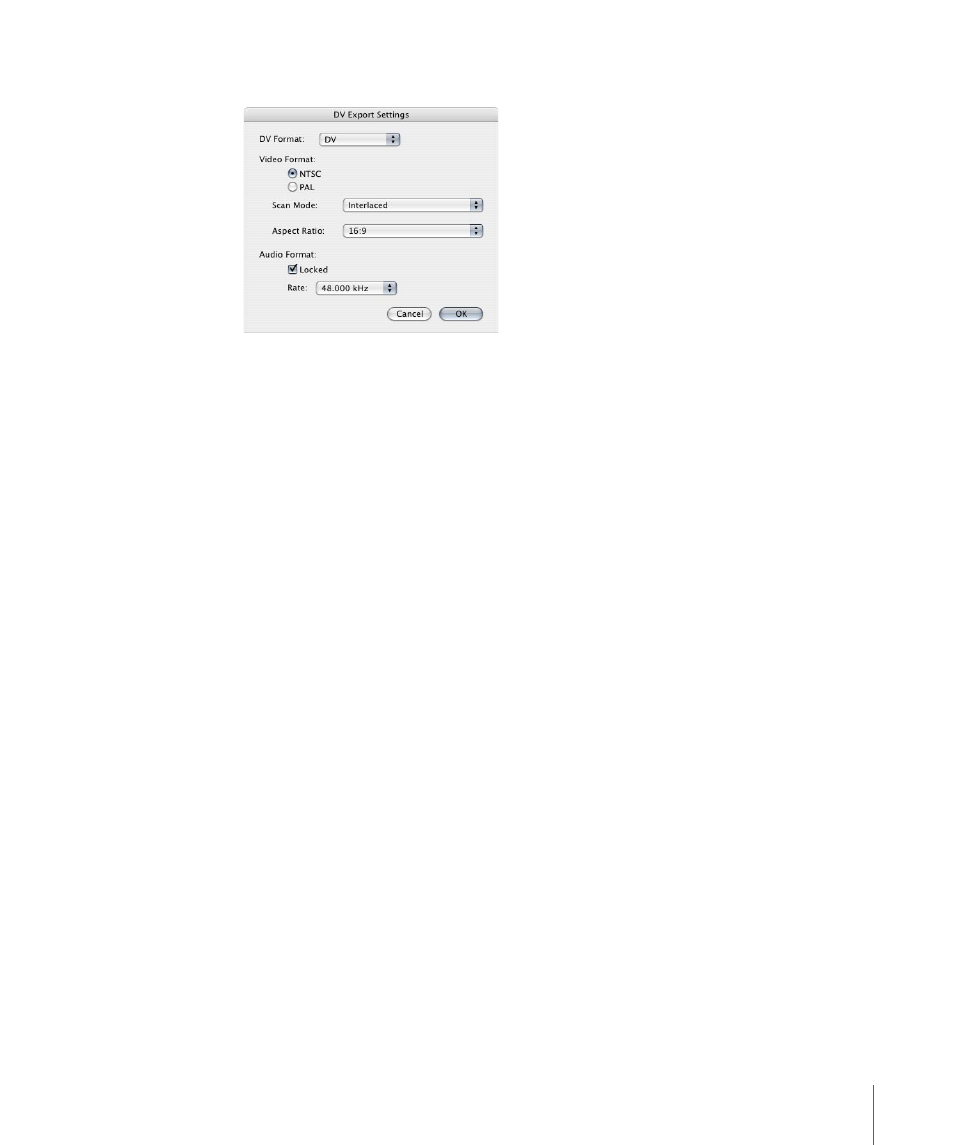
To customize settings, click Options.
• DV Format: Choose a DV format, such as DVCPRO 50, here.
• Video Format: Choose the video standard, scan mode, and aspect ratio for the exported
file.
• Audio Format: Choose your options.
• Locked: Conforms the audio tracks to the “locked audio” standard, in which the audio
and video sample clocks are synchronized.
• Rate: Choose a sample rate for the exported file from this pop-up menu. DVCPRO
and DVCPRO 50 always use locked audio with a sample rate of 48 kHz. With these
formats, these options are not adjustable.
7
When you’re ready to export, click Save.
A dialog shows you the progress of the export. To cancel your export, press Esc or click
Cancel.
Exporting an AVI File
AVI is a Windows-compatible movie file format for digital video. This file type is no longer
officially supported by Microsoft, but it’s still frequently used. The AVI format is similar to
a QuickTime movie file, but it supports fewer track types and codecs. It is useful mainly
for delivery of movie files to Windows computers or the Internet.
To export an AVI file
1
Select a clip or sequence in the Browser, or open a sequence in the Timeline.
2
Choose File > Export > Using QuickTime Conversion.
3
Choose a location and enter a name for the file.
4
Choose AVI from the Format pop-up menu.
5
Choose a setting from the Use menu.
1779
Chapter 106
Exporting Using QuickTime Conversion