Performing an insert edit when editing to tape – Apple Final Cut Pro 7 User Manual
Page 1691
Transitions and effects that require rendering, along with any added elements, are rendered
automatically prior to output. A dialog shows you the rendering progress of your sequence
or clip. You can also choose to output unrendered real-time effects at a lower quality,
saving time by avoiding rendering. Options for choosing the quality of rendered effects
during Print to Video and Edit to Tape operations can be set in the Render Control tab
of the sequence settings and in the Real-Time (RT) pop-up menu in the Timeline. For
more information on setting these options, see
Note: A feedback window appears when the edit is done.
All audio that requires rendering is automatically rendered with a render quality of High,
regardless of the render quality setting.
8
To cancel an edit in progress, press Esc or click Cancel.
Performing an Insert Edit When Editing to Tape
An insert edit allows you to edit individual video or audio tracks to tape, setting
frame-accurate In and Out points. Insert editing requires tapes that already have a
prerecorded signal, such as blacked tapes. For details, see
“About Insert Editing to Tape.”
Important:
Make sure you’ve read and followed the instructions in
Some tape formats and VTRs, such as consumer mini-DV devices, do not support insert
editing. If your VTR or tape format is limited to assemble editing (such as a DV deck or
camcorder), then the insert editing controls in the Edit to Tape window are dimmed.
To perform an insert edit
1
Choose File > Edit to Tape.
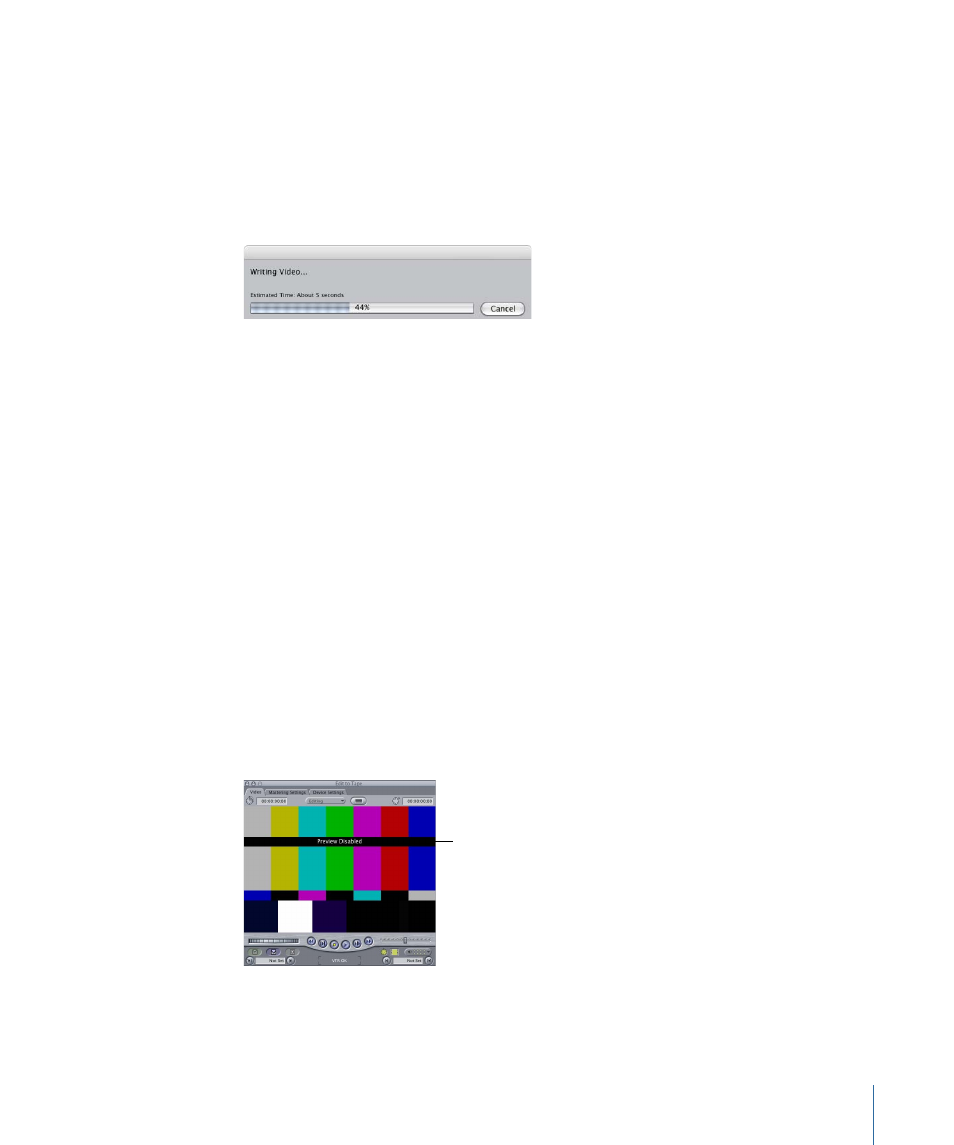
The preview option is
disabled if you are using
DV equipment.
In most layouts, the Edit to Tape window appears on top of the Canvas.
1691
Chapter 101
Assemble and Insert Editing Using Edit to Tape