Apple Final Cut Pro 7 User Manual
Page 923
As you adjust the audio level and pan of clips in Final Cut Pro, your changes can be played
back immediately. Final Cut Pro mixes the audio levels in real time, so you don’t need to
render your audio as long as your computer can handle the number of tracks you’re
working on. Real-time audio processing is covered in more detail in
Tip: Using effects like cross fades and filters requires processing power, which reduces
the total number of tracks you can mix in real time. If you exceed the number of tracks
your computer can handle, you’ll need to render your tracks. Audio is usually rendered
much faster than video, however, so it shouldn’t take too long.
When you edit a new clip into a sequence, its level is set to 0 decibels (dB) by default.
You can change the level to be any value you like, up to +12 dB. You can use three controls
to adjust the audio level of a clip. Each of these controls is mirrored by the other controls
as you make adjustments. If no keyframes are set in the clip in the Viewer, using these
controls adjusts the level of the entire clip.
To adjust the audio level using the Level slider
µ
Drag the Level slider to the left or right.
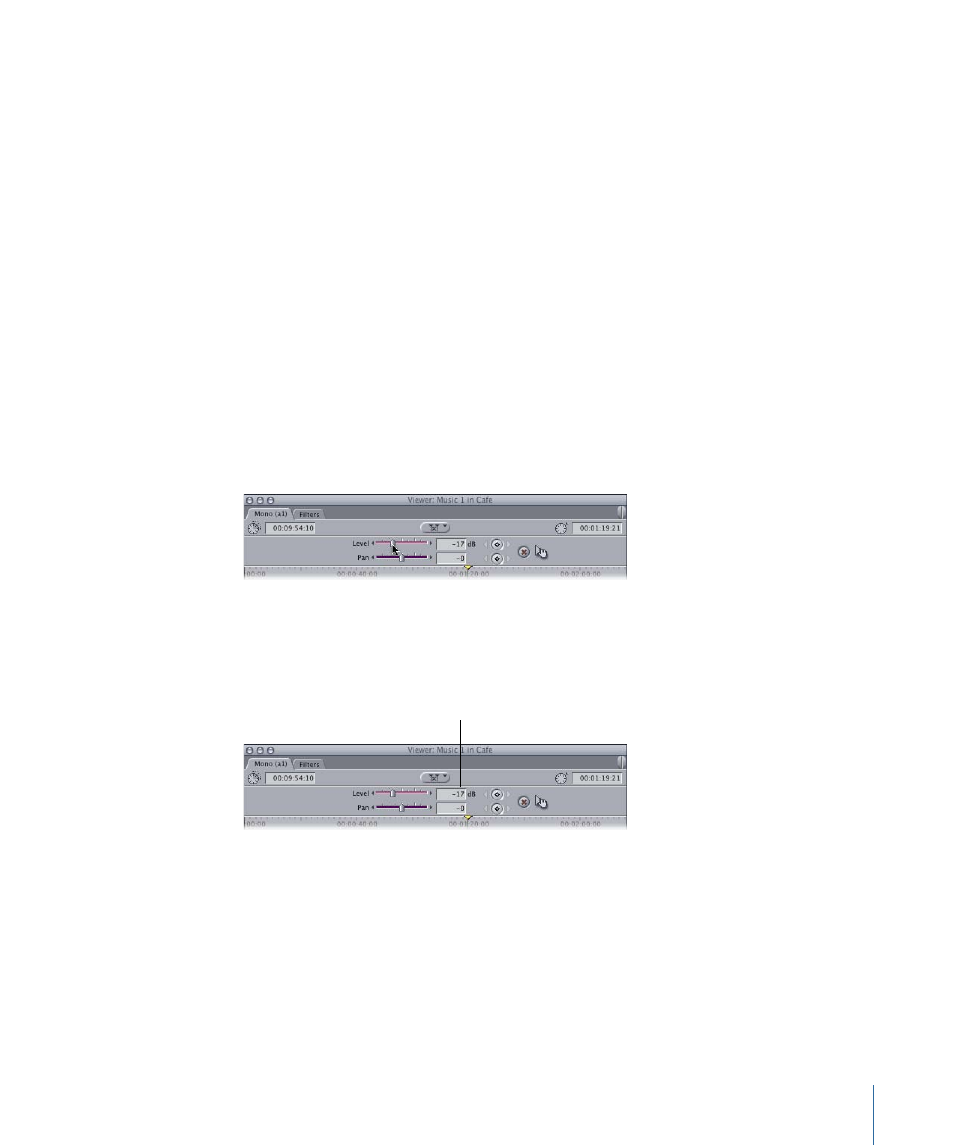
To adjust the audio level by entering a numeric value
1
Enter a value in the Level field.
To enter a negative value, type a minus sign (-) and the number.
Enter a new value
in this field.
2
Press the Return key to apply this value to your clip.
To adjust the audio level by dragging the audio level overlay
1
Place the pointer over the audio level overlay of your clip in the waveform display area
of the Viewer (the overlay looks like a pink line, or—for stereo items—two pink lines).
923
Chapter 57
Mixing Audio in the Timeline and Viewer