Apple Final Cut Pro 7 User Manual
Page 799
3
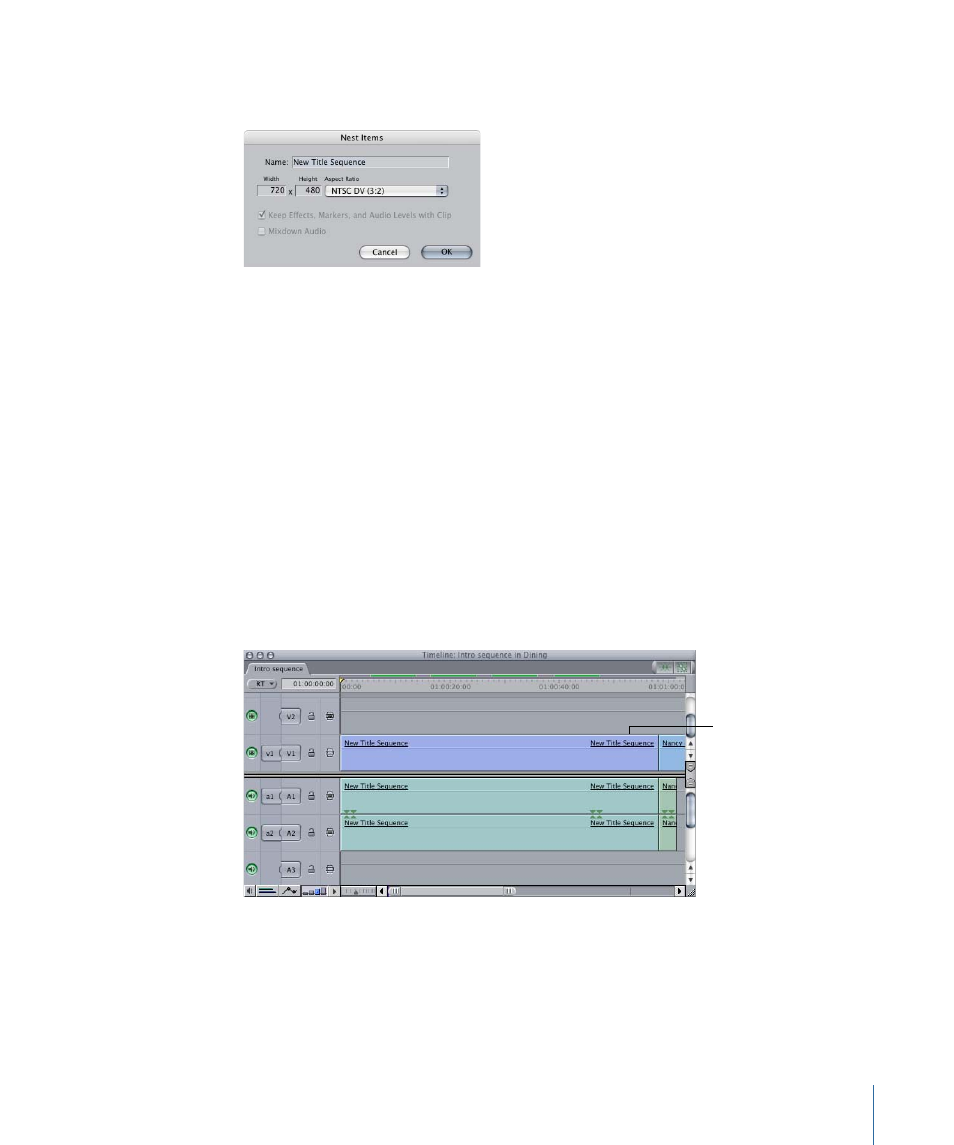
In the Nest Items dialog, enter a name for the new sequence into which the selected
items will be placed.
4
Choose a width and height (frame size) for the new sequence that will be created to
contain the selected clips.
You should usually use the default settings provided, since these match the sequence
that your new sequence will be nested inside.
5
To move all effects, markers, and audio levels associated with the selected clips into the
new sequence, select the Keep Effects, Markers, and Audio Levels with Clip checkbox.
6
To render all of the audio in the new sequence, select the Mixdown Audio checkbox.
This minimizes the audio processing requirements for the nested sequence. For more
information on the real-time audio rendering capabilities of Final Cut Pro, see
and Video Processing Settings.”
7
Click OK.
All the items you selected are placed in a new sequence, and the new sequence replaces
the selected items in the Timeline.
This nested sequence
replaces the selected
clips.
Tip: If you change your mind, the nesting operation can easily be undone using the Undo
command.
799
Chapter 49
Sequence-to-Sequence Editing