Apple Final Cut Pro 7 User Manual
Page 307
Note: When capturing digital audio, the gain level is already set and cannot be modified.
To adjust the audio gain levels before capturing analog audio
1
In the Log and Capture window, click the Clip Settings tab.
2
Do one of the following:
• Cue your tape to the reference tone recorded at the beginning of the tape, if you’re
recording from a premixed tape that includes a reference tone.
• Cue your tape to the clip with the loudest audio signal of all the clips you want to
capture on that tape.
3
Play back your tape.
4
Verify that the levels coming from your deck match the audio input meters on your audio
interface.
5
In the Clip Settings tab of the Log and Capture window, turn on the audio channels that
you want to capture audio from.
6
Adjust the gain on each audio input of your audio interface so that the Final Cut Pro audio
meters are equivalent to the meters on your deck.
Tone on analog media formats is usually set to 0 dB (analog). You need to choose an
equivalent digital level on the Final Cut Pro audio meters. The level you choose is
dependent on the bit depth you are using to capture your audio, as well as how much
dynamic range your audio has:
• 16-bit audio: Typically, you should set a 0 dB analog tone to equal –12 dBFS digital.
• 20- or 24-bit audio: You should set a 0 dB analog tone to equal –18 or –20 dBFS.
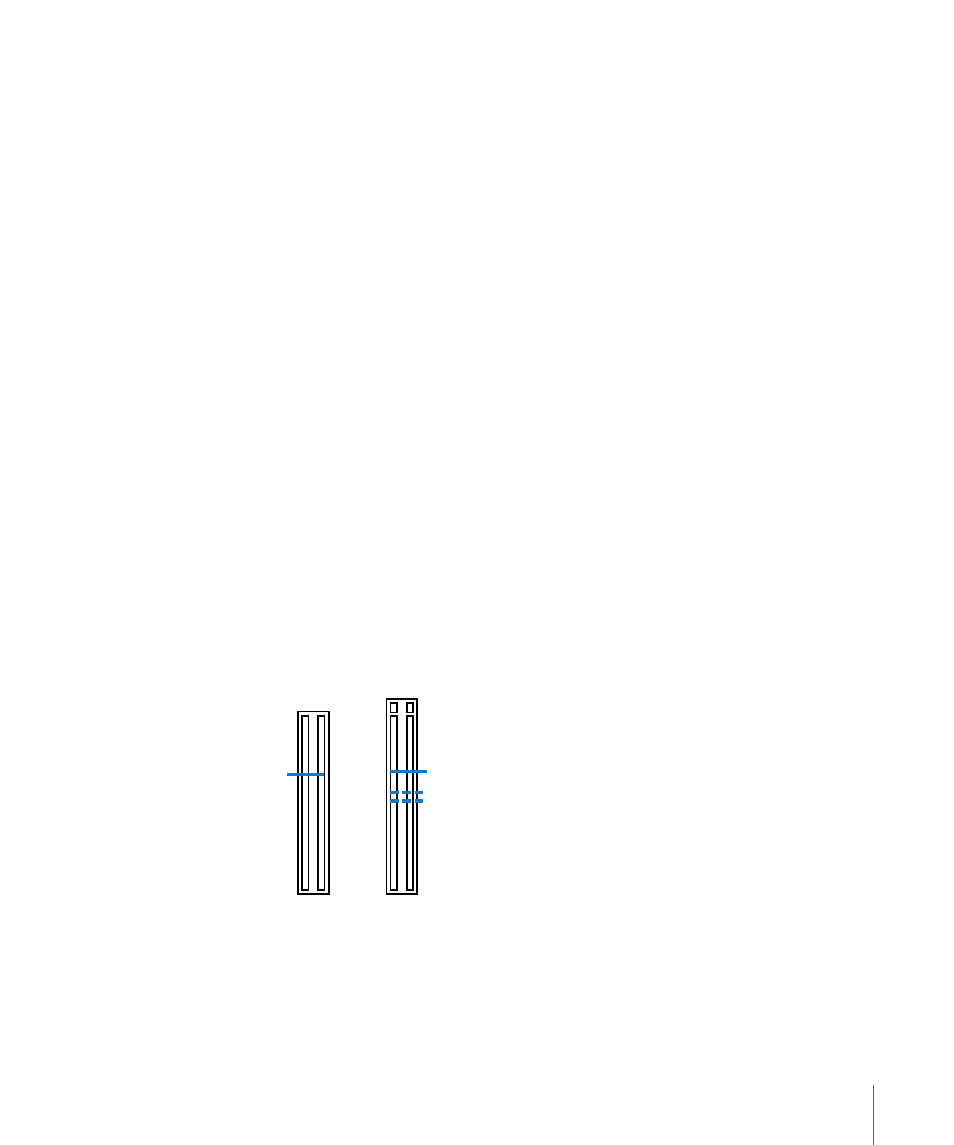
Generic
VU meter
Final Cut Pro
audio meters
−30
−20
−10
−7
−4
−2
0
+2
+4
+7
�∞
−66
−36
−24
−18
−12
−6
0
Relating 0 dB analog to −12 dB digital
−48
For more information about bit depth, see
Important:
To avoid distortion, do not allow audio levels to go higher than 0 dBFS on
the Final Cut Pro audio meters.
307
Chapter 19
Capturing Audio from Tape