Apple Final Cut Pro 7 User Manual
Page 1149
Applying Speed Effects with the Change Speed Dialog
Follow the steps below to create speed effects with the Change Speed dialog or the
Change Speed Segment dialog. The only difference between the Change Speed dialog
and the Change Speed Segment dialog is that the Change Speed dialog affects entire
clips, whereas the Change Speed Segment dialog affects only the section between two
keyframes.
Note: The Change Speed dialog is the quickest and easiest way to apply a constant speed
change to an entire clip.
To change the speed of an entire clip using the Change Speed dialog
1
Select one or more clips in the Timeline or the Browser.
Note: If the clips have existing speed settings, they will be replaced by the adjustments
you make in the Change Speed dialog.
2
Choose Modify > Change Speed (or press Command-J).
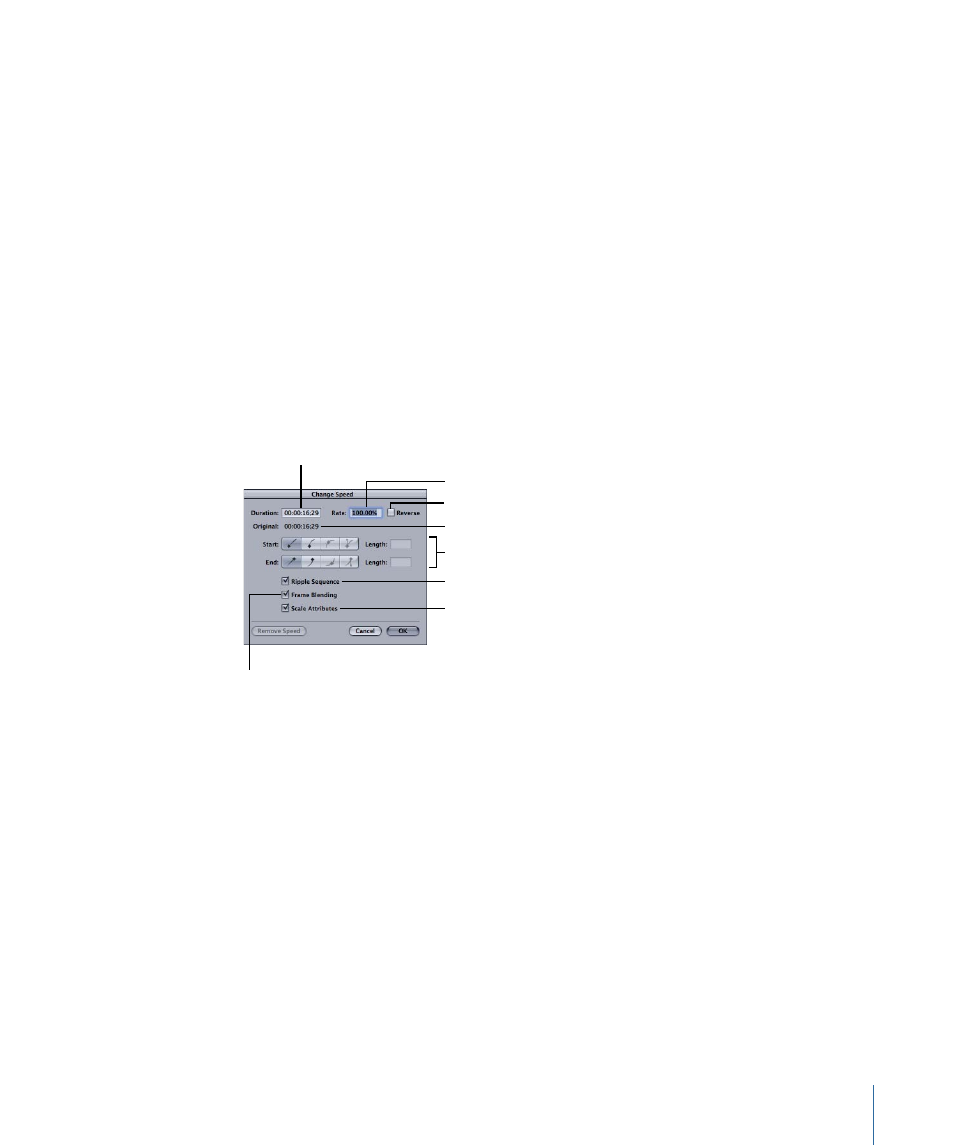
The Change Speed dialog appears.
Duration field
Original field
Rate field
Reverse checkbox
Start and End buttons
Ripple Sequence checkbox
Scale Attributes checkbox
Frame Blending checkbox
3
Use any of the controls in the Change Speed dialog to create the speed effect you want.
For detailed information on each of the controls, see
“About the Change Speed Dialogs.”
4
Click OK.
The speed effects are applied to the clip. Depending on the settings you chose, the clip
may be extended or shortened in the Timeline, and those changes may be rippled
throughout the sequence.
Note: If maintaining video and audio sync is a priority, select both the video and the
(synced) audio and apply constant speed changes only. Applying variable speed settings
to a video clip (including speed segments, the Curve buttons in the Change Speed dialogs,
and the Curve options in the Change Speed shortcut menu) will break the link to audio
items. Audio and video sync is lost when you apply variable speed changes.
1149
Chapter 69
Changing Clip Speed