Apple Final Cut Pro 7 User Manual
Page 702
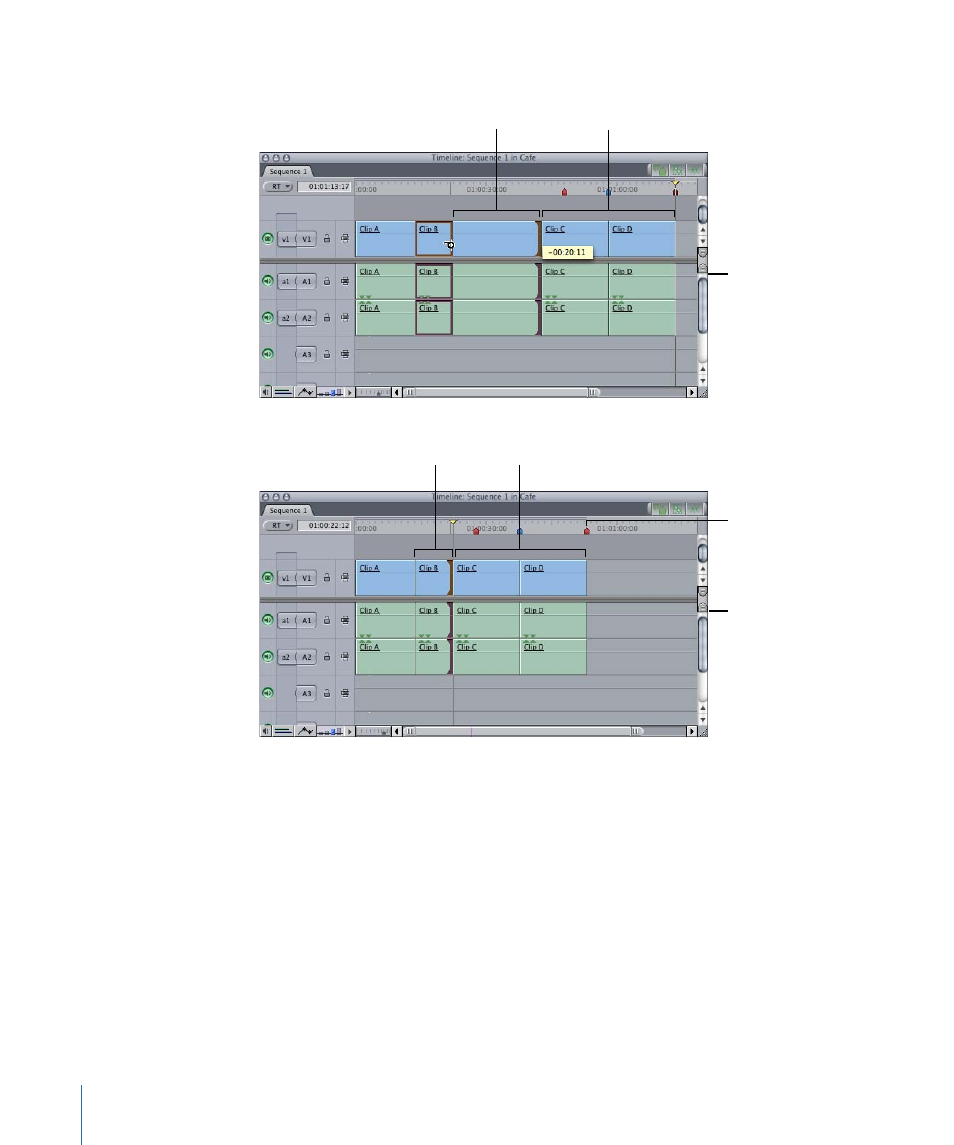
• The new Out point that will result from performing the ripple edit
Amount the clip’s
Out point is trimmed
Position of clips C and D
before the ripple edit
Before edit
Clips C and D are
positioned earlier
in the Timeline.
Clip B has a
shorter duration.
After edit
Sequence markers move
with the Ripple edit
when Ripple Sequence
Markers is enabled.
To do a ripple edit in the Timeline
1
Select the Ripple tool in the Tool palette (or press the R key twice).
2
Select a clip item’s In or Out point by clicking near the clip item boundary.
The Ripple tool changes direction to indicate which clip item boundary you are about to
select. If linked selection is on, the edit points of linked clip items are also selected. For
more information, see
“Selecting Edits and Clips to Trim.”
3
Do one of the following:
• To lengthen or shorten the clip in the sequence: Drag the edit point. Pay attention to the
clip boundary previewed in the Timeline.
• To move the selected edit point one frame earlier in the clip: Press Left Bracket ([).
702
Chapter 44
Performing Slip, Slide, Ripple, and Roll Edits