Apple Final Cut Pro 7 User Manual
Page 697
3
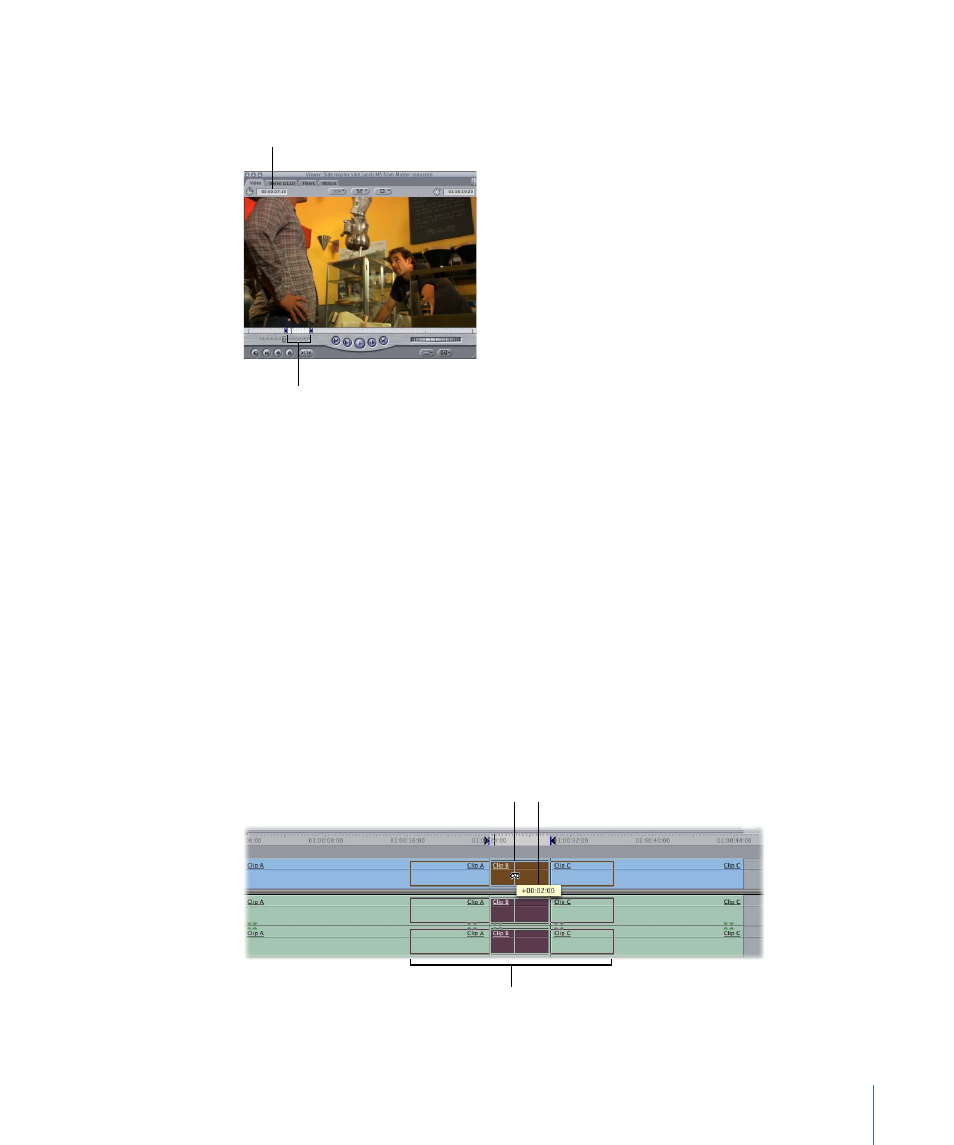
Drag either the In or Out point along the Viewer’s scrubber bar.
The duration of the
sequence clip does
not change.
The sequence clip’s In and
Out points move together.
4
Release the mouse button when the clip is positioned at a range of frames that you like.
The In and Out points move together, maintaining the clip’s duration.
5
Click the Play In to Out button, or press Shift-Backslash (\), to review the new section
between your sequence clip’s In and Out points.
The clip is automatically updated in the Timeline. The duration of the clip and the sequence
remain the same, and the surrounding clips are not affected.
To slip a clip in the Timeline using the Slip tool
1
Select the Slip tool in the Tool palette (or press the S key).
2
Click a clip, then drag it left or right.
As you drag, an outline of the entire range of that clip is shown, indicating the amount
of media available to the left and right of the current range selected in the clip.
This box shows how far
the clip’s In and Out
points are slipping.
Drag point
Entire length of media
file shown during slip
697
Chapter 44
Performing Slip, Slide, Ripple, and Roll Edits