Apple Final Cut Pro 7 User Manual
Page 1392
6
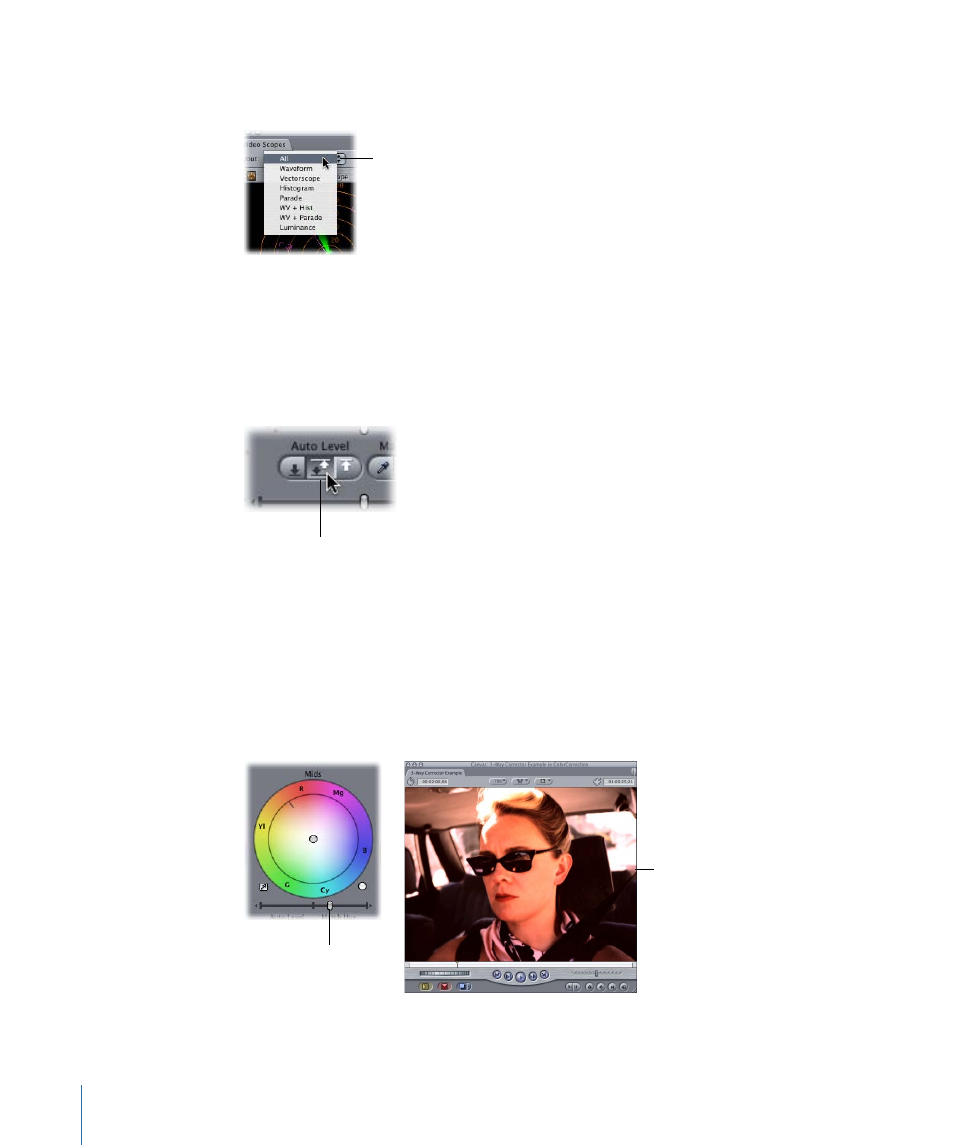
From the Layout pop-up menu of the Video Scopes tab, choose All to make sure that all
the scopes are available.
Choose All so that
all video scopes are
available for you to use.
You are now ready to begin adjusting the image.
7
Click the Auto Contrast button to maximize the range from white to black in your clip.
The Blacks and Whites sliders automatically adjust themselves to achieve the best numeric
distribution based on the luma levels shown in the Histogram. This gives you a starting
point from which to proceed.
Auto Contrast button
If your image was incorrectly exposed, you can now adjust the Blacks, Mids, and Whites
sliders as necessary. As with all level controls, moving a slider to the right redistributes
the affected values farther to the right, making the affected parts of the image appear
brighter. Moving a slider to the left redistributes the affected values farther to the left,
making the affected parts of the image appear darker.
In this example, the image is underexposed, so move the Mids slider to the right to bring
more detail out of the image.
Move the
Mids slider to
the right...
...so more detail comes
out in the image.
1392
Chapter 82
Color Correction Examples