Examples using motion settings – Apple Final Cut Pro 7 User Manual
Page 1068
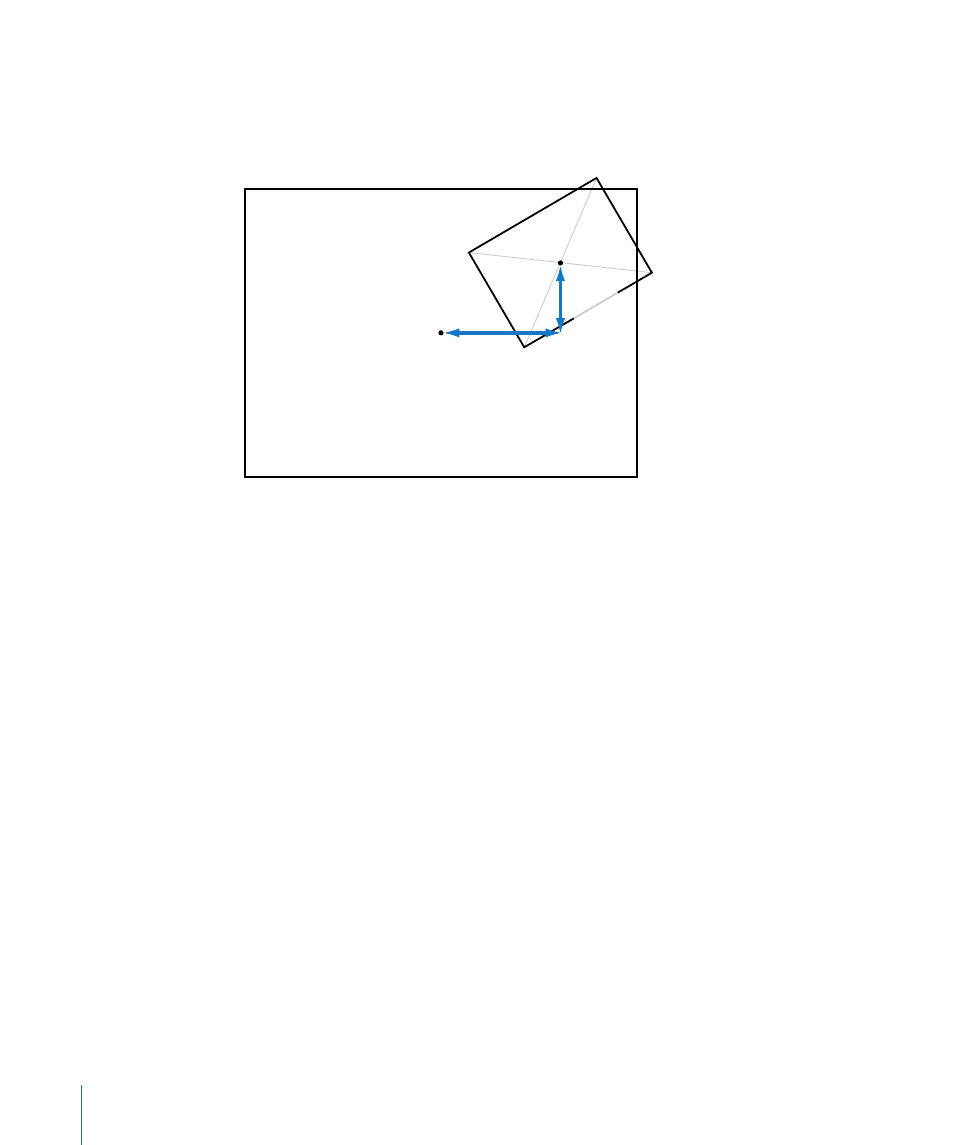
When you copy and paste these attributes to the clip on track V3, the clip appears in
exactly the same place. However, if you change its x coordinate from negative 218 to
positive 218, you put that clip’s center point 218 pixels to the right of the Canvas center
point, which moves it to the other side.
X offset
(+218)
Y offset
(–119)
Clip center point
(+218, –119)
Canvas center point
(0, 0)
Important:
When you adjust a clip’s Rotation parameter, the clip is automatically rendered
using the Fastest motion filtering quality. For more information, see
Examples Using Motion Settings
The following two examples demonstrate how you can use motion settings to integrate
a group of clips together to create a single, multilayer broadcast design shot.
Example: Using Motion Settings to Create a Multiple Clip Layout
In this example, you’ll create a layered interview segment using the Scale, Rotation, and
Center Point parameters. This example assumes you’ve already created a new sequence
and opened it in the Timeline.
Note: This example uses a sequence created for DV clips, with a frame size of 720 x 480.
To create a layered interview segment using Scale, Rotation and Center Point
parameters
1
Open a clip in the Viewer that you want to use as a background layer (against which all
other composited layers are to appear), then edit this clip into track V1 of your sequence.
1068
Chapter 66
Changing Motion Parameters