Apple Final Cut Pro 7 User Manual
Page 649
2
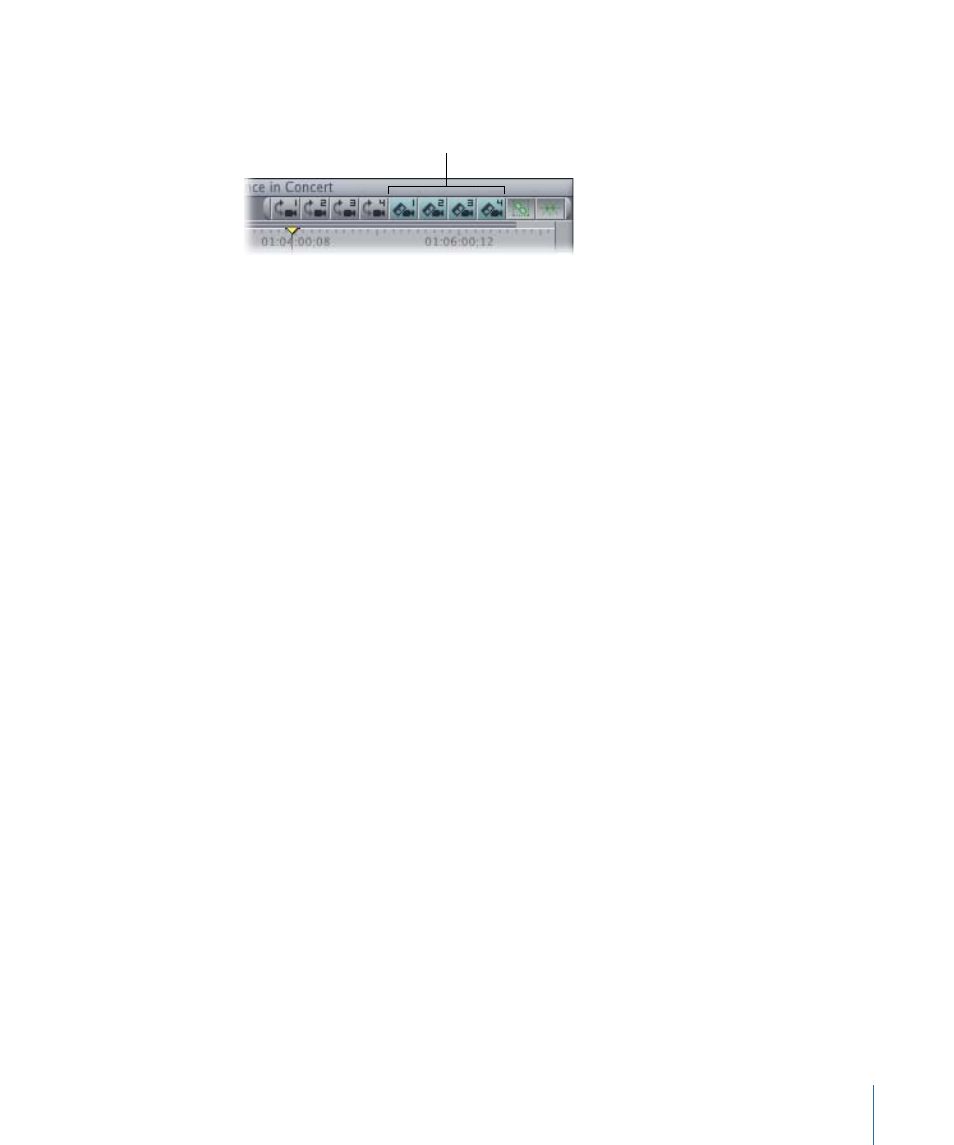
Before editing, assign keyboard shortcuts to the Cut Video to Angle N commands, or add
the corresponding shortcut buttons to the button bar in the Timeline.
Cut Video to Angle
1–4 buttons
For more information about assigning keyboard shortcuts to commands or adding shortcut
buttons to the button bar, see
3
Press a shortcut key or click a button in the button bar that corresponds to the angle you
want to cut to.
An edit is made to the multiclip at the current playhead location, separating it into two
multiclips. If you cut to the angle that was already active, a through edit is created.
If the Multiclip Playback option is turned on in the RT pop-up menu in the Timeline, you
can perform the same steps to cut in real time. For more information, see
To make multiclip cuts in real time using the Viewer
1
In the Browser, double-click a sequence containing multiclips to open it in the Timeline
and Canvas.
2
Do the following:
• Turn on the Multiclip Playback option in the RT pop-up menu in the Timeline.
• In the Canvas or Viewer, choose the Open option from the Playhead Sync pop-up menu.
3
Press the Space bar to play the sequence.
The sequence begins playing back, with all the angles in the Viewer playing simultaneously
and the active angle playing back in the Canvas.
4
In the Viewer, click the angle that you want to cut to.
The angle you click becomes the active angle. A temporary marker is placed in the Timeline
at the cut point, and the new angle now plays in the Canvas.
5
If you want, continue adding cuts by clicking different angles in the Viewer.
6
Press the Space bar to stop playback.
When playback stops, the cuts you made are added to the multiclip.
649
Chapter 42
Working with Multiclips