Apple Final Cut Pro 7 User Manual
Page 1187
If the final destination of your sequence will be SD video, then any scanned images,
digital photographs, and HD video images with higher resolution work well. Still images
from SD video aren’t recommended because you’d have to increase the size of the still
image by scaling it up, which would degrade the image quality considerably and create
artifacts in the picture.
If you’re creating graphics for camera motion effects in an HD sequence, the image
dimensions will have to be quite high. For example, doubling 1920 x 1080 results in a
graphic that is 3840 x 2160. Depending on the speed of your processor, the real-time
effects playback may be limited for these high-resolution effects.
• Flattened layers: If the still image you want to use is a layered Photoshop file, do not
import it as a layered Photoshop file because it will appear as a sequence on multiple
tracks. Instead, flatten and save the image in your graphics application before you
import it into Final Cut Pro. Make sure you save the flattened image as a copy in case
you want to make changes to the original layered graphics file.
Note: Store any imported still images on your scratch disk so that all your media files
(video, audio, and still-image) are located in one place. This makes it much easier to locate
and move or copy all the project media at once.
Stage 2:
Editing the Still Image into Your Sequence
The still image appears as a clip in the Timeline.
Stage 3:
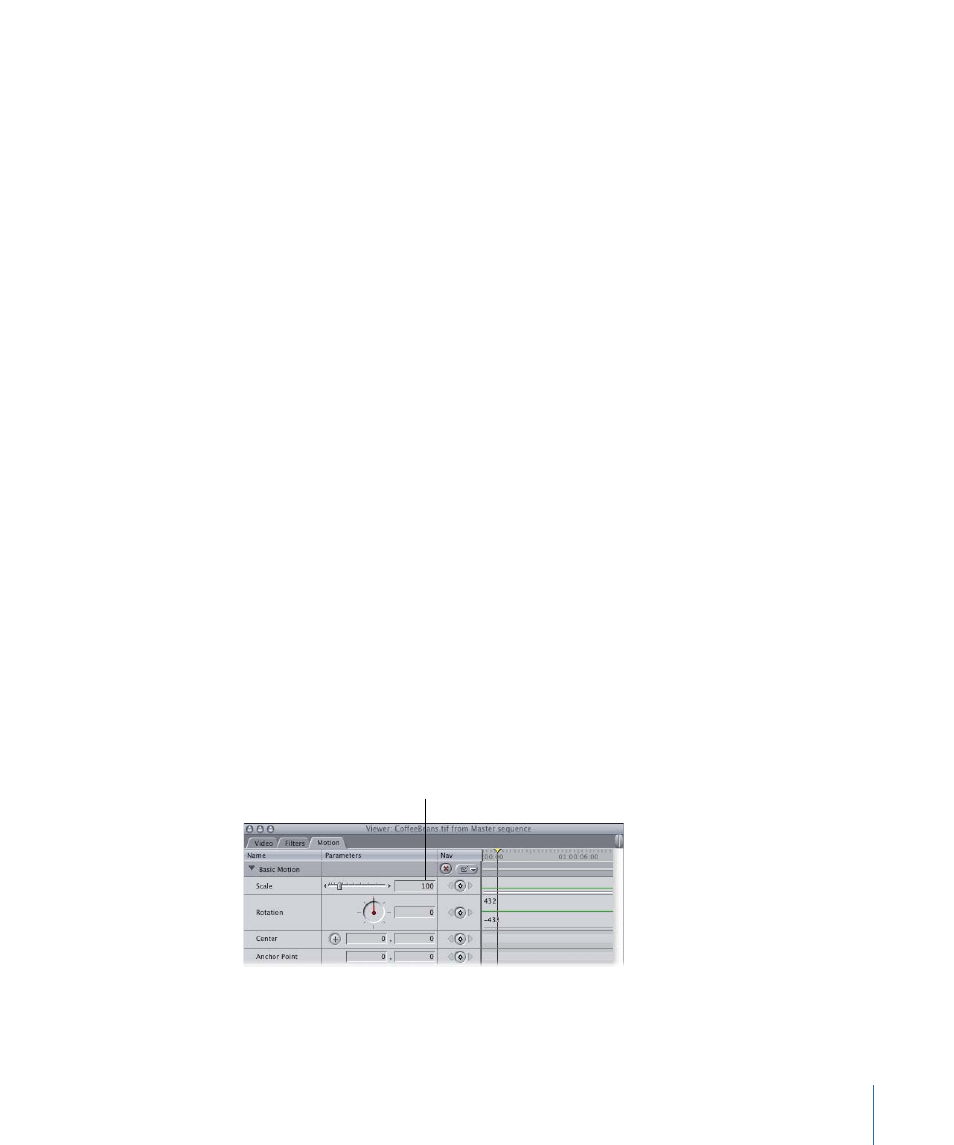
Opening the Image Clip in the Motion Tab of the Viewer
You can open an image clip in the Motion tab of the Viewer.
To open the image clip in the Motion tab of the Viewer
1
Double-click the clip in the Timeline to open it in the Viewer.
2
Click the Motion tab in the Viewer, then click the Basic Motion disclosure triangle to reveal
parameters such as Scale, Rotation, and Center.
3
In the Motion tab of the Viewer, enter 100 in the Scale field.
Set the Scale parameter
to 100.
1187
Chapter 70
Working with Freeze Frames and Still Images