Timeline panel composition settings, Timeline panel, Composition settings – Adobe After Effects User Manual
Page 84
Note:
A Preview composition is also created. The Preview composition consists of a grid of device-specific compositions so that you can preview your
master composition in the context of several mobile devices simultaneously.
After you render and export the compositions, you can preview and test the resulting movies on the simulated devices within Adobe Device
Central.
Timeline panel
Each composition has its own Timeline panel. You use the Timeline panel to perform many tasks, such as animating layer properties, arranging
layers in time, and setting blending modes. The layers at the bottom of the layer stacking order in the Timeline panel are rendered first and—in the
case of 2D image layers— appear farthest back in the Composition panel and in the final composite.
To cycle forward through Timeline panels, press Alt+Shift+period (.) (Windows) or Option+Shift+period (.) (Mac OS). To cycle backward through
Timeline panels, press Alt+Shift+comma (,) (Windows) or Option+Shift+comma (,) (Mac OS).
The current time for a composition is indicated by the current-time indicator (CTI), the vertical red line in the time graph. The current time for a
composition also appears in the current time display in the upper-left corner of the Timeline panel. For more information on moving the current-time
indicator, see Move the current-time indicator.
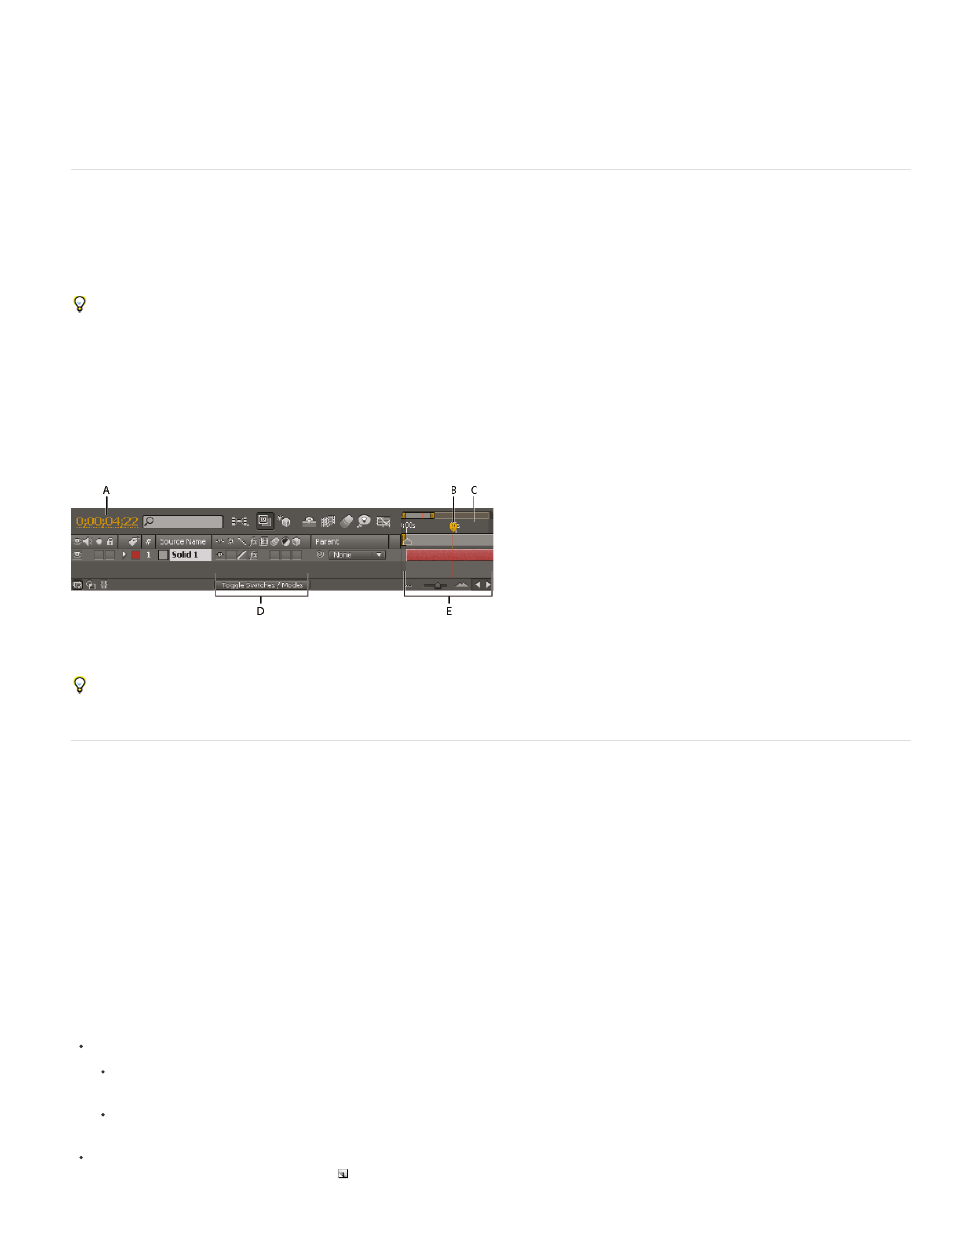
The left side of the Timeline panel consists of columns of controls for layers. The right side of the Timeline panel—the time graph—contains a time
ruler, markers, keyframes, expressions, duration bars for layers (in layer bar mode), and the Graph Editor (in Graph Editor mode).
A. Current-time display B. Current-time indicator (CTI) C. Time ruler D. Layer switches E. Time graph
Press the backslash (\) key to switch activation between the Composition panel and Timeline panel for the current composition.
Composition settings
You can enter composition settings manually, or you can use composition settings presets to automatically set frame size (width and height), pixel
aspect ratio, and frame rate for many common output formats. You can also create and save your own custom composition settings presets for
later use. Resolution, Start Timecode (or Start Frame), Duration, and Advanced composition settings are not saved with composition settings
presets.
The limit for composition duration is three hours. You can use footage items longer than three hours, but time after three hours does not
display correctly. The maximum composition size is 30,000x30,000 pixels. A 30,000x30,000 8-bpc image requires approximately 3.5 GB; your
maximum composition size may be less, depending on your operating system and available RAM.
Working with composition settings
To open the Composition Settings dialog box to change composition settings, do one of the following:
Select a composition in the Project panel or activate the Timeline or Composition panel for a composition, and choose Composition >
Composition Settings, or press Ctrl+K (Windows) or Command+K (Mac OS).
Right-click (Windows) or Control-click (Mac OS) a composition in the Project panel or Composition panel (not on a layer), and choose
Composition Settings from the context menu.
To save a custom composition settings preset, set Width, Height, Pixel Aspect Ratio, and Frame Rate values in the Composition Settings
80