Text fills and strokes – Adobe After Effects User Manual
Page 357
Note:
Note:
1. Select the characters you want to prevent from breaking.
2. Choose No Break from the Character panel menu.
You open the panel menu by clicking the panel menu button
in the upper-right tab of the panel.
Specify leading
In the Character panel, do one of the following:
Choose the desired leading from the Leading menu
.
Select the existing leading value, and enter a new value.
Drag the underlined leading value.
Specify kerning
You can automatically kern type using metrics kerning or optical kerning. Metrics kerning uses kern pairs, which are included with most fonts. Kern
pairs contain information about the spacing of specific pairs of letters such as LA, To, Tr, Ta, Tu, Te, Ty, Wa, WA, We, Wo, Ya, and Yo. After
Effects uses metrics kerning by default so that specific pairs are automatically kerned when you import or type text. Some fonts include robust
kern-pair specifications.
For fonts for which metrics kerning provides inadequate results, or for two different typefaces or sizes in a line, you may want to use the optical
kerning option. Optical kerning adjusts the spacing between adjacent characters based on their shapes.
You can also use manual kerning to adjust the space between two letters.
Alan Shisko provides an article and video tutorial about kerning on his
To use the built-in kerning information for a font, choose Metrics from the Kerning menu
in the Character panel.
To adjust kerning manually, click between two characters with a type tool, and set a numeric value for Kerning
in the Character panel.
If a range of text is selected, you can’t manually kern the characters. Instead, use tracking.
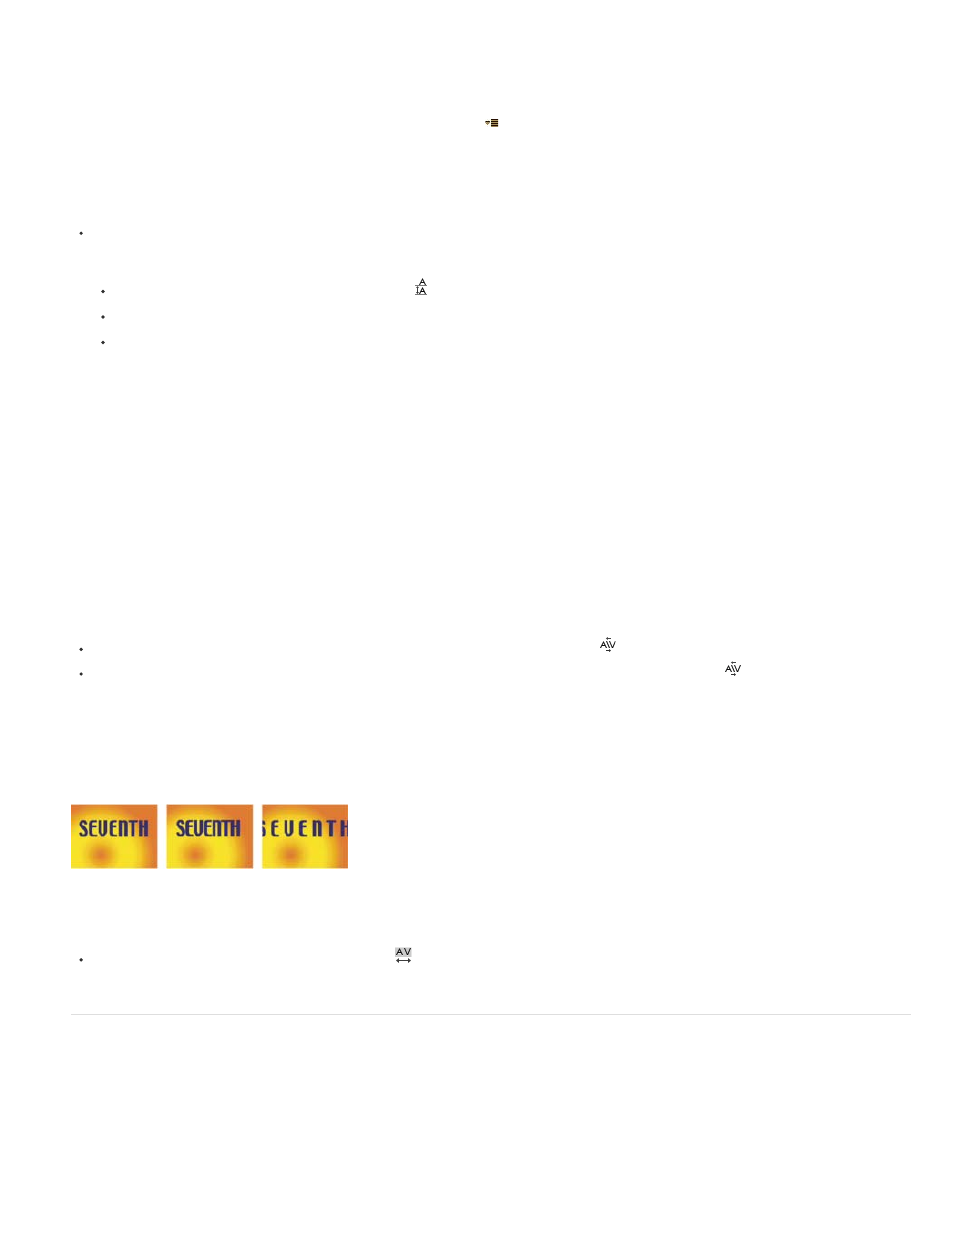
Specify tracking
Tracking set to default value of 0 (left), Tracking set to -50 (center), and Tracking set to 200 (right)
To specify tracking, set a numeric value for Tracking
in the Character panel.
Text fills and strokes
For text, a fill is applied to the area inside the shape of an individual character; a stroke is applied to the outline of the character. After Effects
applies a stroke to a character by centering the stroke on the character’s path; half of the stroke appears on one side of the path, and the other
half of the stroke appears on the other side of the path.
The Character panel lets you apply both color fill and color stroke to text, control the stroke width, and control the stacking position of the fill and
stroke. You can change these properties for individual, selected characters; selected Source Text keyframes; all text in a layer; or all text across
353