Adobe After Effects User Manual
Page 341
Solid color
Linear gradient
Radial gradient
The entire fill or stroke consists of one color.
The fill or stroke consists of colors and opacity values defined by a linear gradient and then mapped onto the composition along
a single axis from the Start Point to the End Point.
The fill or stroke consists of colors and opacity values defined by a linear gradient, which are mapped onto the composition along
a radius extending outward from the Start Point at the center to the End Point at the circumference of a circle. You can offset the starting point by
modifying the Highlight Length and Highlight Angle values.
You can animate and interpolate gradients by adding keyframes to the Colors property and using the Color Picker in Gradient Editor mode to
add, modify, and remove color stops and opacity stops. You can also save gradients as animation presets. (See
.)
The colors of strokes and fills for shape layers are not rendered as high-dynamic range colors. Color values under 0.0 or over 1.0 are clipped to
fall within the range of 0.0 to 1.0.
Choose stroke or fill type and blending options
To choose a fill type or stroke type for new shapes, or set the blending mode or opacity for a fill or stroke for new shapes, click the
underlined Fill or Stroke text control in the Tools panel. To cycle through fill types or stroke types for existing shapes, select the shapes
before using these controls.
To cycle through fill types or stroke types for new shapes, Alt-click (Windows) or Option-click (Mac OS) the swatch button next to the
underlined Fill or Stroke text control in the Tools panel. To choose a fill type or stroke type for existing shapes, select the shapes before
using these controls.
Choose a solid color or edit a gradient for a stroke or fill
To choose a solid color or gradient for fills or strokes for new shapes, click the swatch button next to the underlined Fill or Stroke text control
in the Tools panel. To choose a solid color or gradient for fills or strokes for existing shapes, select the shapes before using the controls.
Modify the color mapping for a gradient
A gradient is a range of color and opacity values that you can customize in the Gradient Editor dialog box. You can also customize how those
colors are applied to a stroke or fill by modifying the Start Point and End Point, which determine the direction and scale of the gradient. For
example, you can modify these points to stretch the colors of a gradient over a larger area, or orient a linear gradient so that colors fade from top
to bottom instead of from left to right. For a radial gradient, you define the center of gradient, its radius, and the offset of a highlight.
By default, when you create a shape path by drawing with the Pen tool, the control points for the gradient are placed in the center of the layer. You
can adjust these points after you finish drawing.
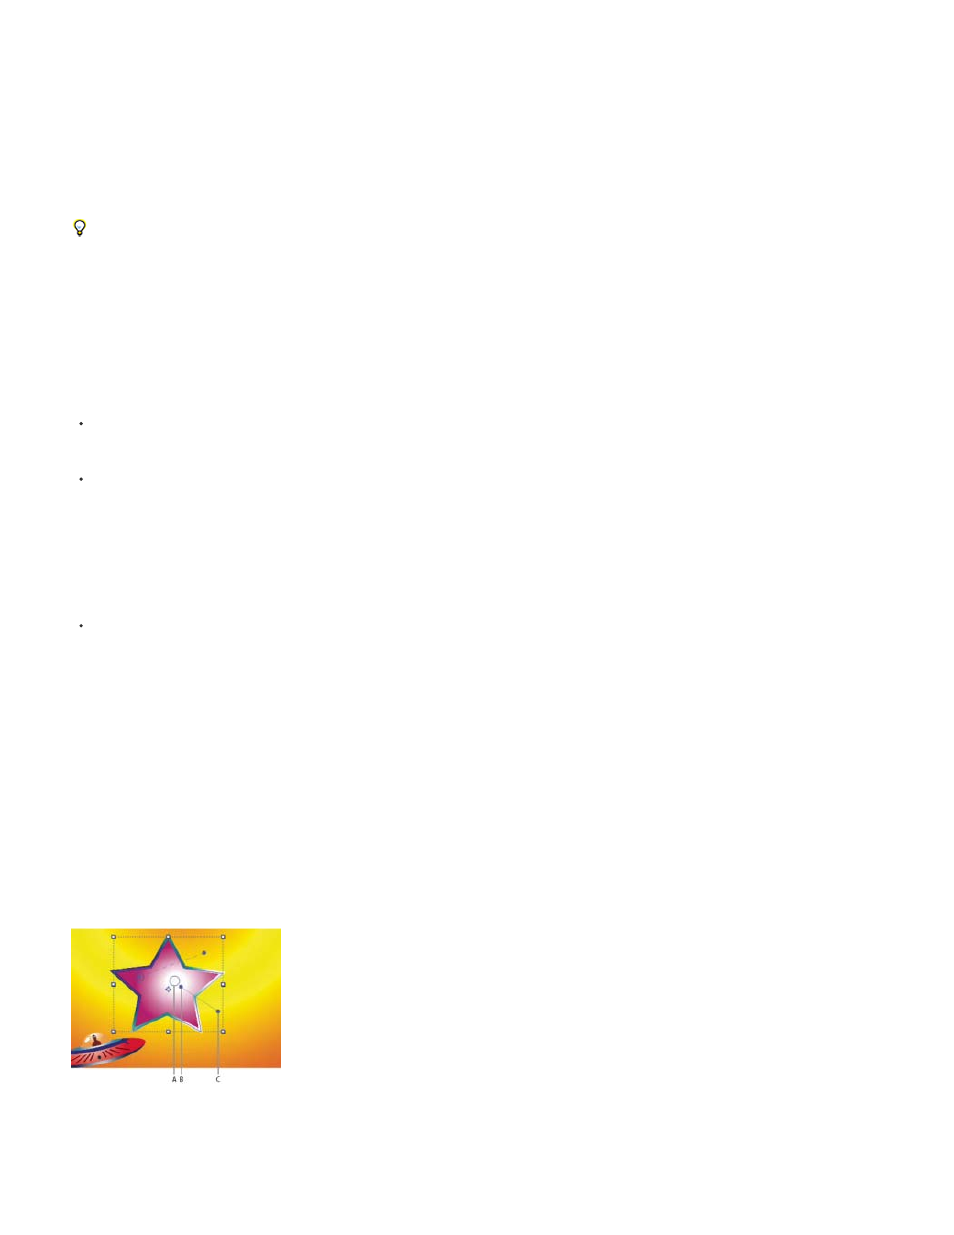
You can modify the Start Point, End Point, Highlight Angle, and Highlight Length properties in the Timeline panel. You can also modify these
properties directly in the Composition panel.
Controls for mapping gradient colors in Composition panel
A. Highlight control point B. Start Point C. End Point
337