Adobe After Effects User Manual
Page 309
Note:
Note:
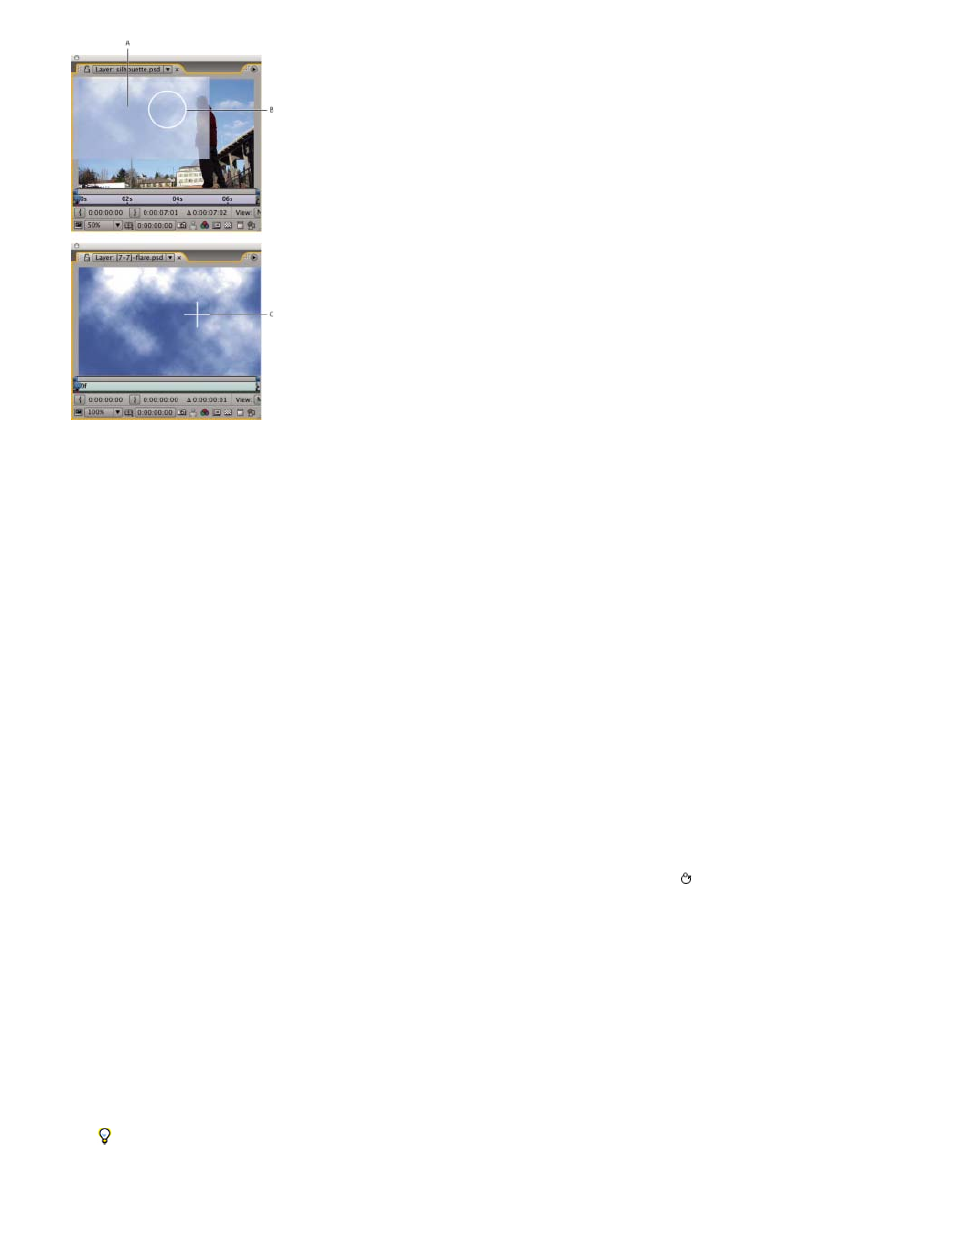
Displaying the clone source overlay while cloning between two different layers
A. Clone source overlay B. Current stroke point C. Current sample point
To specify settings for a paint stroke before you apply it, use the Paint and Brushes panels. To change and animate properties for a paint
stroke after you’ve applied it, work with the properties of the stroke in the Timeline panel.
Select Aligned in the Paint panel to make the position of the sample point (Clone Position) change for subsequent strokes to match the movement
of the Clone Stamp tool in the target Layer panel. In other words, with the Aligned option selected, you can use multiple strokes to paint on one
copy of the sampled pixels. In contrast, deselecting the Aligned option causes the sample point to stay the same between strokes, meaning that
you begin painting on pixels from the original sample point each time you drag again to create a new clone stroke.
For example, select Aligned to use multiple clone strokes to copy one whole cow—which would be difficult to do in one continuous stroke—and
deselect Aligned to copy one flower into dozens of places in the target layer to make a field of flowers, using one clone stroke per copy.
Select Lock Source Time to clone a single source frame (at composition time Source Time); deselect Lock Source Time to clone subsequent
frames, with a time offset (Source Time Shift) between the source frame and the target frame. The clone source time automatically loops back to
the starting sample point when the current sampling point goes beyond the end of the duration of the source layer. This looping is especially
helpful when you have a lot of frames to repair in the target layer but only a few good frames in the source layer.
1. Open a composition that contains both the source layer and the target layer.
2. Open the source layer in a Layer panel and move the current-time indicator to the frame from which to begin sampling.
You can manually manipulate the time and coordinates from which sampling begins by modifying the Offset, Source Time Shift,
Source Position, or Source Time values in the Paint panel. You can reset them to zero with the Reset button.
3. Alt-click (Windows) or Option-click (Mac OS) with the Clone Stamp tool on the source layer in the Layer panel to set the sampling point.
4. Open the target layer in a Layer panel and move the current-time indicator to the frame at which to begin painting the clone stroke.
5. Drag in the target layer to paint on cloned pixel values from the source layer. To help you identify what the Clone Stamp tool is sampling as
you apply clone strokes, a crosshair identifies the point being sampled.
Each time you release the mouse button, you stop drawing a stroke. When you drag again, you create a new stroke. Shift-drag to resume
drawing the previous stroke.
Click the Difference Mode button next to the Clone Source Overlay option in the Paint panel or modify the opacity of the overlay to help
you better line up elements and see the results of your clone strokes. To temporarily show the clone source overlay, press Alt+Shift
(Windows) or Option+Shift (Mac OS). Alt+Shift-drag (Windows) or Option+Shift-drag (Mac OS) to change the position of the source layer.
305