Time-stretching and time-remapping – Adobe After Effects User Manual
Page 268
Time-stretching and time-remapping
Layer In-point
Time-stretch a layer
Reverse the playback direction of a layer
Reverse keyframes without reversing layer playback
Time-remapping
Frame blending
Time-stretching, time-remapping, and the Timewarp effect are all useful for creating slow motion, fast motion, freeze frame, or other retiming
results.
For information on the Timewarp effect, see Timewarp effect.
Andrew Kramer provides a video tutorial on his
that demonstrates time-stretching, time-remapping, and frame blending.
Time-stretch a layer
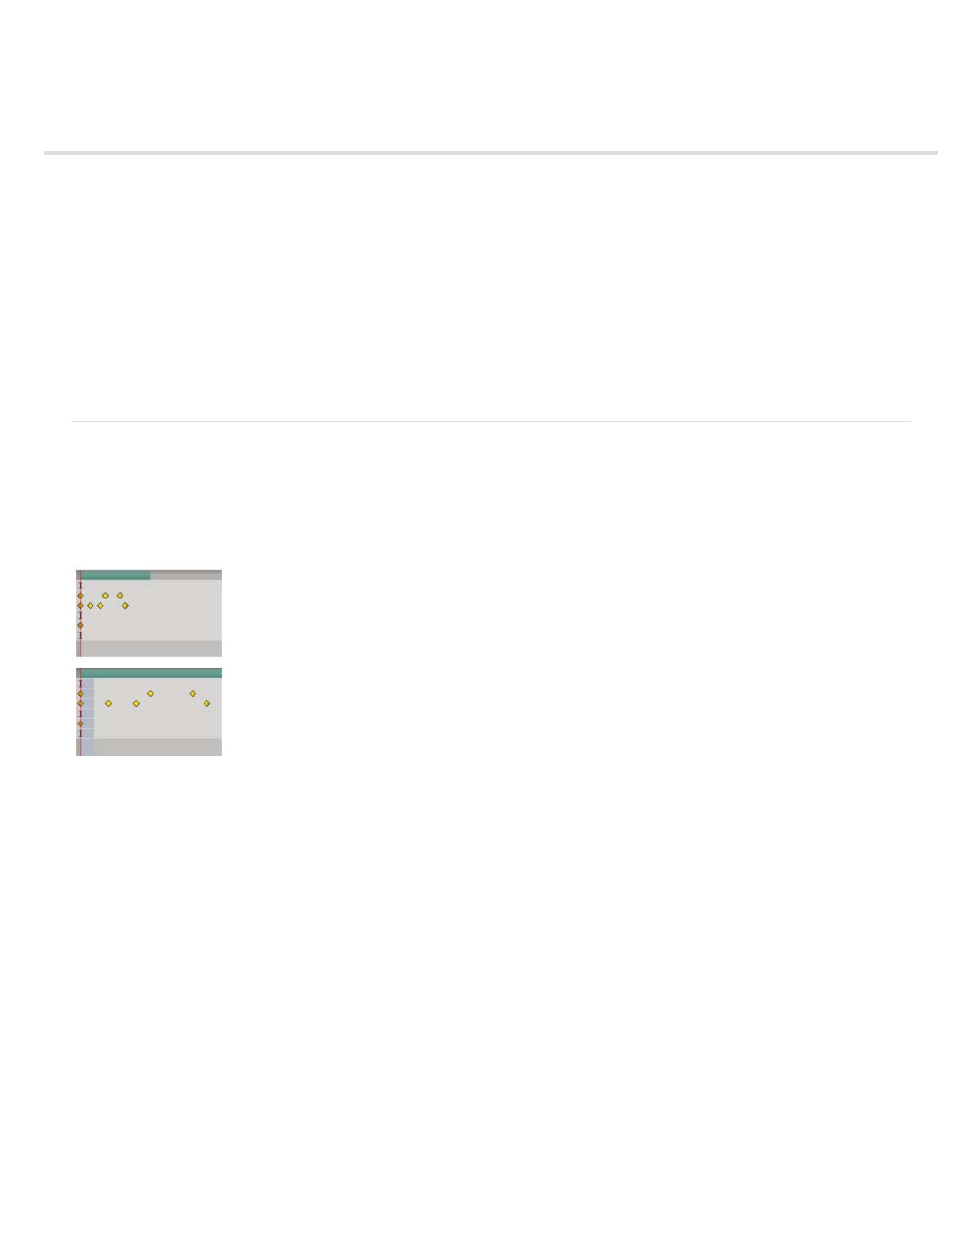
Speeding up or slowing down an entire layer by the same factor throughout is known as time-stretching. When you time-stretch a layer, the audio
and the original frames in the footage (and all keyframes that belong to the layer) are redistributed along the new duration. Use this command only
when you want the layer and all layer keyframes to change to the new duration.
Time-stretching a layer redistributes keyframes along the new duration.
If you time-stretch a layer so that the resulting frame rate is very different from the original frame rate, the quality of motion within the layer may
suffer. For best results when time-remapping a layer, use the Timewarp effect.
Time-stretch a layer from a specific time
1. In the Timeline or Composition panel, select the layer.
2. Choose Layer > Time > Time Stretch.
3. Type a new duration for the layer, or type a Stretch Factor.
4. To specify the point in time from which the layer will be time-stretched, click one of the Hold In Place options, and then click OK.
Holds the starting time of the layer at its current value and time-stretches the layer by moving its Out point.
264