Adobe After Effects User Manual
Page 274
2. Choose Layer > Time > Enable Time Remapping. A second time ruler appears in the Layer panel above the default time ruler and the
navigator bar.
3. On the lower time ruler, move the current-time indicator to the first frame where you want the change to occur.
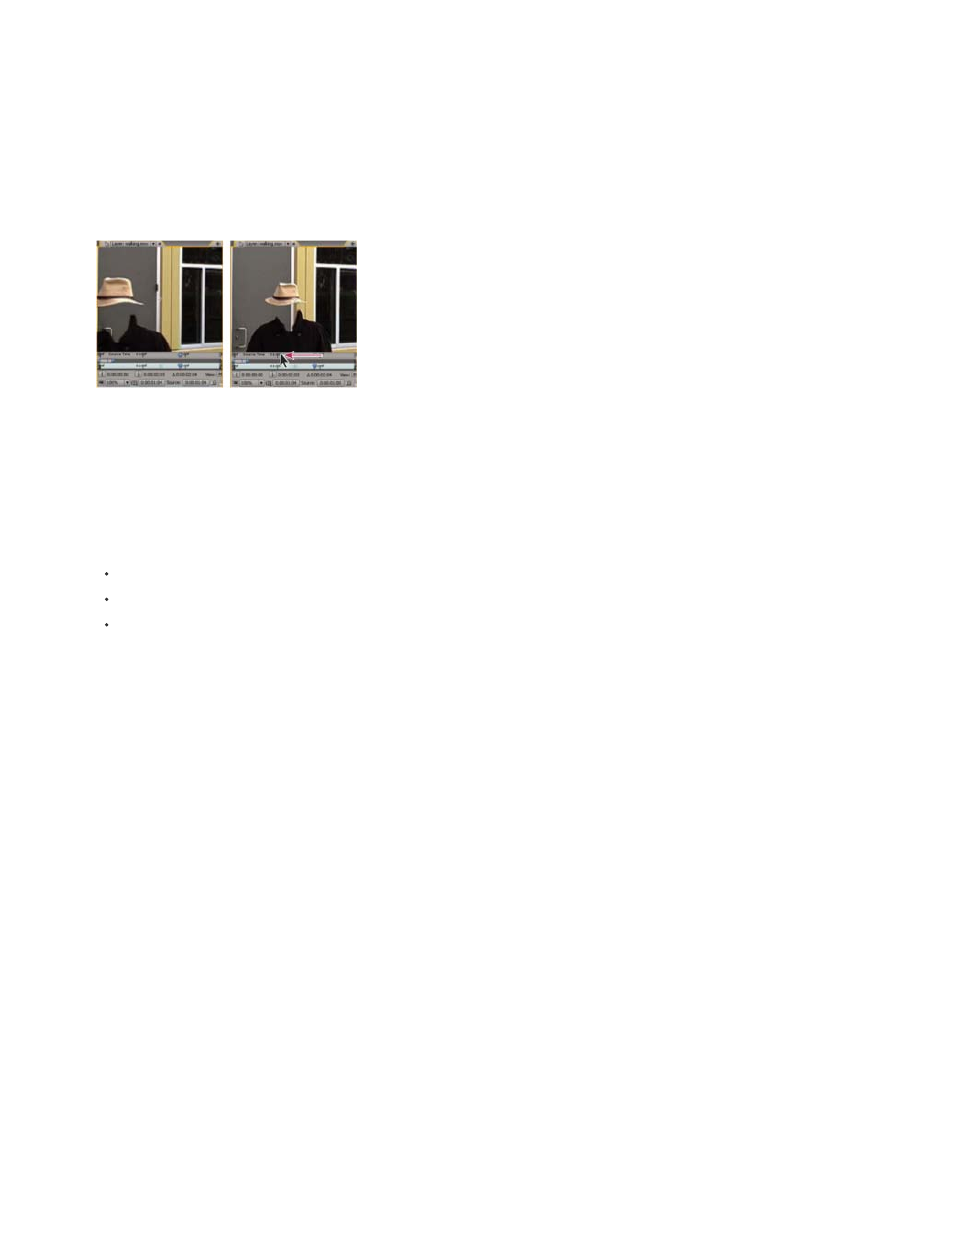
4. On the upper time ruler, the remap-time marker indicates the frame currently mapped to the time indicated on the lower time ruler. To
display a different frame at the time indicated on the lower time ruler, move the remap-time marker accordingly.
Drag the remap-time marker to replace the frame at the current time marker.
5. Move the current-time indicator on the lower time ruler to the last frame where you want change to occur.
6. Move the remap-time marker on the upper time ruler to the frame you want to display at the time indicated on the lower time ruler:
To move the preceding portion of the layer forward, set the remap-time marker to a later time than the current-time indicator.
To move the preceding portion of the layer backward, set the remap-time marker to an earlier time than the current-time indicator.
To freeze a frame, set the remap-time marker to the frame you want frozen. Then, move the current-time indicator (lower ruler) to the
last point in time where the frame will appear frozen and move the remap-time marker again to the frame you want frozen.
Time-remap audio pitch
The speed graph of the Time Remap property directly relates to the pitch of an audio file. By making subtle changes to the speed graph, you can
create a variety of interesting effects. To avoid screeching audio, you may want to keep the Speed value below 200%. When the speed is too
high, use the Levels controls, located under the Audio property, to control the volume.
You may hear clicks at the beginning and end of an audio (or an audio and video) layer after setting new In and Out points in the Time Remap
graph. Use the Levels controls to remove these clicks.
Change the pitch of an audio layer
1. In a Composition or Timeline panel, select the layer you want to remap.
2. Choose Layer > Time > Enable Time Remapping.
3. Click the Graph Editor button in the Timeline panel to display the Graph Editor, if necessary.
4. Click the Choose Graph Type And Options button at the bottom of the Graph Editor and choose Edit Speed Graph.
5. Move the current-time indicator to the frame where you want change to begin, and then click the Add A Keyframe button.
6. On the speed graph below the keyframe, drag a marker, watching the Speed value as you drag.
270