Work with puppet pins and the distortion mesh, Puppet overlap controls – Adobe After Effects User Manual
Page 261
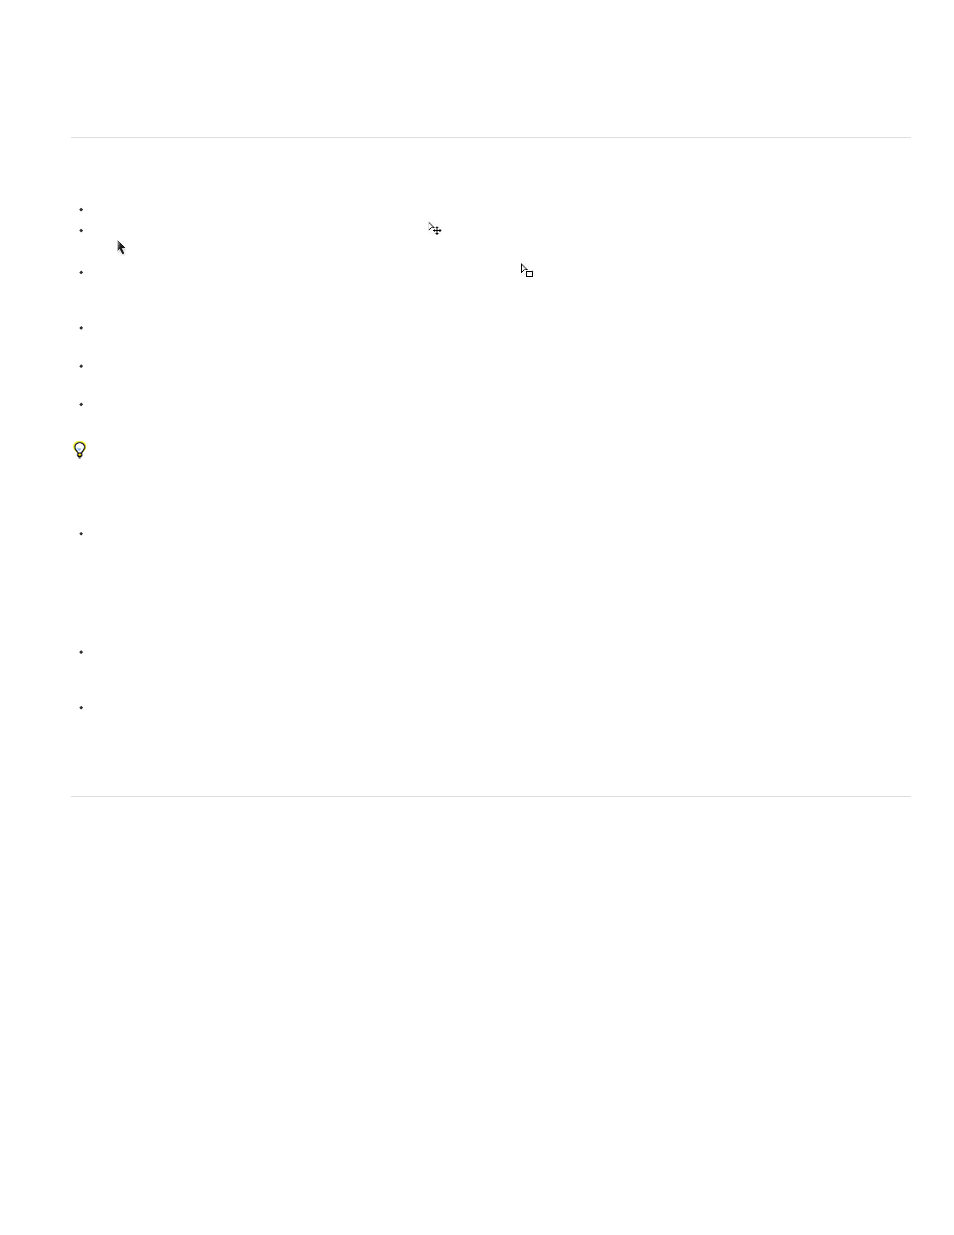
Outline for union of two shape paths, indicated by yellow highlight, visible because Puppet tool pointer is within area defined by outline
Work with Puppet pins and the distortion mesh
To show the mesh for the Puppet effect, select Show in the options section of the Tools panel.
To select or move a pin, click or drag it with the Move tool
. To activate the Move tool, place the pointer on a pin while either the Selection
tool or the corresponding Puppet tool is active.
To select multiple pins, Shift-click them, or use the marquee-selection tool
to drag a marquee-selection box around them. To activate the
marquee-selection tool, place the pointer for a Puppet tool outside all meshes and outlines or hold the Alt (Windows) or Option (Mac OS)
key.
To select all pins of one kind (Deform, Starch, or Overlap), select one pin of that kind and press Ctrl+A (Windows) or Command+A (Mac
OS).
To delete selected pins, press the Delete key. If the pin has multiple keyframes, and only the keyframe at the current time is selected,
pressing Delete deletes only that keyframe; pressing Delete again deletes the pin.
To reset Deform pins to their original locations at the current time, click Reset for the Puppet effect in the Timeline panel or Effect Controls
panel. To remove all pins and meshes from an instance of the Puppet effect, click Reset again.
Sometimes, you want to animate an image from an initial position, through an intermediate position, and back to the initial position. Rather than
manually dragging the pins back to their initial positions at the end of the animation, place the current-time indicator at the end time and click
Reset. Only the keyframes at the current time are reset.
To increase or decrease the number of triangles used in a mesh, modify the Triangle value in the options section of the Tools panel or in the
Timeline panel. Modifying the Triangle value sets the value for a selected mesh or, if no mesh is selected, sets the value for meshes created
later.
A higher number of triangles gives smoother results but takes longer to render. Small objects, like text characters, usually distort well with
only 50 triangles, whereas a large figure may require 500. The number of triangles used may not match the Triangle value exactly; this
value is a target only.
To expand the mesh beyond the original outline, increase the Expansion property in the options section of the Tools panel or in the Timeline
panel. Modifying the Expansion property sets the value for a selected mesh or, if no mesh is selected, sets the value for meshes created
later. Expanding the mesh is useful for encompassing a stroke.
To duplicate an object using Puppet Pin tool, click within the original outline. Clicking within the original outline creates a new mesh, with its
own copy of the pixels from within the original outline. You can also duplicate a Mesh group in the Timeline panel to achieve the same result,
which is sometimes easier than clicking within the original outline without clicking the mesh to create a pin.
Puppet Overlap controls
When you are distorting one part of an image, you may want to control which parts of the image appear in front of other parts. For example, you
may want to keep an arm in front of the face as you make the arm wave. Use the Puppet Overlap tool to apply Overlap pins to the parts of an
object for which you want to control apparent depth.
You apply Puppet Overlap pins to the original outline, not to the deformed image.
257