Correct a motion track – Adobe After Effects User Manual
Page 245
3. Click Edit Target, and choose the target.
4. In the Tracker panel, click the Apply button.
Correct a motion track
As an image moves in a shot, the lighting, surrounding objects, and angle of the object can all change, making the once distinct feature no longer
identifiable at the subpixel level. Also, if the search region is too small, the tracked feature may leave its bounds from one frame to the next.
Learning to choose a trackable feature takes time. Even with careful planning and practice, the feature region can drift away from the desired
feature. Re-adjusting the feature and search regions, changing the tracking settings, and trying again is a standard part of automatic tracking. It’s
not necessary to get a single good track in one try. You may need to track the shot in sections, redefining the feature region in places where the
feature changes and the region drifts. You may even need to choose a different feature to track, one with movement that closely matches that of
the feature to track, and use the attach point offset to place the target.
After you’ve tracked motion, each track point has a motion path in the Layer panel that shows the position of the center of the feature region. You
can fine-tune the keyframes of the motion path in the Layer panel as you would any other motion path. Modifying the motion path is most useful
when you want to manually change the motion tracking data before applying it to a target. In some cases, it may be easier to manually modify the
motion path created by the motion tracker than to get a perfect track.
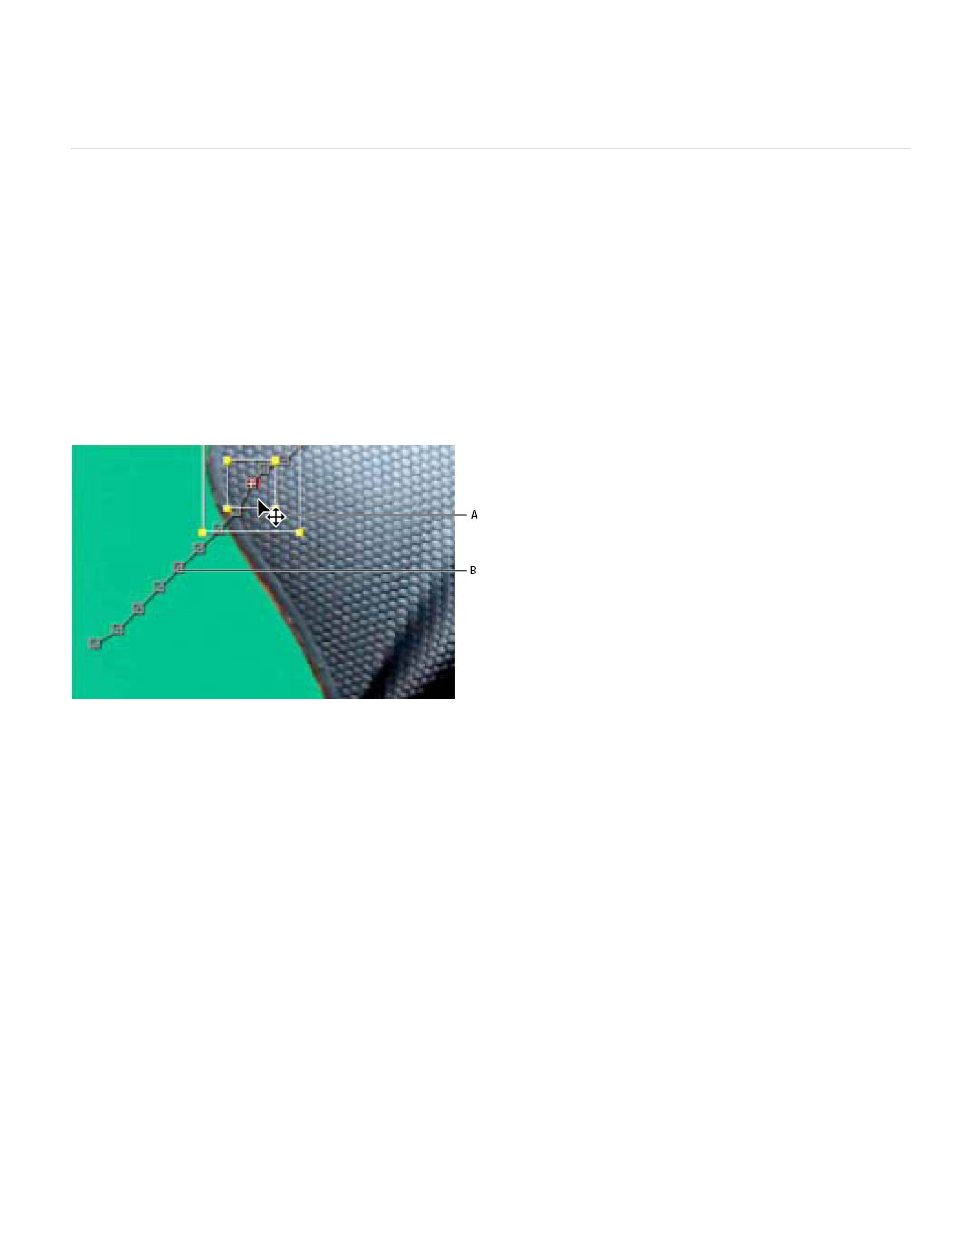
Motion source and its motion path
A. Moving the feature and search regions B. Keyframe marker
Correct drifting by adjusting the feature and search regions
1. Move the current-time indicator to the last well-tracked frame.
2. Alt-drag (Windows) or Option-drag (Mac OS) the feature and search regions only (not the attach point) to the correct location.
3. If you are correcting the track for one frame, go to step 4. If you are correcting the track for several contiguous frames, adjust the feature
region and search region if necessary, and click Analyze. Watch the tracking to make sure that it is accurate. If the tracking is not accurate,
then click the button again to stop tracking, adjust the feature region, and begin again.
4. When you are satisfied with the track, click Apply to apply the keyframes to the target layer or effect control point.
Correct drifting by modifying tracking settings
1. Move the current-time indicator to the last well-tracked frame.
241