Region of interest (roi) work area, Region of interest (roi), Work area – Adobe After Effects User Manual
Page 204
Note:
Note:
Note:
In the Previews preferences category, you can choose the quality and speed of color management and zoom operations used in previews.
From the Zoom Quality or Color Management Quality menu, choose one of the following:
Faster
More Accurate
More Accurate Except For RAM Previews.
The Zoom Quality preference affects the quality of scaling performed for pixel aspect ratio correction in the Composition and Layer panels. (See
The More Accurate Except For RAM Previews option uses the more accurate operations for manual previews and standard previews, but
uses the faster operations for RAM previews. (See
When the Show Channel menu is set to an option that shows straight colors ( RGB Straight, Alpha Overlay, or Alpha Boundary), the Viewer
Quality preference is ignored, and the preview is created as if the Viewer Quality settings were Faster.
Region of interest (ROI)
The region of interest (ROI) is the area of the composition, layer, or footage item that is rendered for previews. Create a smaller region of interest
to use less processing power and memory when previewing, thereby improving interaction speed and increasing RAM preview duration.
By default, changing the region of interest does not affect file output. You can change the size of your composition and select what portion is
rendered by cropping to the region of interest.
When the region of interest is selected, the Info panel displays the horizontal and vertical distances of the top (T), left (L), bottom (B), and
right (R) edges of the region from the top-left corner of the composition.
To draw a region of interest, click the Region Of Interest button
at the bottom of the Composition, Layer, or Footage panel, and then drag
to select a viewable area of the panel.
To start over with the marquee tool, hold down Alt (Windows) or Option (Mac OS) and click the Region Of Interest button.
To switch between using the region of interest and using the full composition, layer, or footage frame, click the Region Of Interest button.
To move or resize the region of interest, drag its edges or handles. Shift-drag a corner handle to resize while preserving aspect ratio.
To crop the composition to the region of interest, choose Composition > Crop Comp To Region Of Interest.
To crop the output to the region of interest, choose Use Region Of Interest in the Crop section of the Output Module Settings dialog box.
(See
To create the equivalent of a region of interest for a single layer, you can draw a temporary mask around the part of the layer that you are
working with. The area outside of the mask will not be rendered. This can make working with a small portion of a large layer much faster. Be
careful, though, since not rendering the pixels outside of the mask can change the composition’s appearance significantly. (See Creating
masks.)
Work area
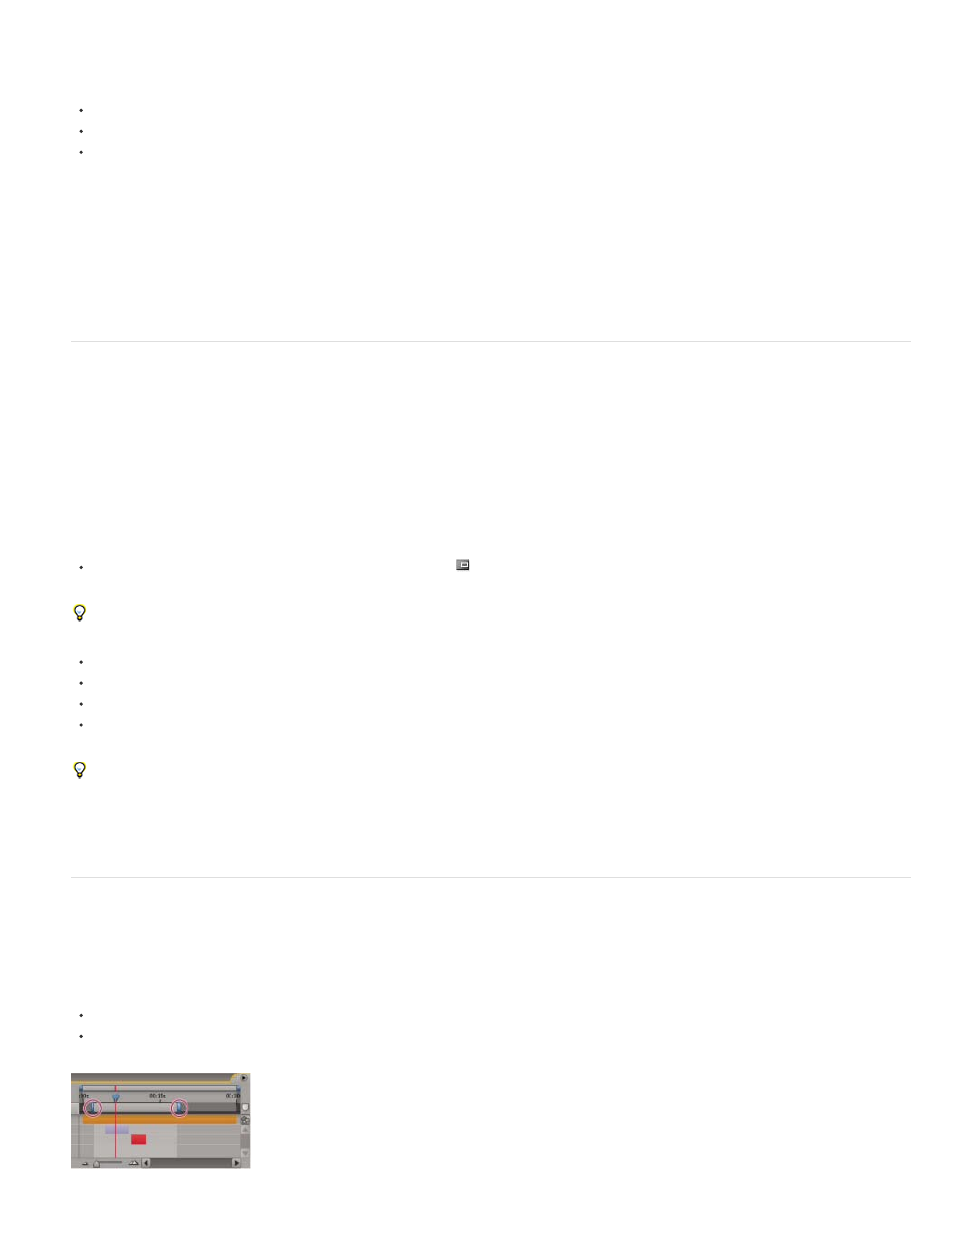
The work area is the part of the duration of a composition that is rendered for previews or final output. In the Timeline panel, the work area
appears in a lighter shade of gray.
To set the work area start time or end time to the current time, press B (begin) or N (end), respectively.
To set the work area, move the start and end work area markers in the time ruler.
200