Keyframe editor – Apple Motion 3 User Manual
Page 95
Chapter 1
Getting to Know Motion
95
3
In the Timeline section, choose an item from the Timebar Display pop-up menu:
 Name: Displays only the name of the object on the track.
 Name Plus Thumbnail: Displays the name of the object and a single thumbnail on
the track.
 Filmstrip: Displays frames of the object over the track.
Regardless of the Timebar Display setting, tracks for cameras, lights, behaviors, and
filters are always labeled with names only.
Note: When the Timebar Display is set to Filmstrip, your processing time is increased.
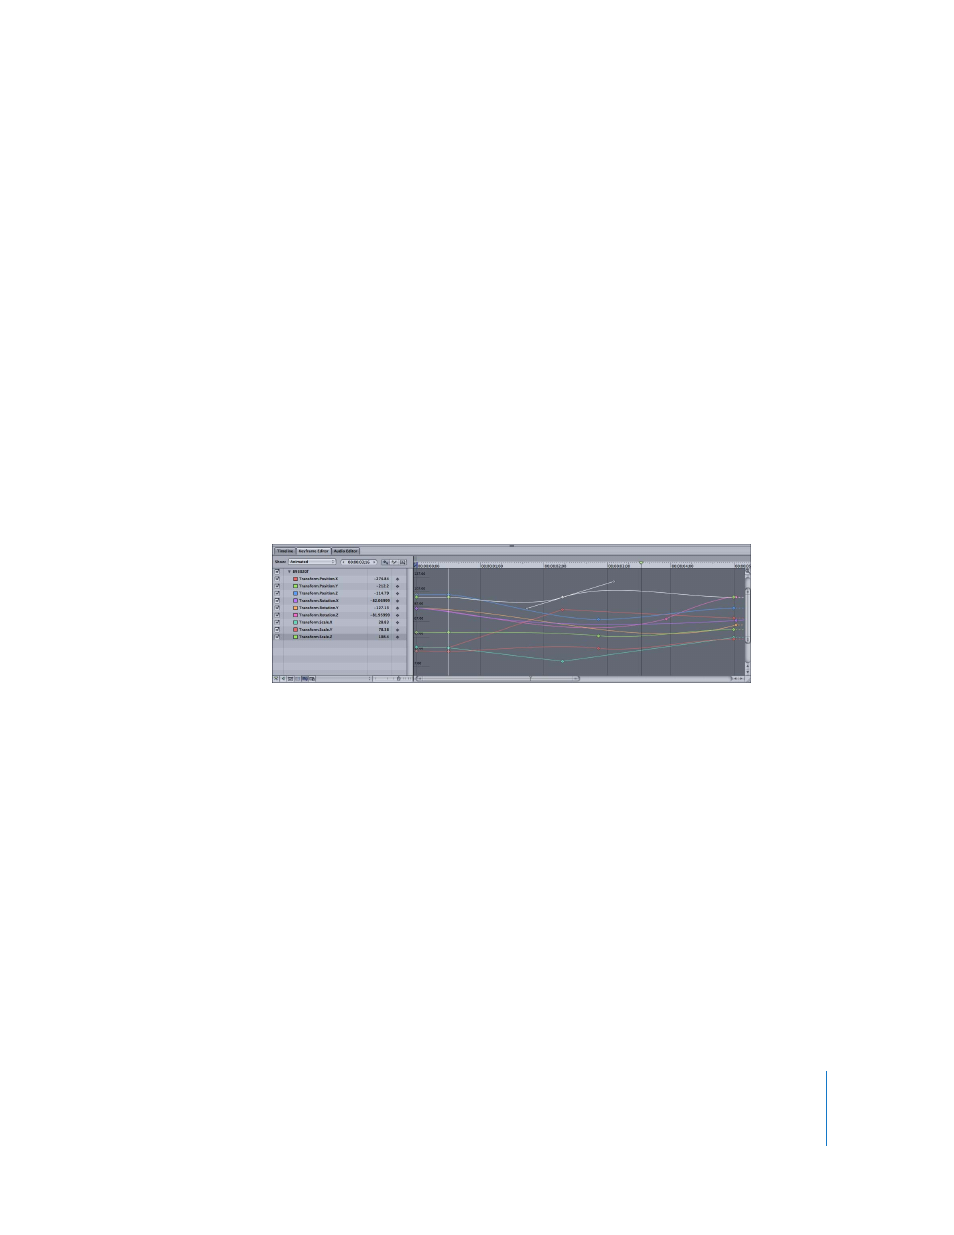
Keyframe Editor
The Keyframe Editor is where you can view and modify the individual attributes of
filters, behaviors, and other effects over time. Each parameter can be displayed as a
curve showing how the parameter’s value changes over time. You can manipulate the
points within that curve (called keyframes) to create a variety of powerful effects. For
more information on using the Keyframe Editor, see Chapter 6, “
To display the Keyframe Editor, do one of the following:
m
Drag the divider on the bottom edge of the Canvas, then click the Keyframe Editor tab
at the top of the pane.
m
Click the Timing icon in the upper-right corner of the Canvas, then click the Keyframe
Editor tab at the top of the pane.
m
Choose Window > Keyframe Editor (or press Command-8).
m
Press F6, then click the Keyframe Editor tab at the top of the pane.
m
Choose Window > Layouts > Cinema (or press Control-Option-U), then click the
Keyframe Editor tab at the top of the pane.