Apple Motion 3 User Manual
Page 34
34
Chapter 1
Getting to Know Motion
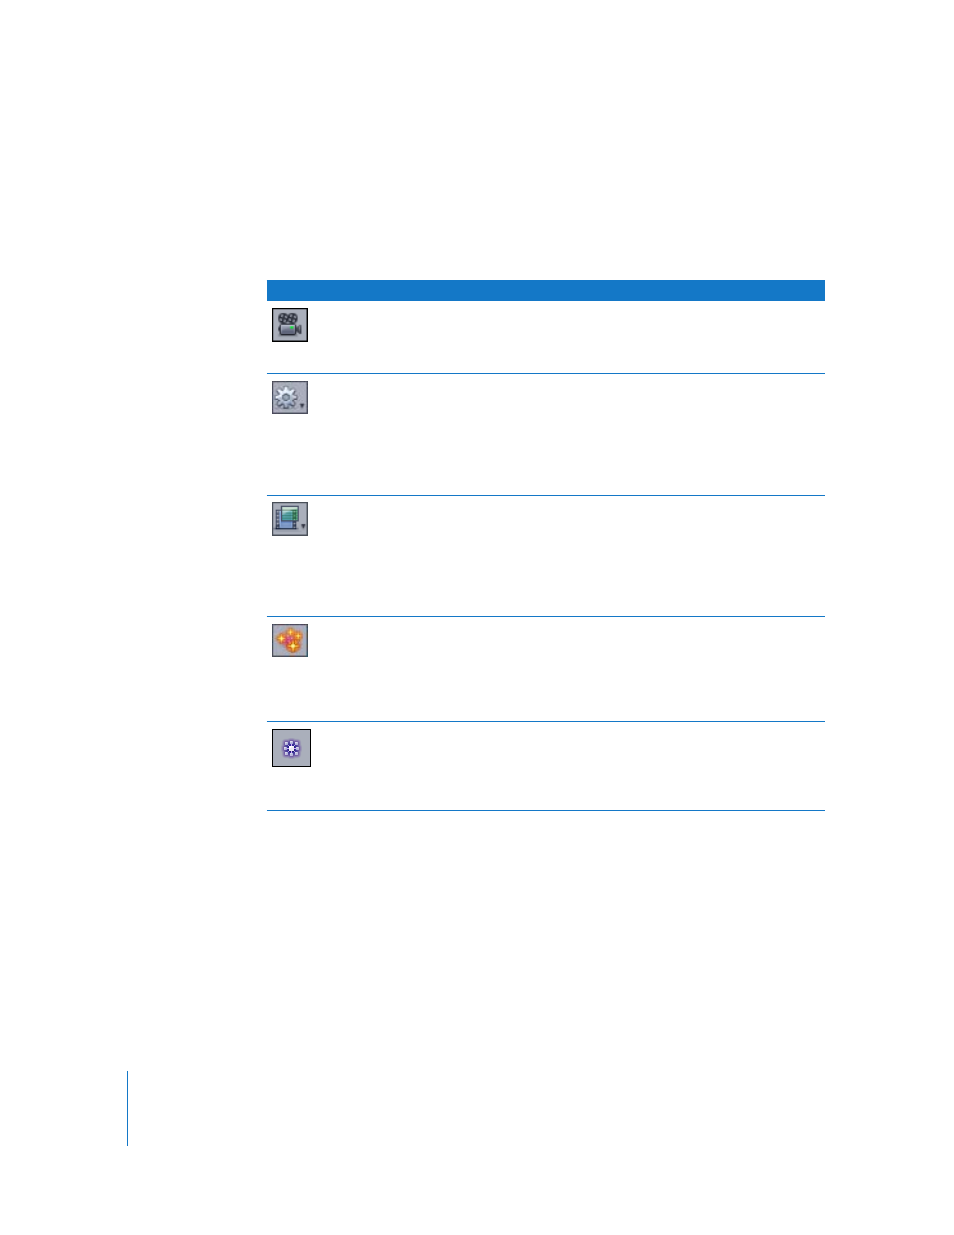
Camera and Effects Icons
The first icon on the right side of the Toolbar adds a new camera to a project. The next
four icons make up the effects controls. These are special controls providing instant
access to the most common effects. Because these controls apply effects to existing
objects, they are not available unless an object is selected.
Icon
Icon name
Description
New Camera
Adds a new camera to the workspace. When you add a camera to a 2D
project, a dialog appears asking if you want to convert your 2D groups to
3D groups. Although a camera can be added to a 2D project, the camera
has no effect on a 2D group.
Add Behavior
Activates a pop-up menu of behaviors. Choosing an item from the menu
applies that behavior to the selected object(s). Objects to which behaviors
can be applied include layers (images, particle emitters, and so on), groups,
cameras, and lights. Generally, a subset of the controls for the behavior
appear in the HUD; all of the controls appear in the Inspector. When the
Adjust Item tool is selected, onscreen controls (if any) become available for
the behavior.
Add Filter
Activates a pop-up menu of filters. Choosing an item from the menu
applies that filter to the selected object. Filters can only be applied to layers
(images, text, shapes, particle emitters, masks, replicators, generators, and
so on). Filters cannot be applied to cameras or lights. Most of the controls
for the filter appear in the HUD; all of the controls appear in the Inspector.
When the Adjust Item tool is selected, onscreen controls (if any) become
available for the filter.
Make Particles Uses the selected layer (shape, text, image, and so on) as the source for a
particle cell. The originally selected layer is disabled. A subset of the
controls for the particle system appear in the HUD; all of the controls
appear in the Inspector. When the Adjust Item tool is selected, onscreen
controls become available for the particle emitter (except when Point is
selected from the emitter Shape pop-up menu).
Replicate
Uses the selected layer (shape, text, image, and so on) as a source cell for
the replicator. The originally selected layer is disabled. A subset of the
controls for the replicator appear in the HUD; all of the controls appear in
the Inspector. When the Adjust Item tool is selected, the replicator onscreen
controls become available.