Apple Motion 3 User Manual
Page 364
364
Chapter 4
Using the Timeline
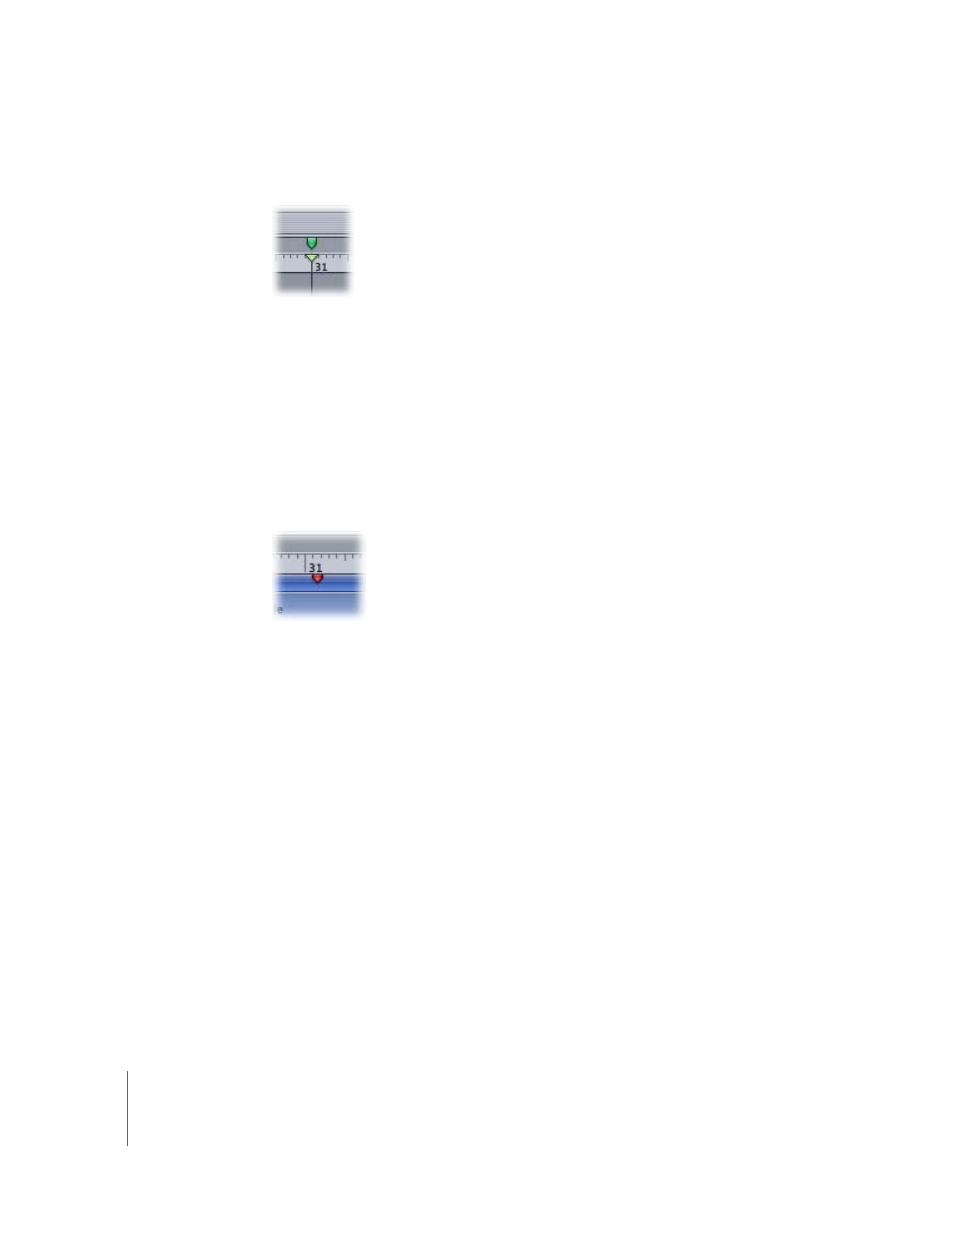
A green marker is added in the gray bar above the Timeline ruler.
Note: You can also press Shift-M to add a project marker at the playhead position,
whether or not an object is selected.
To add an object marker:
1
Place the playhead on the exact frame where you want the marker to appear.
2
Select the object where you want to add the marker, then do one of the following:
 Choose Edit > Markers > Add Marker.
 Press M.
A red marker is added to the group bar.
In this way, you can add markers while playing your project. The markers appear at the
frame where the playhead is at the time you press the M key.
To move a marker:
m
Drag the marker left or right to a new location.
To delete a marker, do one of the following:
m
Drag the marker vertically out of the area where it resides, then release the mouse
button.
The marker disappears with a “poof.”
m
Double-click the marker, then click the Delete marker in the Edit Marker dialog.
m
Position the playhead over the marker, select the group or object (for group or object
markers), then choose Mark > Markers > Delete.
m
Control-click the marker, then choose Delete Marker from the shortcut menu.
Deleting All Markers
In addition to deleting one individual marker, you can delete all markers from your
project in one step. This deletes either project markers or all markers in a selected layer
or object.