Apple Motion 3 User Manual
Page 532
532
Chapter 6
Keyframes and Curves
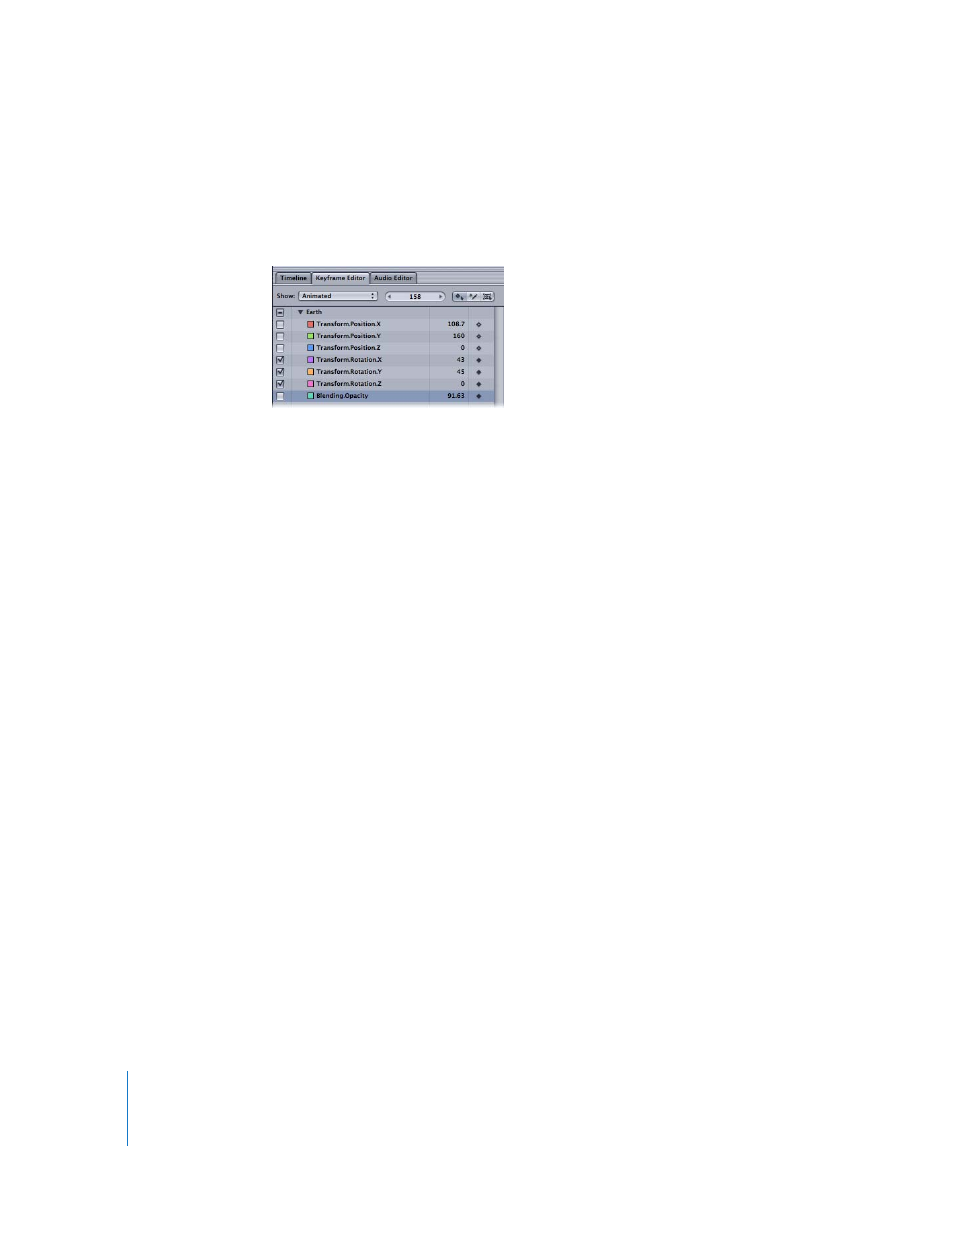
By default, only the animated parameters are active in the graph. Turn individual
parameters on and off by clicking the checkbox to show or hide them in the graph. You
can choose to display all parameters associated with a particular group or object by
checking or unchecking the checkbox for that group or object.
Alternatively, you can elect to view only the parameters that are currently animated—
in other words, parameters that already contain one or more keyframes.
To view only animated (keyframed or behavior-influenced) parameters, do one of
the following:
m
Choose Animated from the Show pop-up menu.
m
With the Keyframe Editor active, press U.
Any parameters with one or more keyframes are displayed.
To view parameters that have been changed from their default values, do one of the
following:
m
Choose Modified from the curve set list pop-up menu.
m
With the Keyframe Editor active, press Y.
This option shows only the parameters that have been modified from their default
values, or are currently being modified (in the Canvas, Inspector, or HUD).
To view only parameters that are currently active:
m
Choose Active from the Show pop-up menu.
When Active is selected and you are moving an object around in the Canvas, the X and
Y Position parameters and curves are displayed.
Related Curve Sets
Motion provides a few built-in curve sets for quick parameter access. If you need to
check the position of several related objects in a project, using the Position curve set
makes this a lot easier. Multiple related curve sets can be displayed at the same time so
you won’t have to switch back and forth between them. Each of these built-in curve
sets has an associated keyboard shortcut.