Apple Motion 3 User Manual
Page 1088
1088
Chapter 12
Using Shapes and Masks
Important:
A mask cannot be applied to a nonflattened 3D group. (To flatten a 3D
group, turn on the Flatten checkbox in the Group tab of the Inspector.) A mask can be
applied to a layer within a 3D group. To add a mask to a layer that has been
manipulated in 3D space, use the Isolate button. Masks cannot be manipulated in 3D
space. For example, the Position parameter for a mask only includes the X and Y
position parameters, but not the Z position parameter; the Rotation parameter only
includes Z, but not X or Y. For more information, see “
Masking Objects in a 3D Project
Drawing and editing masks using these tools works identically to drawing and editing
shapes. The main difference is that while drawing a shape creates a new layer in your
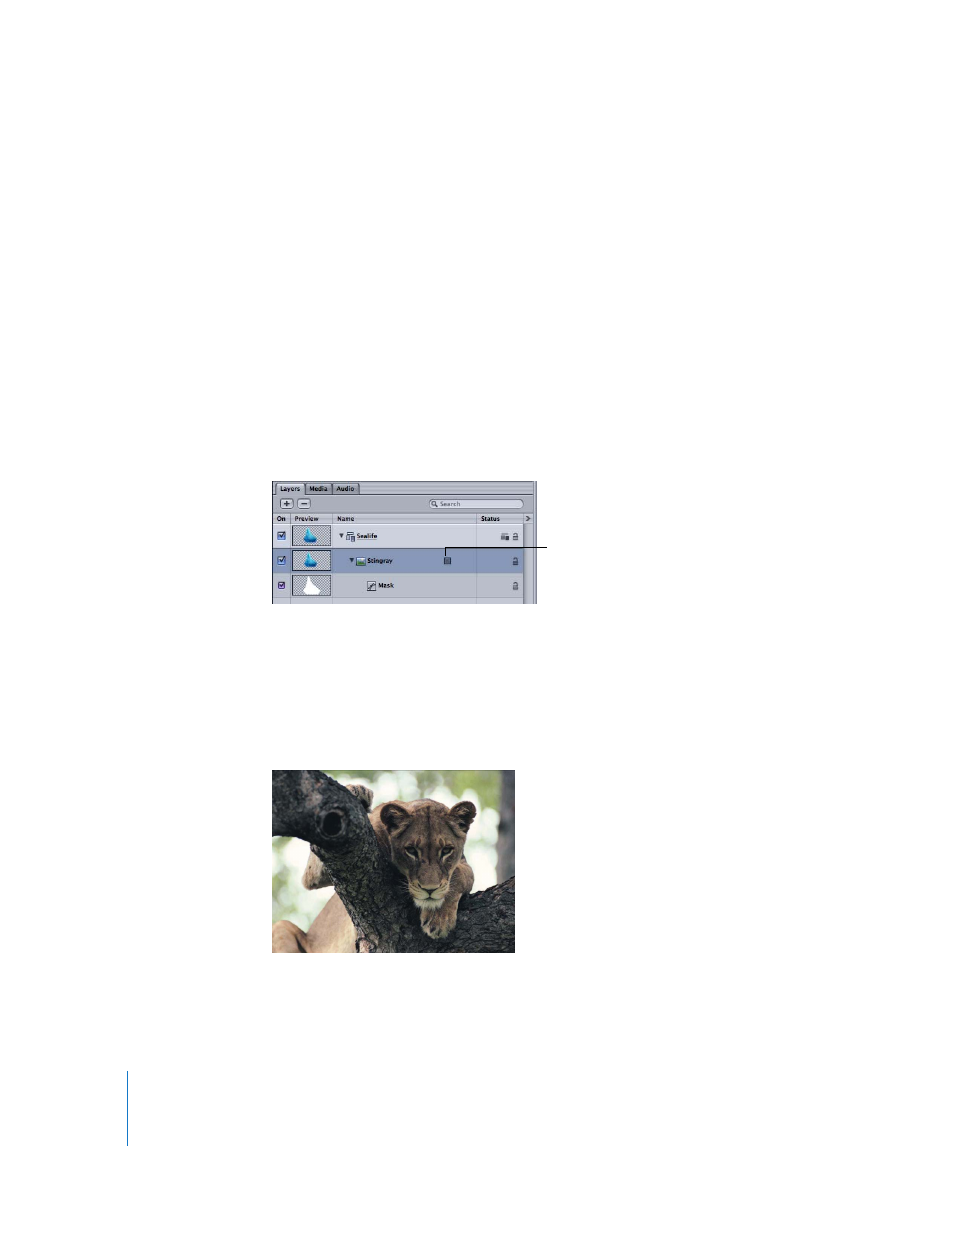
project, masks must be drawn on top of another layer in your project. Once drawn,
masks are nested within the specific layers or groups for which they were created, in
the Layers tab and Timeline. Once a mask is attached to a layer, a Masks icon appears to
the right of the name of the layer. Toggle the mask display by clicking this icon.
Note: Masks created for one layer can be copied or moved to other layers.
Important:
When a mask is applied to a 2D or flattened 3D group, the group is
rasterized. For more information, see “
About Rasterization and Groups
To mask a layer:
1
Select a layer in the Canvas or Layers list.
Click the Masks icon to
toggle the mask.