Apple Motion 3 User Manual
Page 540
540
Chapter 6
Keyframes and Curves
This changes the value of the keyframe along the Y axis (up and down).
Note: To get out of an active value field without making any changes, press Esc.
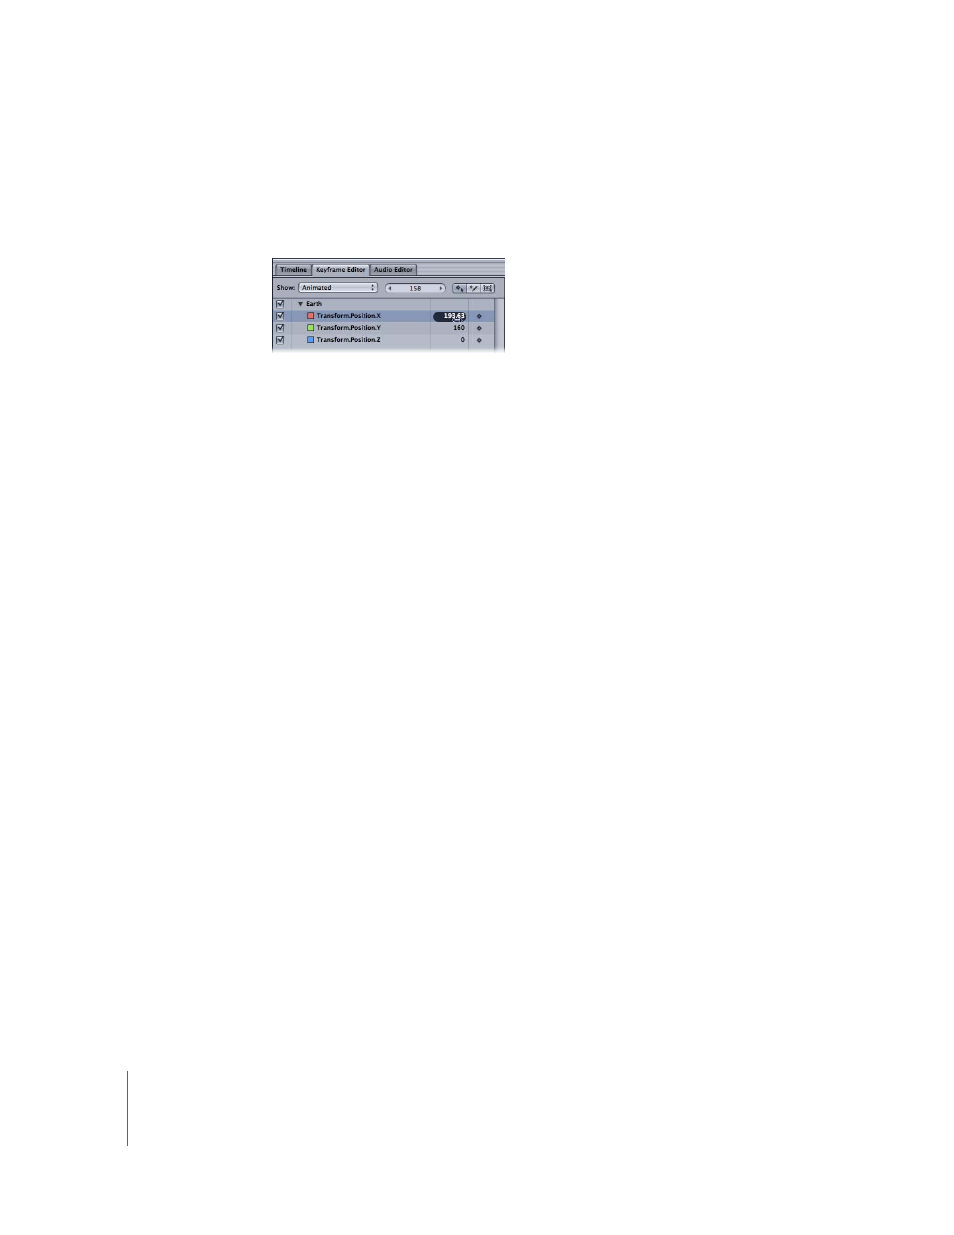
m
Drag in the value slider in the parameter list.
 Drag to the right to increase the value of the keyframe along the Y axis.
 Drag to the left to decrease the value of the keyframe along the Y axis.
 Press Shift while dragging to change the value in increments of 10.
 Press Option while dragging to change the value in increments of .01.
In addition to modifying existing keyframes, you can add and delete keyframes right in
the graph.
To add a keyframe:
1
Press the Option key and move the pointer over the parameter curve you want to
modify.
The pointer turns into a plus (+).
2
Click the curve at the frame where you want the keyframe to appear.
3
Drag the keyframe to your preferred value.
Note: You can also add a keyframe at the current playhead position by choosing Add
Keyframe from the Animation menu for any parameter, or by double-clicking the curve.
Curves created when new keyframes are added are set to the Bezier interpolation
method. For more information on interpolation methods, see “
To delete a keyframe, do one of the following:
m
Select the keyframe, then press Delete.
Note: You can drag to select multiple keyframes.
m
Control-click the keyframe, then choose Delete from the shortcut menu.
m
Navigate to the keyframe, then choose Delete Keyframe from the Animation menu for
that parameter.
To delete all of the keyframes for a parameter:
m
Click the Animation menu in the parameter list, then choose Reset Parameter.
Note: You can also use the Animation menu in the Inspector.