Apple Motion 3 User Manual
Page 94
94
Chapter 1
Getting to Know Motion
m
Choose View > Zoom Time View > To Project.
Note: An object must be selected in the Timeline layers list in order to access the Zoom
Time View items in the View menu.
m
Control-click the ruler, then choose Zoom to Project from the shortcut menu.
To zoom the Timeline to fit the play range, do one of the following:
m
Click the Zoom Time View button to the right of the ruler.
m
Choose View > Zoom Time View > To Play Range.
Note: An object must be selected in the Timeline layers list in order to access the Zoom
Time View options in the View menu.
m
Control-click the ruler, then choose Zoom to Play Range from the shortcut menu.
The Zoom Time View button toggles between the Zoom to Play Range and Zoom to
Project settings. If no play range is established, choosing Zoom to Play Range performs
a Zoom to Project.
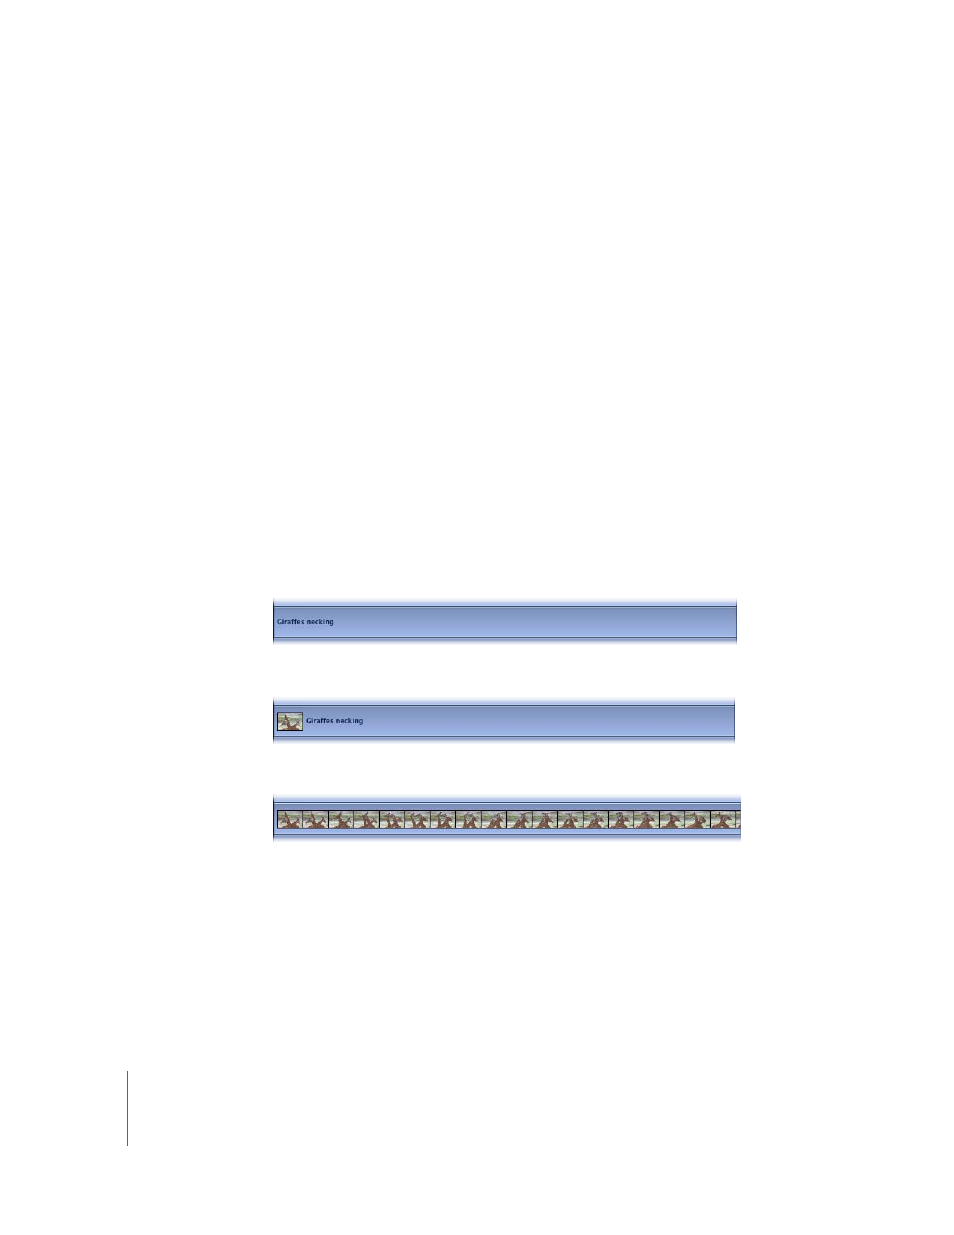
Changing the Track Display
The tracks in Motion can be displayed in a variety of ways to satisfy different working
styles. You can set your tracks to be viewed as Name Only, Name Plus Thumbnail, and
Filmstrip.
To change the Timeline track display:
1
Choose Motion > Preferences (or press Command-comma) to open Motion Preferences.
2
Click the Appearance icon to open the Appearance pane.
Name
Name Plus Thumbnail (default)
Filmstrip