Timeline view options – Apple Motion 3 User Manual
Page 328
328
Chapter 4
Using the Timeline
Timeline View Options
The lower-left corner of the Timeline contains several controls to customize what
elements appear in the Timeline.
Audio tracks are displayed in a separate partition in the Timeline. You can resize the
partitions by dragging the divider for each partition.
Zooming in the Timeline
You can zoom in and out in the Timeline using either the Zoom/Scroll control or the
zoom slider. Each lets you zoom in and out of the Timeline horizontally, showing more
or less time in the Timeline window. As you zoom in, you can see greater detail, which
lets you place objects with greater precision. As you move the zoom slider, the Timeline
remains centered on your current frame.
Button
Button name
Function
Show/Hide Layers
Displays all groups, layers, and objects. Audio tracks must
be displayed for this switch to have any effect.
Show/Hide Audio
Displays audio tracks. The waveforms appear on the
audio tracks. If the audio file has an applied Audio
behavior, the purple bar appears underneath the audio
track.
Note: When an audio file with an applied Audio
behavior is displayed in the Timeline, the Audio behavior
appears below the audio track that it modifies.
Show/Hide
Keyframes
Displays keyframes for all tracks. Keyframes appear as
blue diamonds (white when selected).
Show/Hide Masks
Displays mask tracks for objects that have masks applied.
Show/Hide
Behaviors
Displays behavior tracks for objects that have behaviors
applied.
Show/Hide Filters
Displays filter tracks for objects that have filters applied.
Set Timeline Row
Size
Click one of the “Set timeline row size” buttons to select
a track size.
To manually resize tracks, position the pointer over a row
separator line and drag up or down.
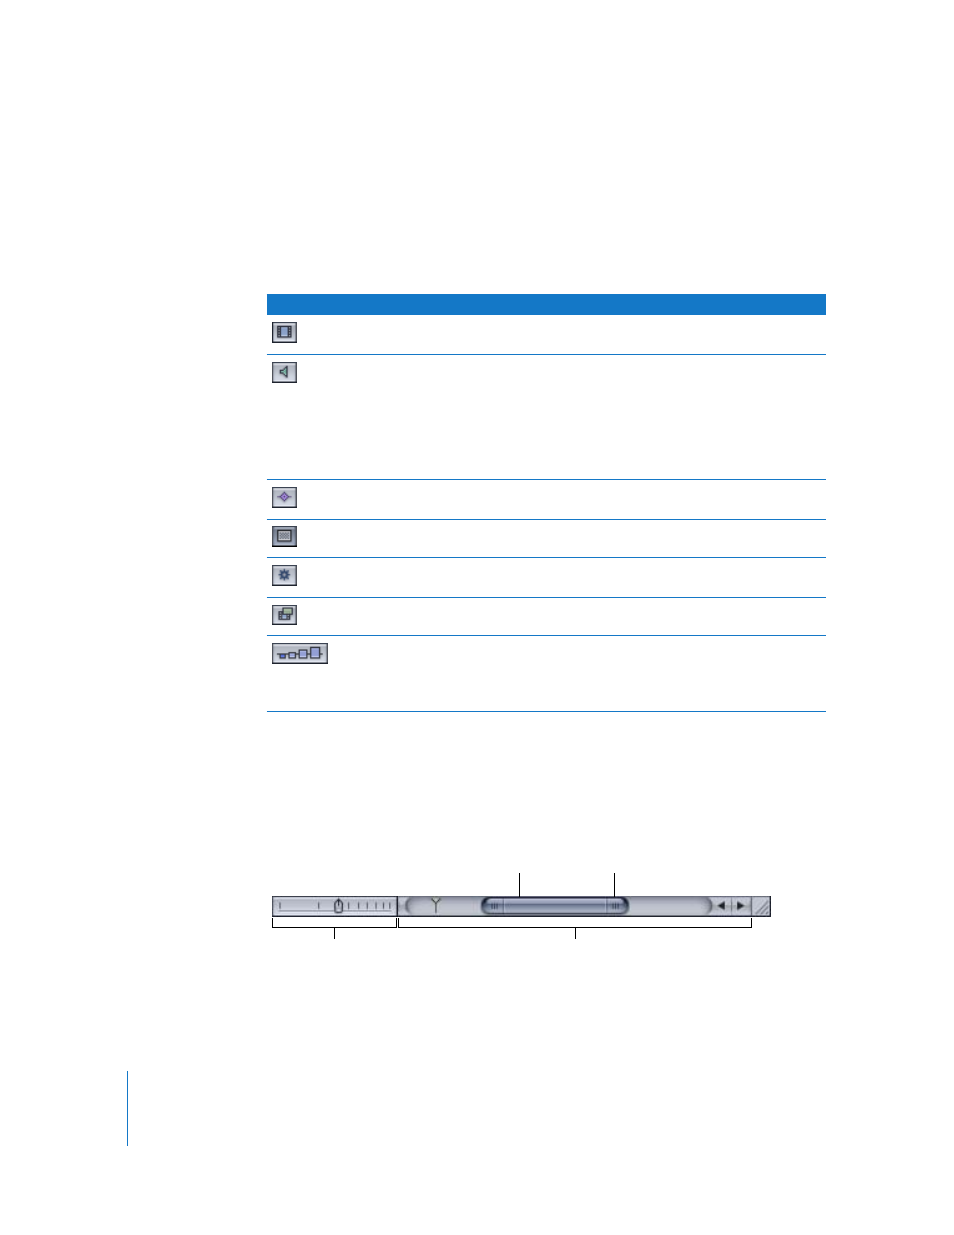
Zoom slider
Zoom/Scroll control
Scroller
Handle