Check your selection – Apple Motion 3 User Manual
Page 527
Chapter 6
Keyframes and Curves
527
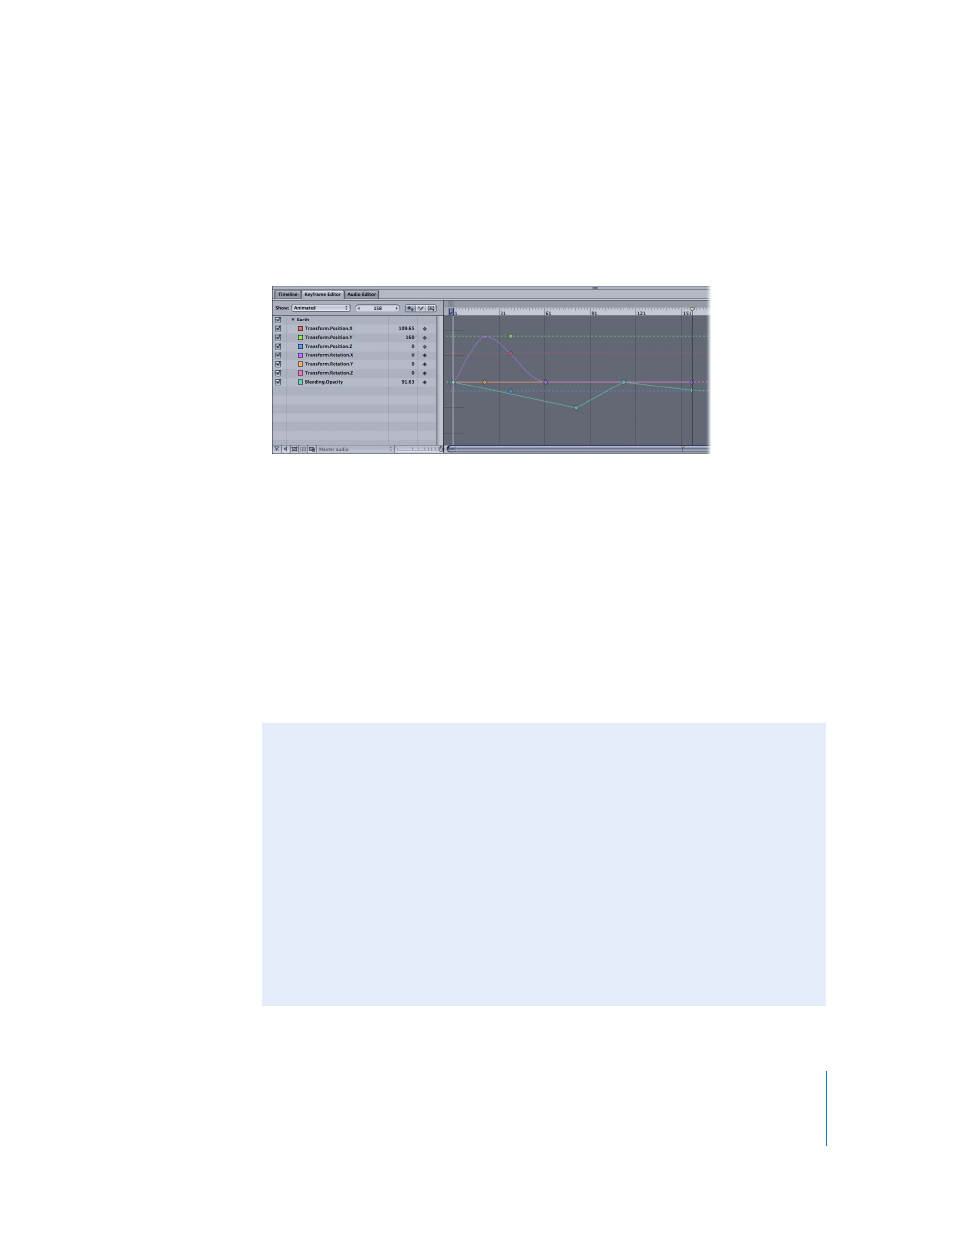
Viewing the curves for your animated parameters gives you another way to understand
how your effect is changing over time. The curves are laid out over a graph where you
can compare the curves of different parameters. As you get more familiar with
“reading” the graphs, you will learn how and why certain effects feel organic or
synthetic.
In the Keyframe Editor you can add and delete keyframes, as well as move them in two-
dimensional space to modify their values (up-down) and their positions in time (left-
right). You can also directly manipulate the curves themselves with the tools Motion
provides. Furthermore, you can define a variety of interpolation methods, creating
dramatically different types of effects. You can also apply Parameter behaviors directly
to curves in the Keyframe Editor by Control-clicking the curve name and choosing a
Parameter behavior from the shortcut menu. For more information about Parameter
behaviors, see “
For example, in the real world, when objects move, they observe rules of physics, such
as inertia and momentum. Motion’s Keyframe Editor allows you to simulate these sorts
of effects in your motion graphics.
Check Your Selection
The parameters that are available in the Keyframe Editor depend on which objects
are selected in the other windows. If you select one item in the Layers tab, Canvas, or
Timeline windows, only parameters for that object are accessible in the Keyframe
Editor.
If you want to compare curves from parameters across multiple objects (for example
to make two separate objects begin fading in at the same time), you must select both
items in the Layers tab or in another window. Then parameters for both objects are
listed in the Keyframe Editor.
Additionally, you can modify curves on an group if it is selected instead of the objects
within it. In this way, you can view or modify keyframe activity that affects all of the
objects within the group.