Customizing a particle system emitter, Customizing a particle, System emitter – Apple Motion 3 User Manual
Page 696
696
Chapter 8
Working with Particles
Additional cells can be created by either selecting multiple sources when initially
creating the emitter, or by dragging additional source layers onto the emitter in the
Layers tab.
Note: When multiple sources are used to create a particle system, the resulting emitter
is positioned at the average of the sources’ position.
Customizing a Particle System Emitter
When you create an emitter, the particle system starts working according to the default
parameters in its Emitter and Particle Cell tabs, located in the Inspector. You can use the
Emitter HUD to easily change the most important of these parameters to suit your
needs.
To display the HUD for a particle emitter:
m
Select the emitter for which you want to display the HUD.
The HUD appears when you select the emitter. If the HUD does not appear, press F7.
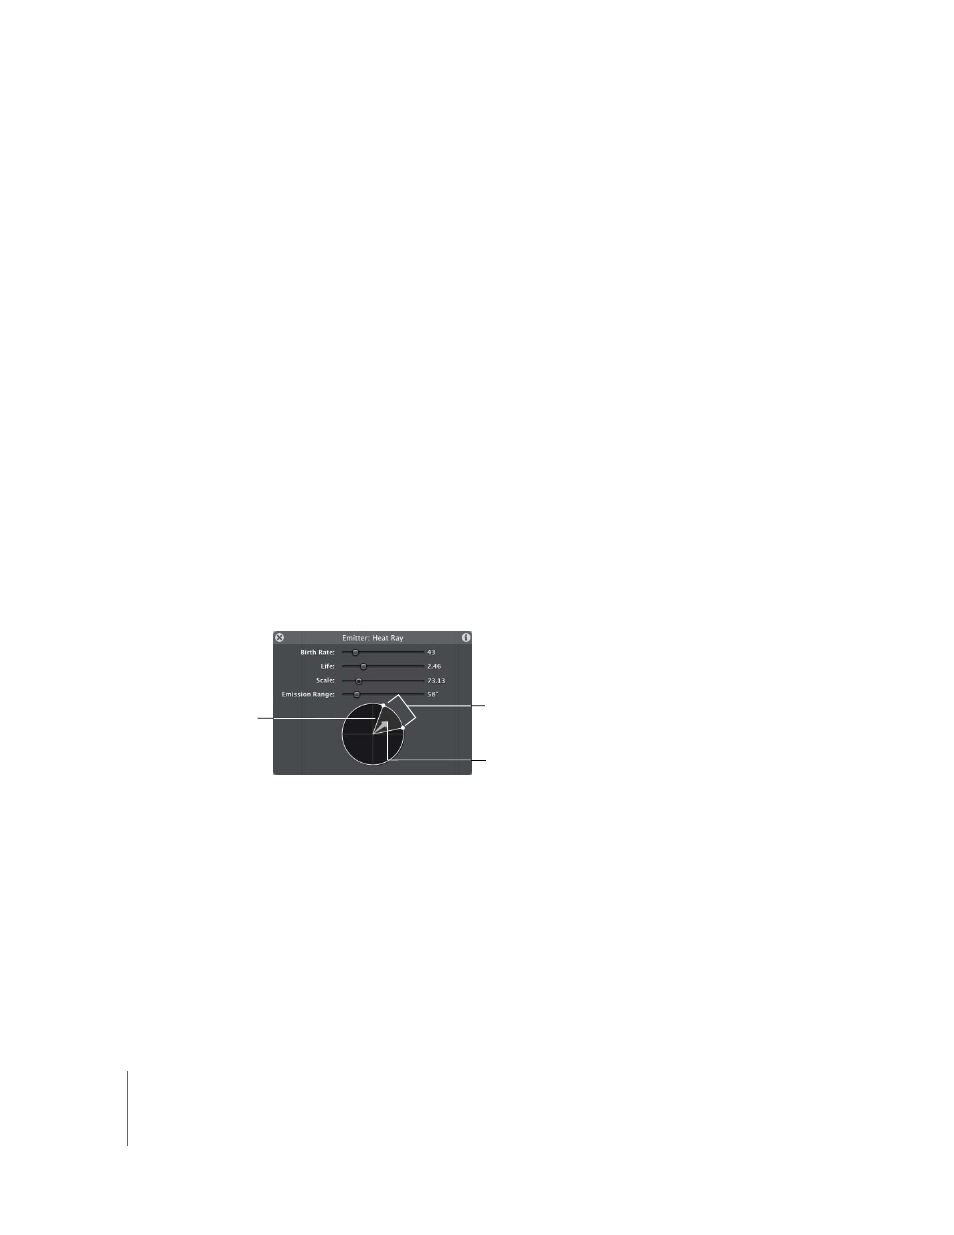
Emitter HUD Parameters
The HUD contains the most frequently used emitter controls that are necessary to
modify a particle system’s size and shape. These parameters are a subset of those found
in the Emitter tab of the Inspector. In 2D projects, the Emitter HUD contains a group of
sliders and the emission control, which provides a visual way to manipulate three
different particle system parameters—Emission Range, Emission Angle, and Speed.
Emission Angle
(angle of arrow)
Emission Range
Emission Speed (length of arrow)
2D Emitter HUD