Editing objects in the timeline, Editing, Objects in the timeline – Apple Motion 3 User Manual
Page 341
Chapter 4
Using the Timeline
341
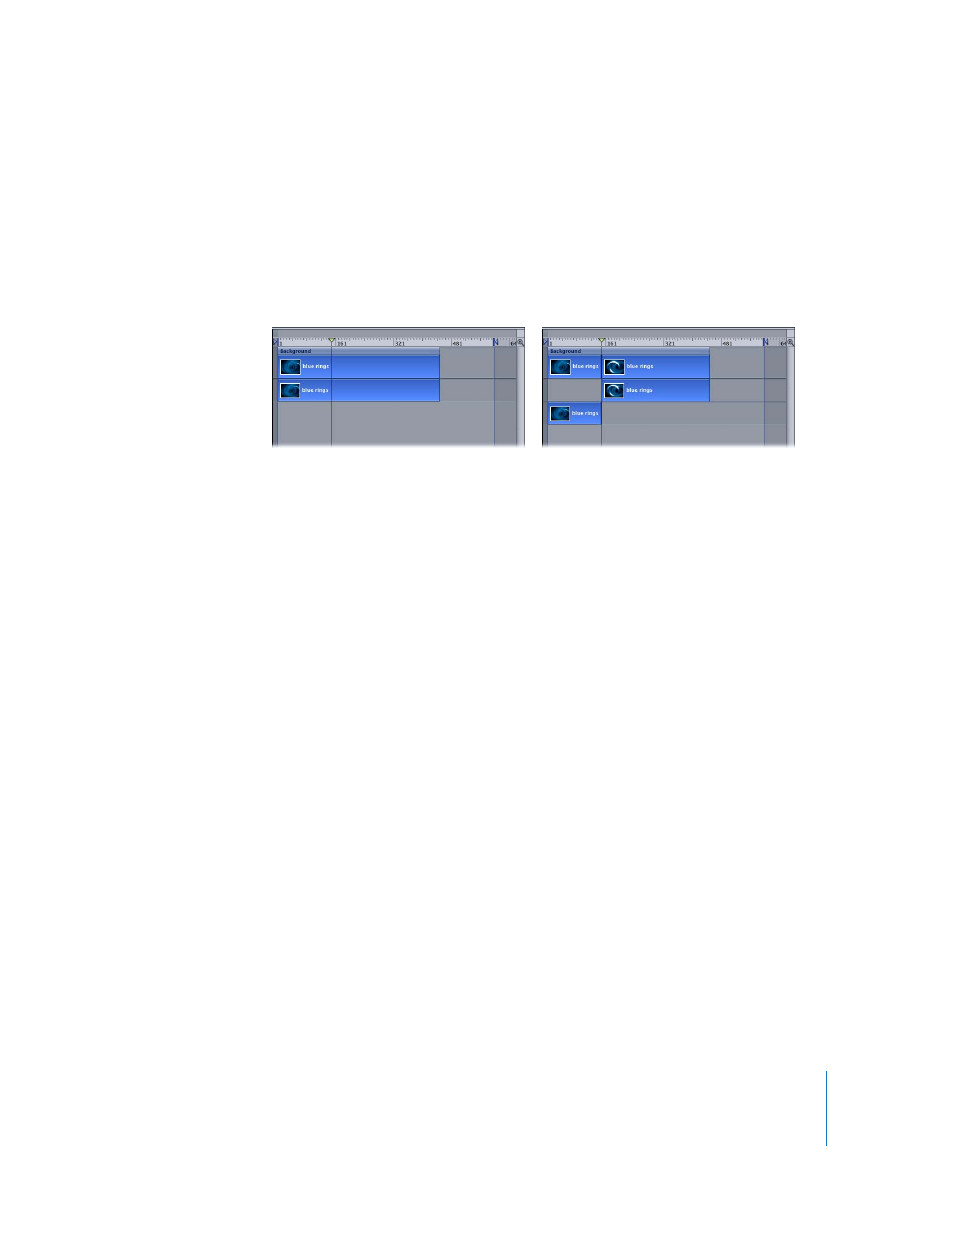
Splitting Tracks
Occasionally you may want to divide a single object into multiple objects, each in its
own Timeline track. You might do this if you want an effect to apply to one portion of a
clip but not to another part. Or you might want an object to change layer order midway
through, to create the effect that objects are moving in 3D space. When working in 3D,
you can split camera tracks as well. Splitting tracks allows you to turn one object into
multiple pieces and then manipulate each segment of the object on its own track.
To split an object track:
1
Select the object in the track area of the Timeline layers list for the object you want to
split.
2
Place the playhead on the frame where you want the split to occur.
3
Choose Edit > Split.
The object is broken into two pieces, each positioned on its own track.
Editing Objects in the Timeline
During the process of designing and implementing a motion graphics project, you
place objects in the Timeline and Canvas, move them forward or backward in time, and
trim them to match the timing of other objects in your project.
Motion has several features that help you modify the objects in the Timeline. You can
arrange your objects to begin and end at designated frames. You can also use powerful
alignment and timing tools, such as snapping and markers. You can also modify
keyframes in the Timeline. This section describes the various ways you can perform
these actions.
Motion uses the terms move, trim, and slip to describe the different ways of editing
Timeline objects.
Move: Changes the location of an object without affecting its content or duration.
Trim: Changes the duration of an object without affecting its location or content.
Slip: Changes the content of an object without affecting its location or duration.
Before
After