Canvas in 3d mode – Apple Motion 3 User Manual
Page 54
54
Chapter 1
Getting to Know Motion
To change the color of the guides:
1
Choose Motion > Preferences.
2
In the Canvas pane, click or Control-click the Guide Color well, then select a color.
3D View
This pop-up menu lets you specify how you want to view your project in the Canvas.
You can view the Canvas as a single workspace, or choose from the available window
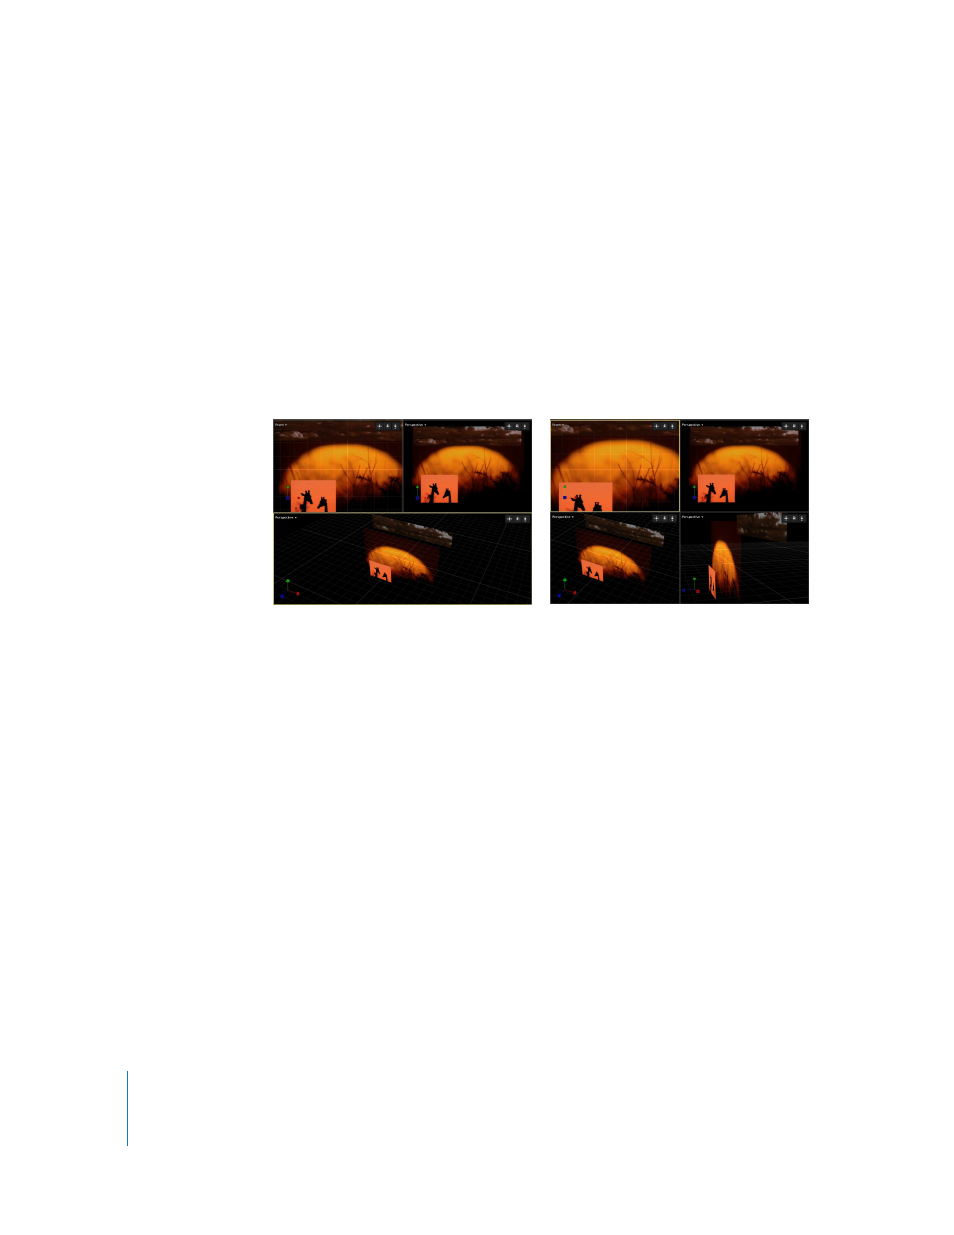
arrangements in the menu. The following examples show two of the available window
arrangements.
Note: Although the different workspace views are available for 2D projects, they are
most useful when working in 3D space.
Canvas in 3D Mode
In addition to the traditional 2D project workspace, Motion provides a 3D workspace in
which to arrange and animate objects, including groups, layers, cameras, and lights.
When you switch to 3D mode, additional controls become available in the Canvas that
reflect the new environment. A small set of 3D View tools appears in the upper-right
corner of the Canvas window, and a 3D Compass appears in the lower-left corner. The
upper-left corner of the Canvas contains the Camera menu, where you can choose
which camera to use to view your project in 3D space.
Note: You must add at least one camera to your project to create a 3D workspace.
To add a camera to your project:
1
Click the New Camera icon in the Toolbar.
A dialog appears that prompts you to switch your 2D groups to 3D groups.
2
Click Switch to 3D to add a camera and create a 3D project.
Note: If you click Keep as 2D, a camera is added to your project and all groups remain
2D groups.
Two top windows; one lower window arrangement
Four windows arrangement