Apple Motion 3 User Manual
Page 349
Chapter 4
Using the Timeline
349
To display keyframes in the Timeline:
m
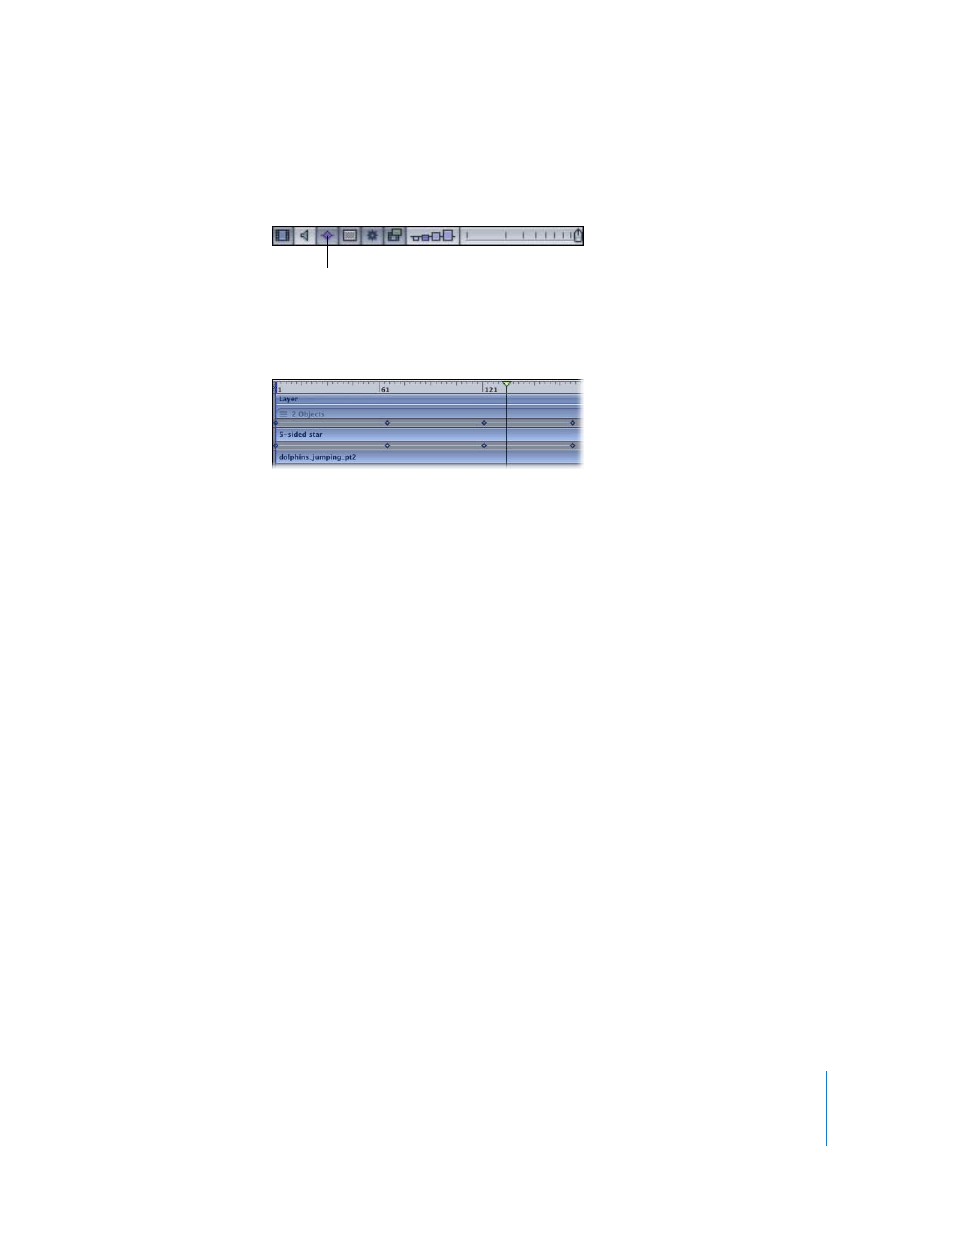
At the bottom of the Timeline layers list, click the Show/Hide Keyframes button.
When the button appears dark gray, it is enabled. The keyframes appear below the
object tracks. In the following image, the “5-sided star” object has three keyframes. The
keyframes appear in the track below the object.
To move a keyframe’s position in time:
m
Drag the keyframe to the left or right. When selected, the keyframe appears white.
Moving the keyframe in the Timeline only modifies its position in time. To directly
modify the value of a keyframe, do one of the following:
 Control-click the keyframe, choose the property you want to adjust from the shortcut
menu, enter a new value, and press Return.
 Use the Keyframe Editor. This allows you to change the value and interpolation of the
keyframe. For more information on the Keyframe Editor, see “
To delete a keyframe or group of selected keyframes:
m
Select the keyframe or keyframes that you want to delete, and do one of the following:
 Press Delete.
 Control-click one of the selected keyframes, then choose Delete Keyframes from the
shortcut menu.
To delete all keyframes:
m
Control-click a keyframe, then choose Delete All Keyframes from the shortcut menu.
To display an animation curve in the Keyframe Editor:
m
Control-click a keyframe on the track, then choose Show in Keyframe Editor from the
shortcut menu.
The Keyframe Editor is displayed, the animation curve appears, and a new, untitled
curve set is created. For more information on curve sets, see “
Show/Hide Keyframes button