Apple Motion 3 User Manual
Page 337
Chapter 4
Using the Timeline
337
To replace an object in an existing group:
1
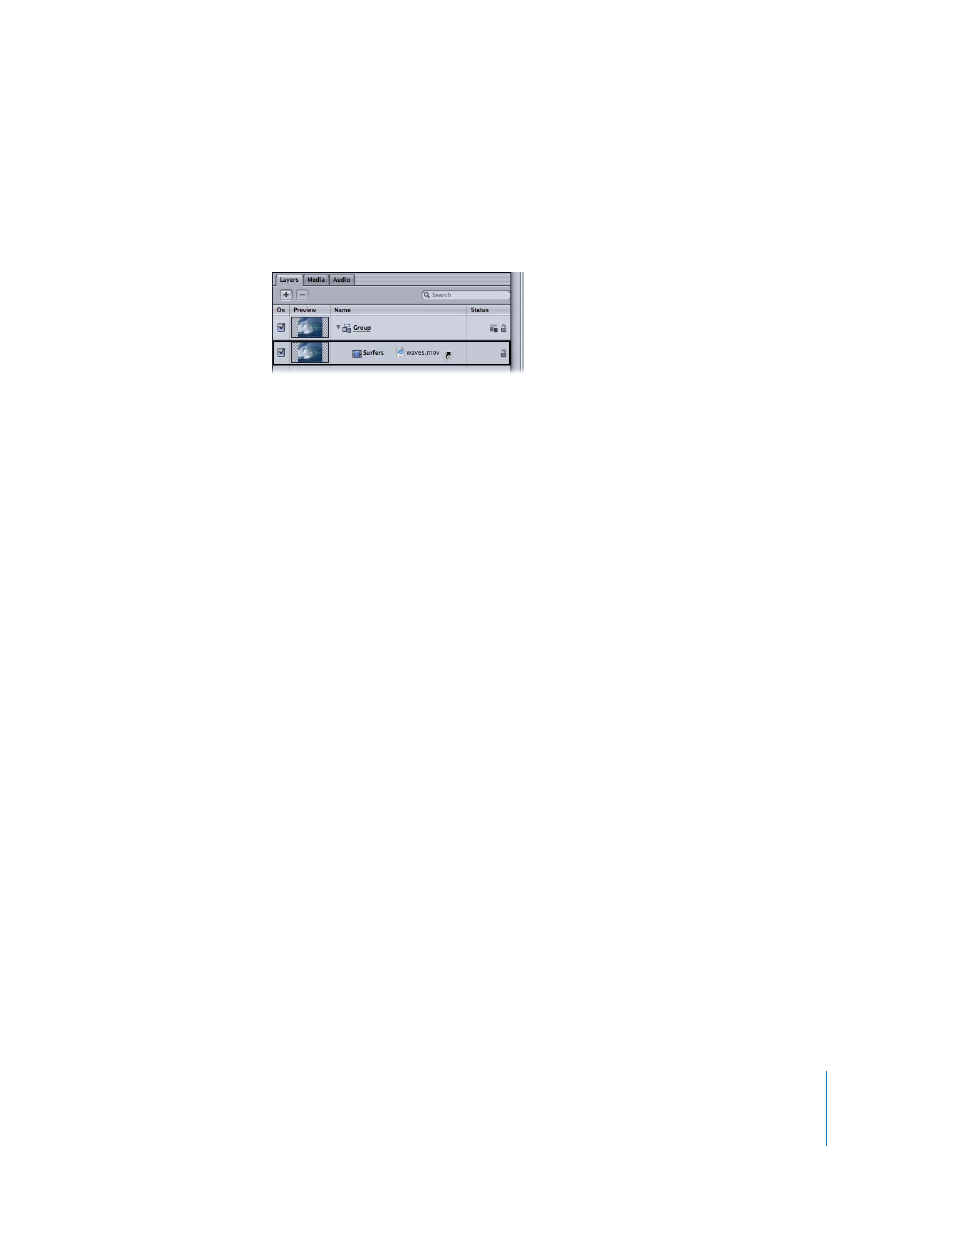
Drag an object from the File Browser, Library, or Media tab, and position the pointer
over the object that you want to replace.
A black highlight box appears around the object.
Note: The replace command can be used only for image, image sequence, and
QuickTime movie files.
2
Release the mouse button.
The new object replaces the old one.
To create a new group on top of existing groups:
1
Drag an object from the File Browser, Library, or Media tab into the Timeline layers list,
at the upper edge of the top object.
2
When the position indicator appears, release the mouse button.
A new group is created on top of other existing groups in the hierarchy or “stack” of
groups and layers.
To create a new group below existing groups:
1
Drag an object from the File Browser, Library, or Media tab into the Timeline layers list,
below the lower edge of the bottom object.
Note: There are two different position indicators: The shorter indicator places the
object in the existing group. While holding down the mouse button, move slightly to
the left until a longer indicator appears. This indicator creates a new group.
2
Release the mouse button.
A new group is created below other existing groups in the hierarchy or “stack” of
groups and objects.
Managing Track Order
The Timeline layers list provides you with the tools to control object order. In Motion,
the topmost track in the list appears on top of other layers in the Canvas. This means
you may need to rearrange the order of objects in your project to get the effects you
want.