To insert, move, and remove guidelines manually, Snapping objects to guidelines – HP Intelligent Management Center Standard Software Platform User Manual
Page 318
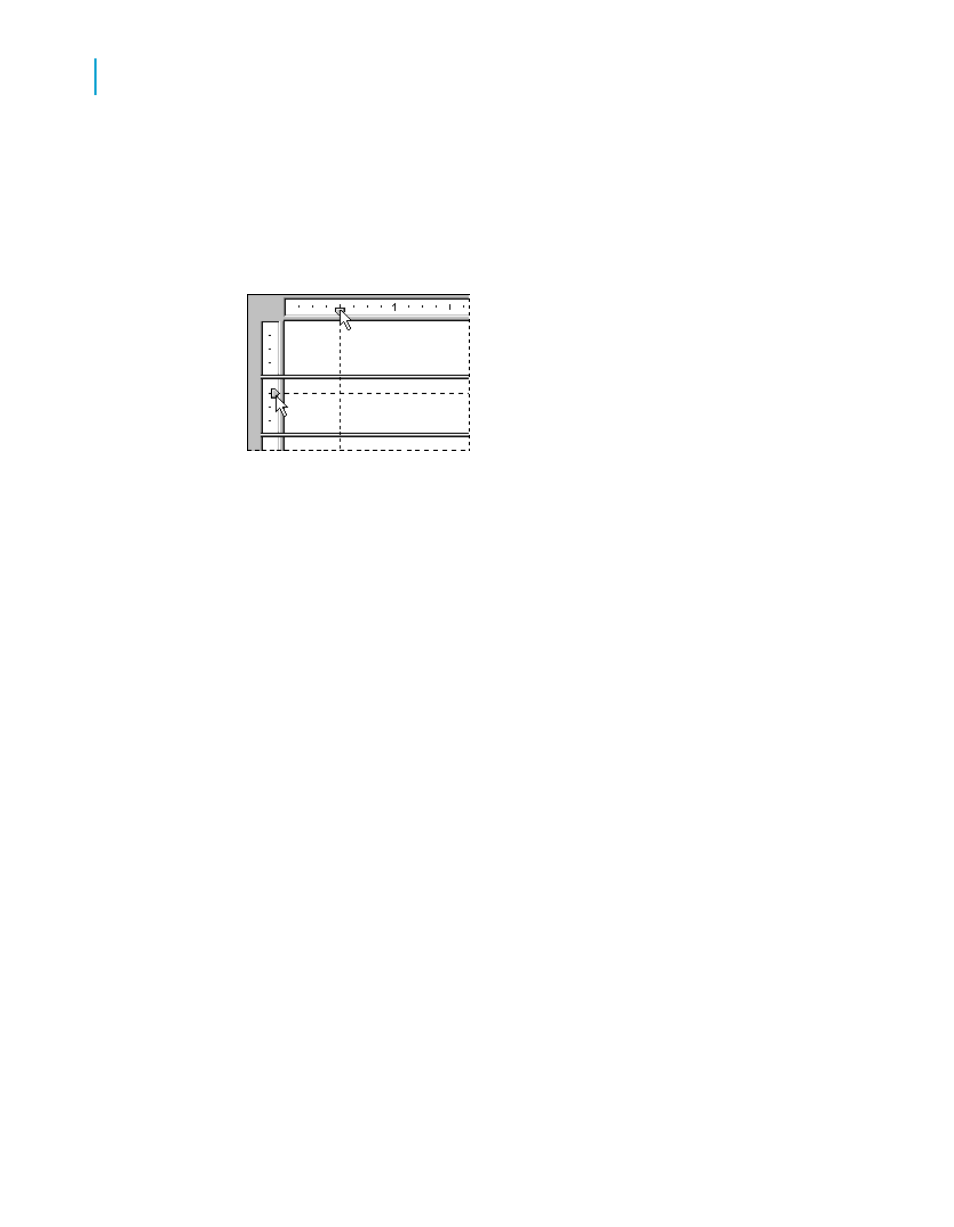
To insert, move, and remove guidelines manually
1.
In the Design or Preview tab, click the ruler at the top to activate a vertical
guideline; click the ruler on the left to activate a horizontal guideline.
Notice that each guideline is attached to an arrowhead on its originating
ruler.
Note:
If guidelines don't appear, ensure that the appropriate Guideline option
is selected on the View menu. On the Preview tab, you must select an
object to see a guideline.
2.
To position a guideline, drag its arrowhead along the ruler to the desired
location.
3.
To delete a guideline, drag its arrowhead away from the ruler.
Note:
If you select the Snap To Grid option, you can only insert or move guidelines
in grid increments.
Snapping objects to guidelines
To snap an object to a guideline, drag the report object onto the guideline
until the object's edge sits atop the guideline. Snapping enables you not only
to align report objects accurately, but also to re-position and re-size multiple
objects together. Once several objects are snapped to a guideline, you can
move all the objects by moving the guideline.
You can snap either the top or the bottom of an object to a horizontal
guideline.
318
Crystal Reports 2008 SP3 User's Guide
Formatting
13
Using the Report Design Environment