About emulsion and image exposure, Specify emulsion, Specify the image exposure – Adobe InDesign CS5 User Manual
Page 652: Checking separation and document settings

646
USING INDESIGN
Color separations
Last updated 11/16/2011
About emulsion and image exposure
Depending on the type of printing press used and how information is transferred from the film to the printing plates,
you may need to give your service provider film negatives or positives, with emulsion side up or down. Emulsion refers
to the photosensitive layer on a piece of film or paper. Typically, print service providers require negative film in the
United States and positive film in Europe and Japan. Check with your service provider to determine which emulsion
direction they prefer.
To tell whether you are looking at the emulsion side or the nonemulsion side (also referred to as the base), examine
the final film under a good light. One side appears shinier than the other. The dull side is the emulsion side; the shiny
side is the base.
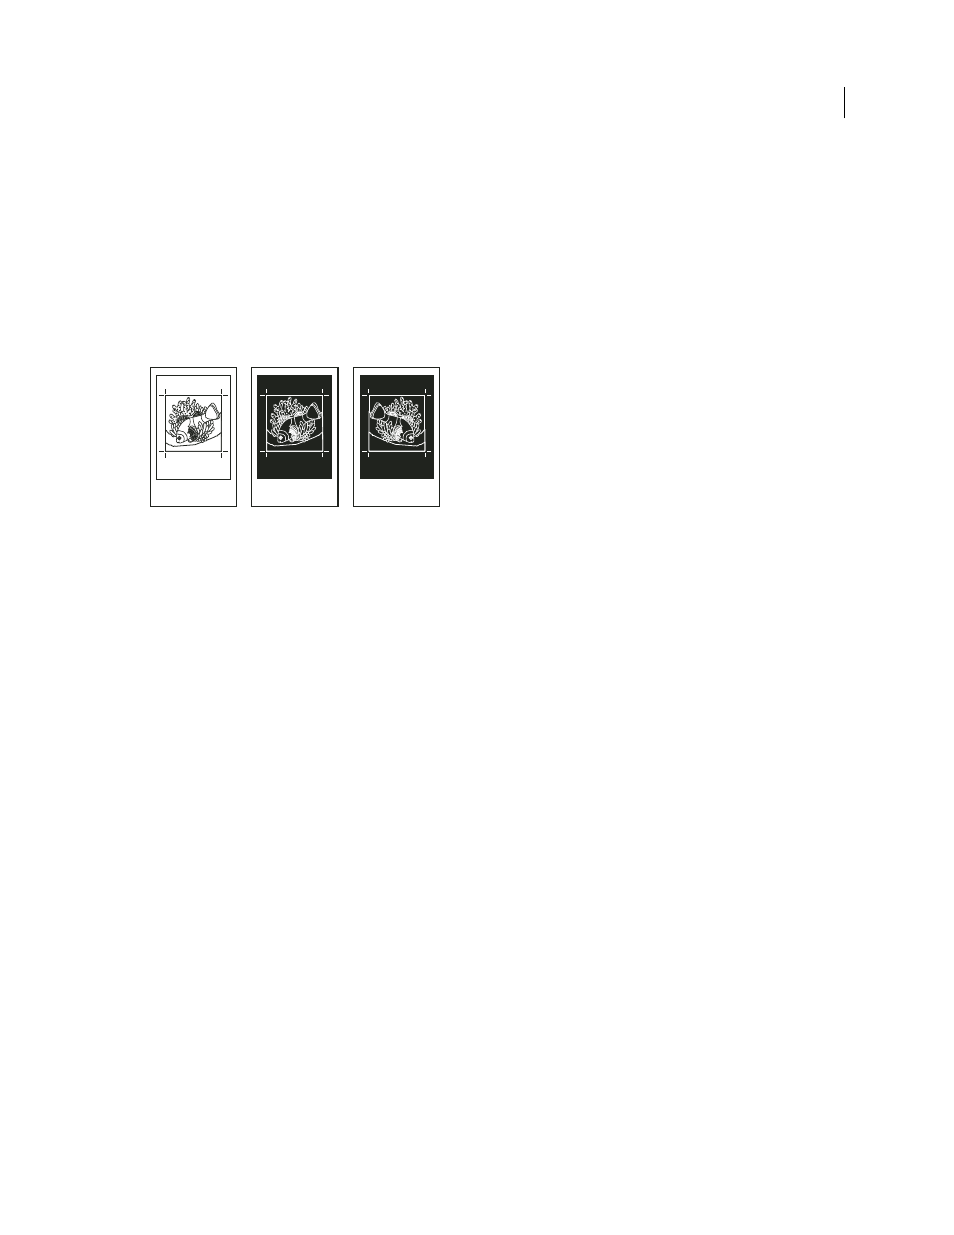
Emulsion options
A. Positive image B. Negative C. Negative with emulsion side down
Important: The emulsion and image exposure settings in the Print dialog box override any conflicting settings in the
printer driver. Always specify print settings using the Print dialog box.
Specify emulsion
1 In the Output section of the Print dialog box, for Color, choose Composite Gray or a separation option.
2 For Flip, select one of the following options:
None (the default)
Makes no changes to the orientation of the imageable area. Type in the image is readable (that is,
right reading) when the photosensitive layer is facing you.
Horizontal
Mirrors the imageable area across a vertical axis so that it is wrong reading.
Vertical
Mirrors the imageable area across a horizontal axis so that it is upside down.
Horizontal & Vertical
Mirrors the imageable area across the horizontal and vertical axes so that it is wrong reading.
Type is readable when the photosensitive layer is facing away from you. Images printed on film are often printed
Horizontal & Vertical.
Specify the image exposure
1 In the Output section of the Print dialog box, for Color, choose Composite Gray or a separation option.
2 Select or deselect the Negative option.
Checking separation and document settings
The Summary area of the Print dialog box displays a summary of color management information, printer’s marks
dimensions, and bleeds for the document. The section also indicates whether trapping has been enabled.
You can also perform a quality check before printing or handing off the document to a service provider.
A
B
C
