Return to normal view, Overprinting, About overprinting – Adobe InDesign CS5 User Manual
Page 645
639
USING INDESIGN
Color separations
Last updated 11/16/2011
Areas that exceed the specified ink coverage limit are shown in red.
4 To check ink coverage for a specific area, use the pointer to hover over that area in the document window. Ink
coverage percentages appear in the panel next to each ink name.
You can adjust ink coverage by converting some spot colors to process colors. To adjust ink coverage in placed graphics,
edit the graphics in their source applications.
Return to normal view
1 Choose Window
> Output > Separations Preview.
2 For View, choose Off.
Overprinting
For detailed information and instructions, click the links below.
About overprinting
If you have not changed the transparency of your artwork with the Transparency panel, the fills and strokes in the
artwork will appear opaque, because the top color knocks out, or cuts out, the area underneath. You can prevent
knockout by using the Overprint options in the Attributes panel. After you’ve set your overprint options, you can
preview the overprinting effects on-screen.
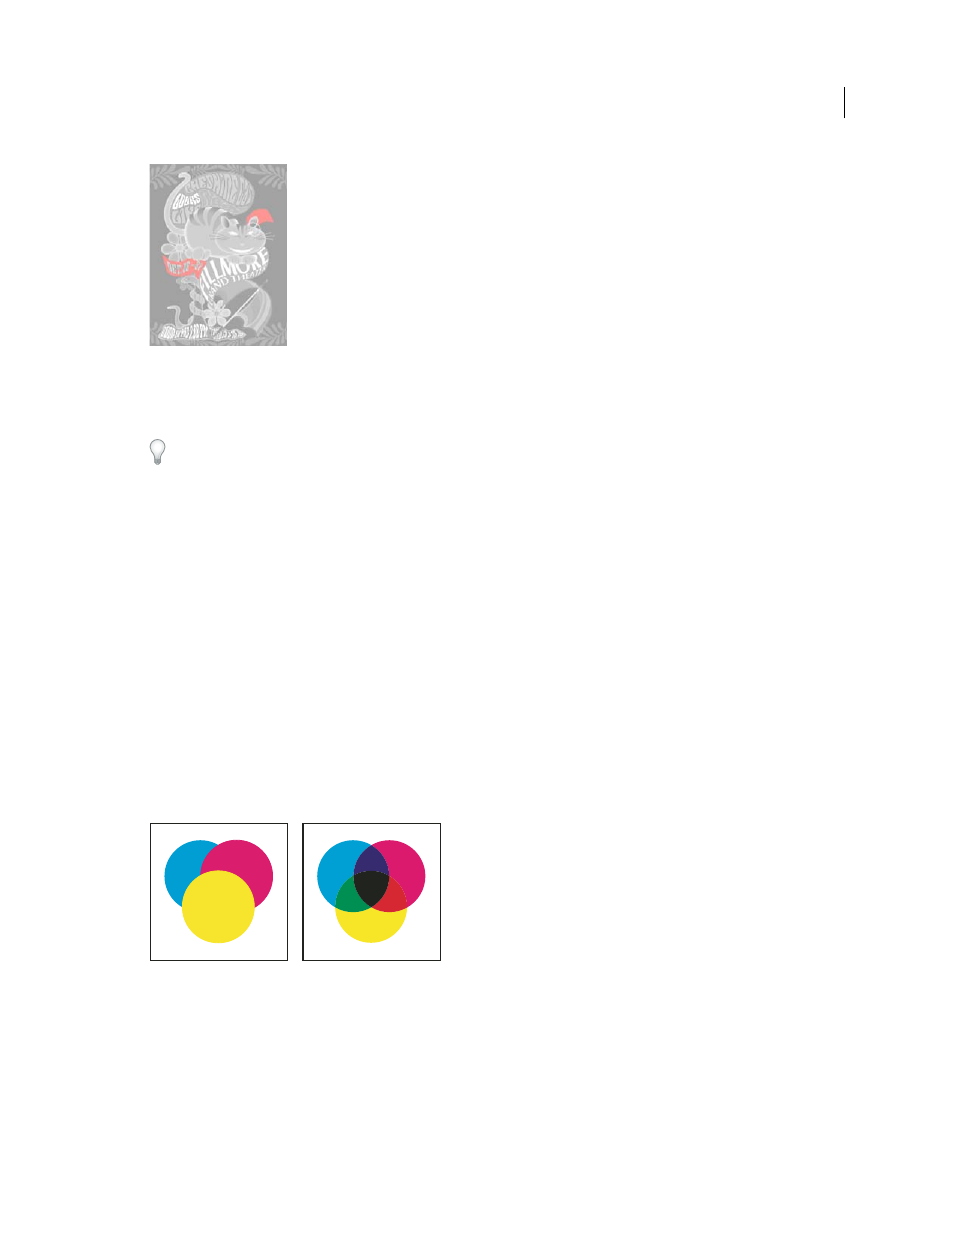
Three overlapping circles without overprinting (left) compared to three overlapping circles with overprinting (right)
InDesign also has overprint simulation, which is useful for simulating the effects of overprinting spot and process inks
on a composite printing device.
Black ink applied to text or native InDesign objects is overprinted by default to prevent misregistration of small black-
type characters positioned over color areas, or of color areas outlined with black lines. You can change black ink
settings using Appearance Of Black preferences.