Create button hot spots, Display a hidden image on rollover, Display a different button on rollover – Adobe InDesign CS5 User Manual
Page 571: Create, Button hot spots, Display a different button on, Rollover
565
USING INDESIGN
Interactive documents
Last updated 11/16/2011
•
To duplicate a state, select a state to base the new state on, and choose New State from the panel menu. Add,
remove, or edit the content of that state.
•
To paste objects into an existing state, cut or copy one or more objects, select the multi-state object, select the
state in the Object States panel, and choose Paste Into State from the Object States panel menu.
•
To convert a multi-state object back to a set of independent objects, select the state in the Object States panel
and choose Release State To Object from the panel menu. To convert all states in the multi-state object to
objects, choose Release All States To Objects.
•
To delete a state and remove its contents, select the state and choose Delete State from the panel menu.
•
To hide the multi-state object in the exported file until it’s triggered by a button, choose Hide Until Triggered
from the panel menu.
•
To reset all multi-state objects in the document to the first state, choose Reset All Multi-State Objects To First
State from the panel menu. When you select a state, the object remains in that state, even if you close and reopen
the document. This option is a quick way to reset all the multi-state objects.
Create button hot spots
In some cases, you may want the button area (called a “hot spot” or “hot link”) to be invisible until the mouse pointer
hovers over it. For example, when you move a pointer over a button on a map, an image could be displayed that
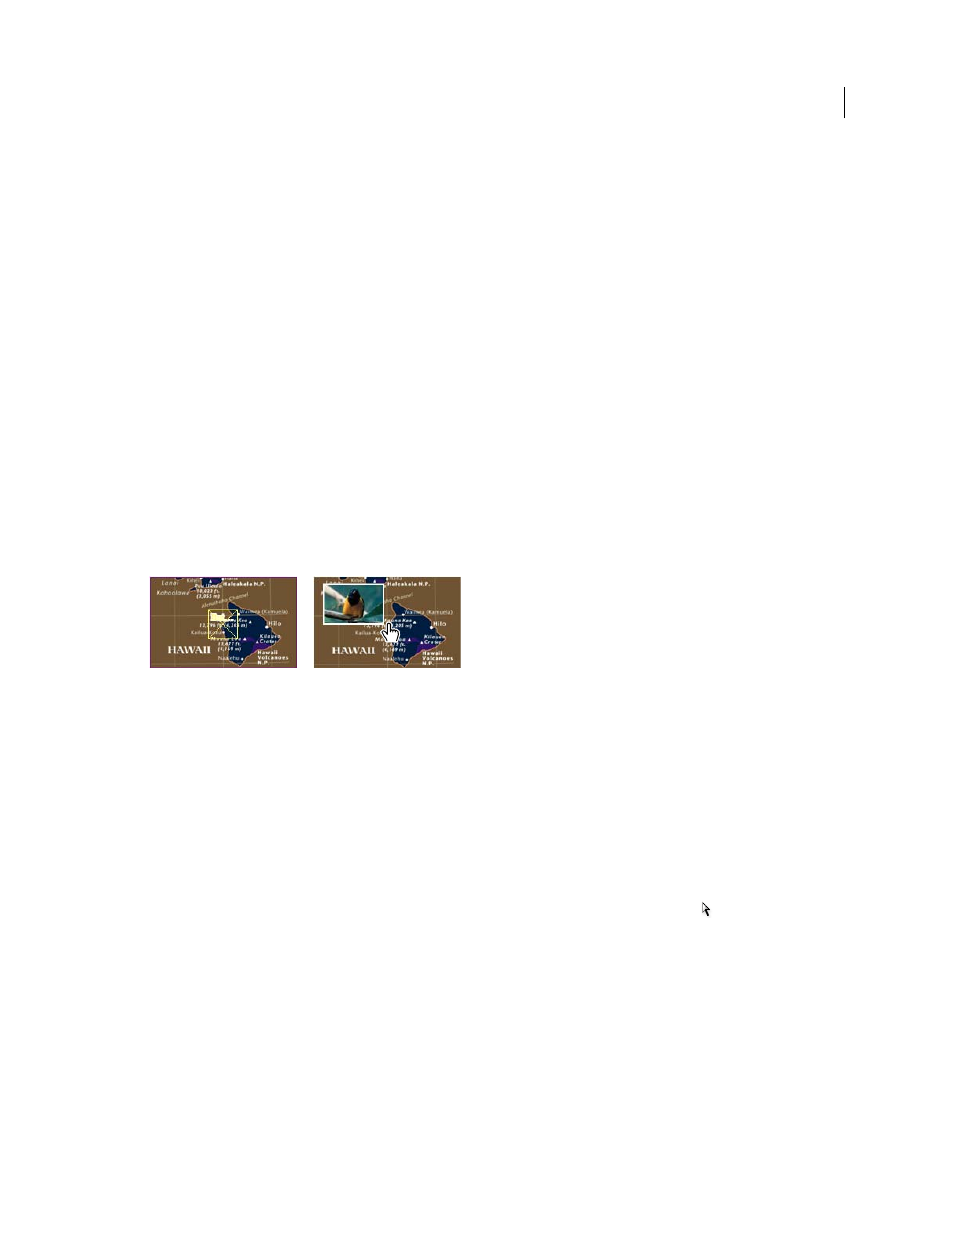
represents a region, and the image could disappear when the pointer moves away from the region.
In the exported PDF file, holding the pointer over a hot spot causes an image to appear.
Display a hidden image on rollover
One way to achieve a “hot spot” effect is to apply an image to the Rollover state in the Buttons panel. To do this, create
a button in which the [Rollover] state displays an image while the [Normal] state doesn’t display the image.
1 Select the image you want to use as a hot spot. Make sure the frame of the image does not have a border or
background.
2 In the Buttons panel (choose Window > Interactive > Buttons), click the [Normal] appearance to convert the
selected image to a button.
3 Click the [Rollover] appearance in the Buttons panel to activate it.
4 Click the [Normal] appearance again. Then select the image using the Direct Selection tool
and delete the image.
Make sure you delete the image (the contents of the frame), not the frame and contents. Deleting the frame deletes
the entire button.
5 Use the Preview panel to preview the hot spot effect.
Display a different button on rollover
You can create a hot spot in which clicking or mousing over an object displays another object. To do this, create two
buttons, hide one of the buttons, and use the Show/Hide Button action to show and hide the target button.
1 Create an object to be used as the source button. In the Buttons panel, click the Convert Object To A Button icon.
2 Place the image you want to be used as the target button, and convert it to a button.