Apply an unnamed gradient using the gradient panel – Adobe InDesign CS5 User Manual
Page 487
481
USING INDESIGN
Color
Last updated 11/16/2011
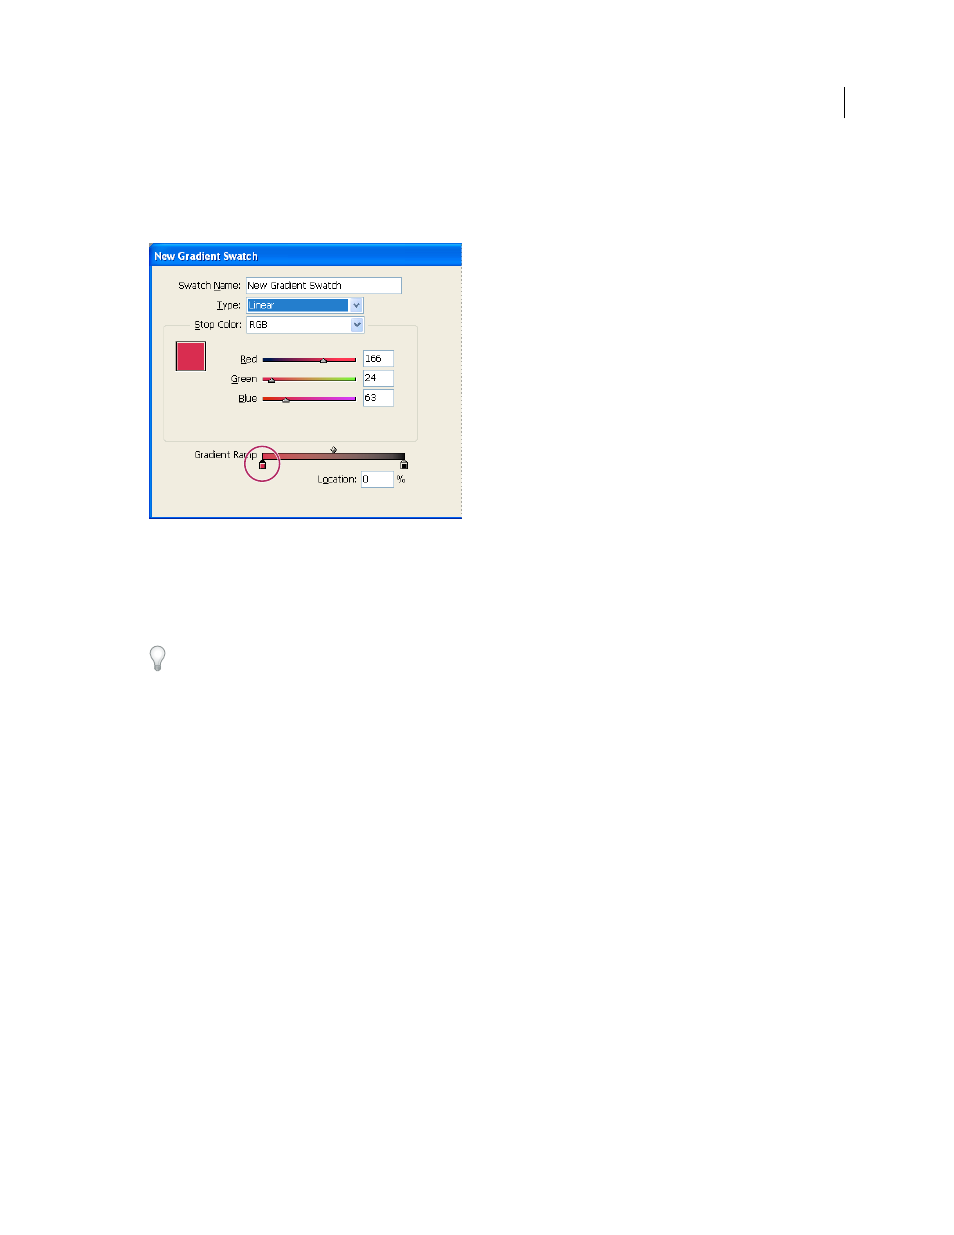
2 For Swatch Name, type a name for the gradient.
3 For Type, choose Linear or Radial.
4 Select the first color stop in the gradient.
First color stop
5 For Stop Color, do one of the following:
•
To choose a color that’s already in the Swatches panel, choose Swatches, and select a color from the list.
•
To mix a new unnamed color for the gradient, choose a color mode, and enter color values or drag the sliders.
By default, the first stop of the gradient is set to white. To make it transparent, apply the Paper swatch.
6 To change the last color in the gradient, select the last color stop, and repeat step 5.
7 To adjust the position of gradient colors, do one of the following:
•
Drag the color stops located under the bar.
•
Select a color stop under the bar, and enter a Location value to set the position of that color. This position represents
the percentage of distance between the previous color and the next color.
8 To adjust the midpoint between two gradient colors (the point at which the colors are at 50%), do one of the
following:
•
Drag the diamond icon located above the bar.
•
Select the diamond icon above the bar, and enter a Location value to set the position of that color. This position
represents the percentage of distance between the previous color and the next color.
9 Click OK or Add. The gradient is stored in the Swatches panel with its name.
Apply an unnamed gradient using the Gradient panel
Although the Swatches panel is the recommended panel for creating and storing gradients, you can also work with
gradients by using the Gradient panel (Window
> Color > Gradient), with which you may be familiar if you also use
Adobe Illustrator. You can add the current gradient to the Swatches panel at any time. The Gradient panel is useful for
creating an unnamed gradient that won’t be used often.