Distribute objects using live distribute, Grouping, locking, and duplicating objects, Group or ungroup objects – Adobe InDesign CS5 User Manual
Page 434

428
USING INDESIGN
Frames and objects
Last updated 11/16/2011
To view hints on using the Gap tool, select the Gap tool and open the Tool Hints panel (Window > Utilities > Tool
Hints).
Distribute objects using Live Distribute
When transforming multiple selected objects, you can resize the space between the selected objects proportionally
instead of resizing the actual objects. For example, if you want to change the spacing between five aligned rectangles,
you can do so without using any Distribute commands.
For a video on using Live Distribute, see
.
1 Select the objects.
2 Start dragging a selection handle and hold down the Spacebar while dragging. Continue dragging to change the
spacing between the objects.
Grouping, locking, and duplicating objects
Group or ungroup objects
You can combine several objects into a group so that they are treated as a single unit. You can then move or transform
the objects without affecting their individual positions or attributes. For example, you might group the objects in a logo
design so that you can move and scale the logo as one unit.
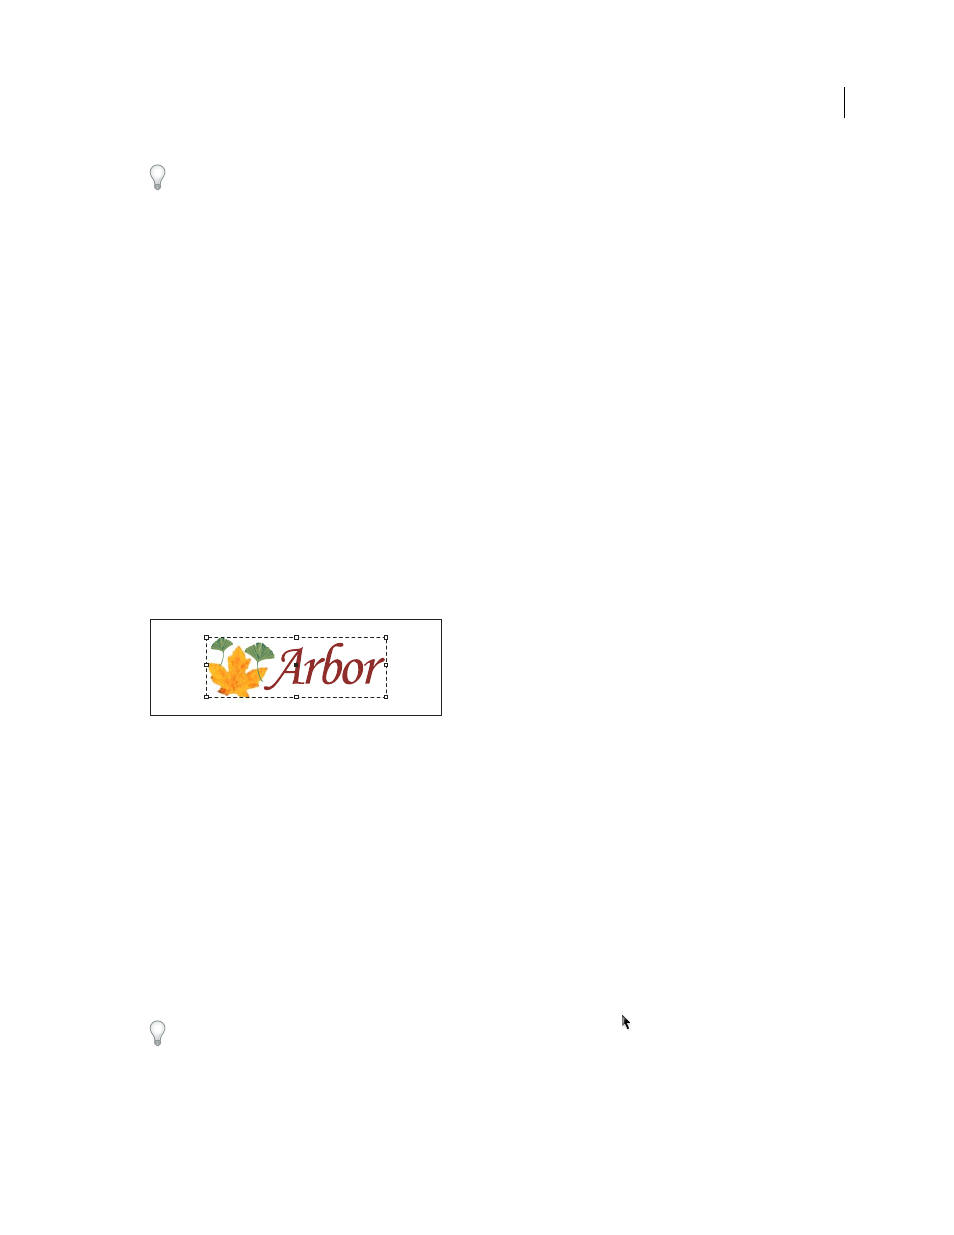
Grouped object
Groups can also be nested—grouped into subgroups within larger groups. Use the Selection, Direct Selection, and
Group Selection tools to select different levels of a nested group’s hierarchy.
If you’re working with a stack of overlapping objects, and you group some objects that aren’t adjacent in the stacking
order, the selected objects will be pulled together in the stacking order, right behind the frontmost selected object. (For
example, when objects are stacked as A, B, C, D from front to back, and you group B and D together, the stacking order
becomes A, B, D, C.) If you group objects that exist on different named layers, all of the objects move to the frontmost
layer on which you selected an object. Also, the objects you select must either be all locked or all unlocked.
1 Select multiple objects to be grouped or ungrouped. Selecting part of an object (for example, an anchor point) will
group the entire object.
2 Choose either Object > Group or Object > Ungroup.
You can also use the Layers panel to add or remove objects from a group. See “
If you’re not sure if an object is part of a group, select it using the Selection tool and look at the Object menu. If the
Object > Ungroup command is available, you’ve selected a group.
