Specify paper size and orientation – Adobe InDesign CS5 User Manual
Page 607
601
USING INDESIGN
Printing
Last updated 11/16/2011
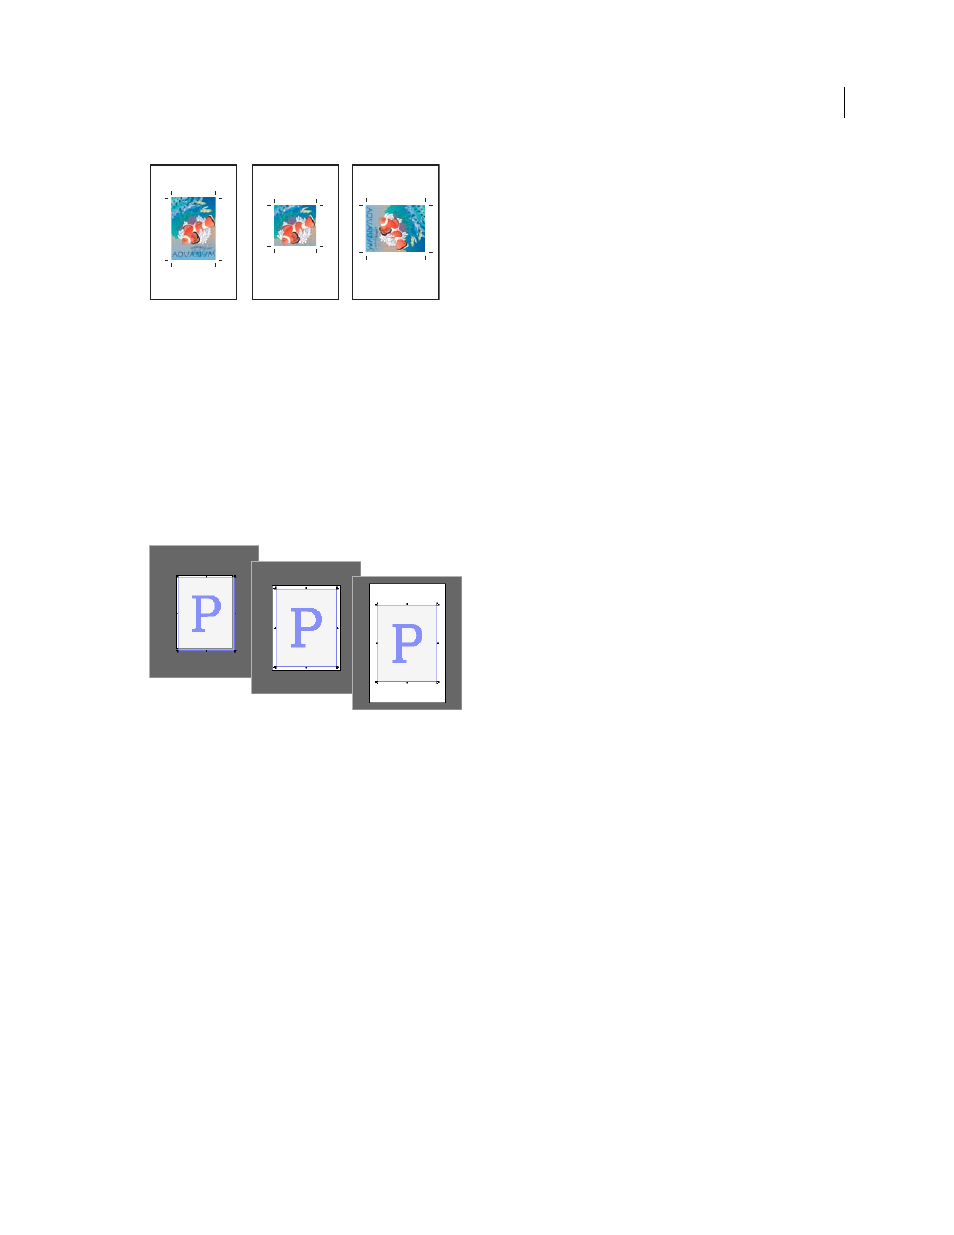
Page size and orientations for imagesetters
A. Letter (tall orientation) B. Custom page size (tall orientation) C. Letter (transverse orientation)
Paper sizes are listed by familiar names (such as Letter). The dimensions define the limits of the imageable area—the
total paper size, less any unprintable border used by the printer or imagesetter. Most laser printers cannot print to the
exact edge of a page.
If you select a different paper size (for example, if you change from Letter to Legal), the document is rescaled in the
preview window. The preview window displays the entire imageable area of the selected page; when the preview size
is changed, the preview window automatically rescales to include the imageable area.
Note: The imageable area will vary by PPD file, even for the same paper size (for example, Letter), because different
printers and imagesetters define the sizes of their imageable areas differently.
Comparison of printing a letter-size page on Letter, Letter.extra, or Tabloid paper
Note: The preview in the lower-left area of the Print dialog box indicates whether you have enough space to include all
printer’s marks and the bleed and slug areas.
More Help topics
Specify paper size and orientation
1 Choose File
> Print.
2 In the Setup area of the Print dialog box, choose an option in the Paper Size menu.
Make sure that your paper size is large enough to contain your document, the bleed and slug areas (if included), and
any printer’s marks. To conserve imagesetter film or paper, however, select the smallest paper size that will
accommodate your document and the necessary printing information.
3 Click an Orientation button to rotate the document on the media.
A
B
C