Preview separation plates, Preview ink coverage – Adobe InDesign CS5 User Manual
Page 644
638
USING INDESIGN
Color separations
Last updated 11/16/2011
More Help topics
Keys for using the Separations Preview panel
Separate spot colors as process
Preview separation plates
1 Choose Window
> Output > Separations Preview.
2 For View, choose Separations.
3 Do any of the following:
•
To view a single separation and hide all others, click the name of the separation you want to view. By default, areas
of coverage appear in black. To change this, deselect Show Single Plates In Black on the panel menu.
•
To view one or more separations, click the empty box to the left of each separation name. Each separation appears
in its assigned color.
•
To hide one or more separations, click the eye icon
to the left of each separation name.
•
To view all process plates at once, click the CMYK icon
.
•
To view all separations at once, click and drag the pointer across all of the eye icons (or empty boxes) next to the
separation names.
The Separations Preview panel can also be controlled using keyboard shortcuts.
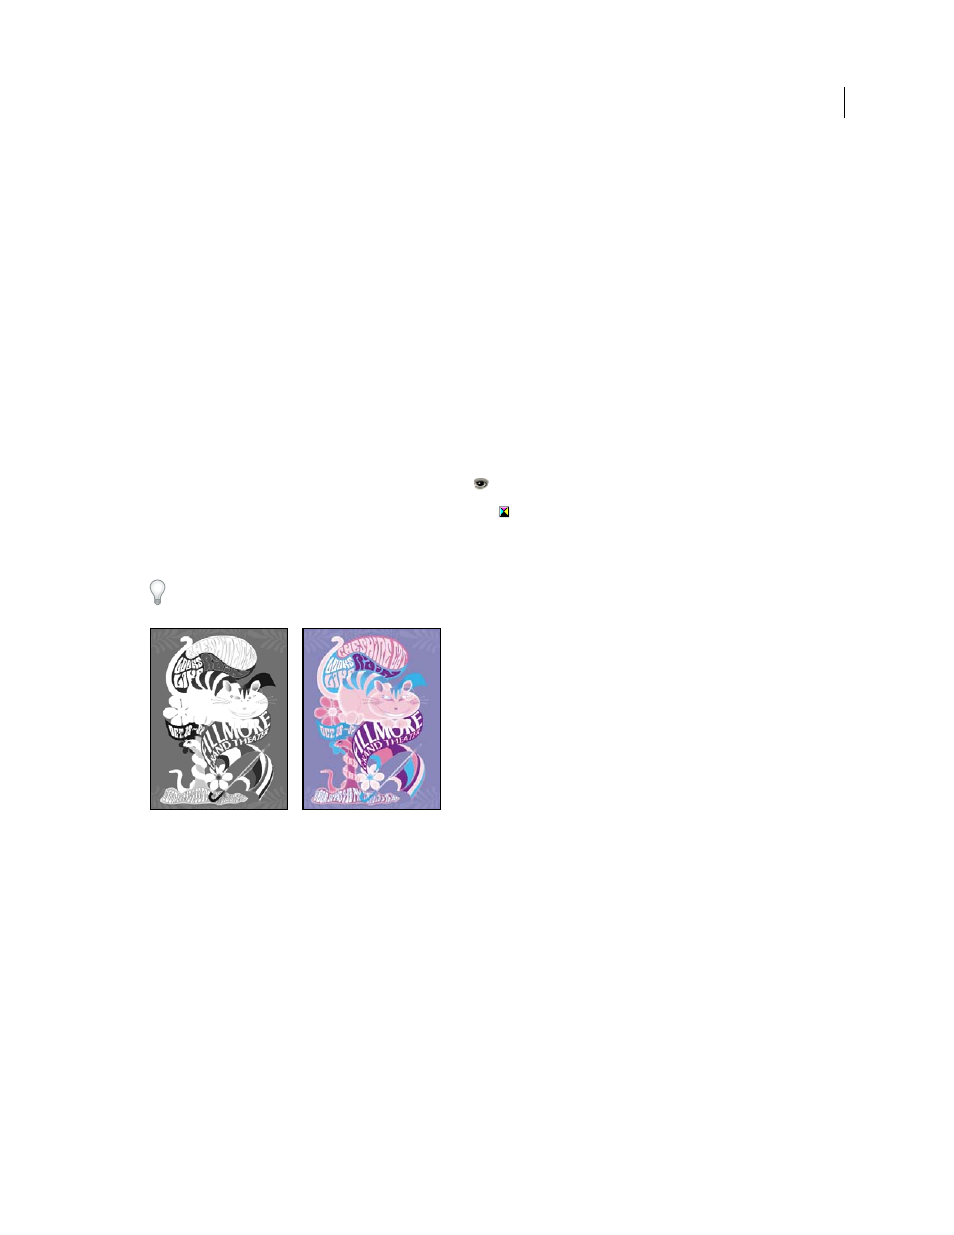
Previewing a single separation (left) and multiple separations (right)
Preview ink coverage
1 Choose Window
> Output > Separations Preview.
2 For View, choose Ink Limit. Enter a value for maximum ink coverage in the box that appears next to the View
menu. (Ask your commercial printer for the correct value to enter.)
3 Verify ink coverage in the document preview. Areas that exceed the ink coverage limit are shown in shades of red
(dark red areas exceed the ink coverage limit by more than light red areas). All other areas appear in grayscale.