Applying transparency to groups – Adobe InDesign CS5 User Manual
Page 456
450
USING INDESIGN
Transparency effects
Last updated 11/16/2011
More Help topics
Applying transparency to groups
Applying transparency to groups
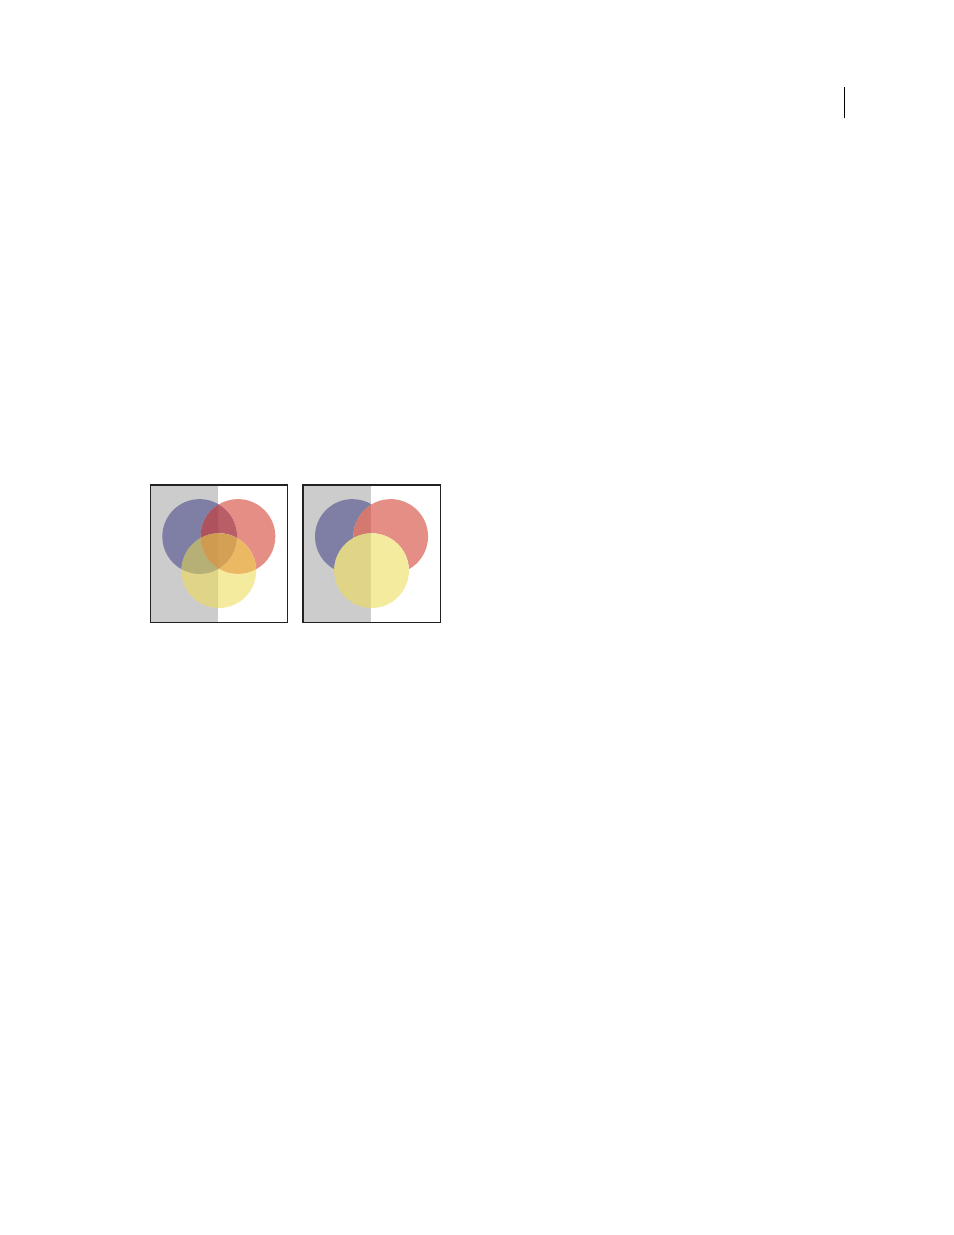
Besides applying transparency effects to single objects, you can apply them to groups.
If you simply select objects and change their individual opacity settings, the selected objects’ opacity will change
relative to that of the others. Any overlapping areas will show an accumulated opacity.
In contrast, if you target a group that has been created with the Group command, and then change the opacity, the
group is treated as a single object by the Effects panel (the Effects panel shows only one level option—Group), and the
opacities within the group don’t change. In other words, objects within the group don’t interact with each other in
transparency.
Individual objects selected and set to 50% opacity (left) and group selected and set to 50% opacity (right)
Change the appearance of transparent artwork on screen
Use the Display Performance dialog box to set transparency preferences. These preferences determine the on-screen
quality of transparent objects in new documents and in documents saved with modified preferences. You can also set
the preferences to turn on or off the display of transparency in the document. Turning off transparency in the display
preferences doesn’t turn off transparency when printing or exporting the file.
Note: Before you print a file containing transparency effects, make sure that you check the transparency preferences first.
Printing automatically flattens the artwork, and may affect the appearance of the transparency effects.
1 Choose Edit > Preferences
> Display Performance (Windows) or Adobe InDesign
> Preferences
> Display
Performance (Mac
OS).
2 Select an option (Fast, Typical, High Quality) in the Adjust View Settings section to determine the on-screen
resolution of any effect in the document. The settings you change apply only to the option you select here:
•
Fast turns off transparency and sets the resolution to 24
dpi.
•
Typical displays low-resolution effects and sets the resolution to 72
dpi.
•
High Quality improves the display of effects, especially in PDF and EPS files, and sets the resolution to 144
dpi.
3 Drag the Transparency slider. The default setting is Medium Quality, which displays drop shadows and feathering.
4 Click OK.
5 When inks overlap with blend modes, choose View
> Overprint Preview. This option ensures that you can see on
screen how any inks interact with transparency.