Difference matte effect, Use the difference matte effect – Adobe After Effects CS4 User Manual
Page 515
509
USING AFTER EFFECTS CS4
Effects and animation presets
Last updated 12/21/2009
5
Select the minus eyedropper, and then click areas in the matte thumbnail to subtract other colors or shades from
the range of colors keyed out.
6
Drag the Fuzziness slider to soften the edges between transparent and opaque regions.
7
Use the sliders in the Min and Max controls to fine-tune the color range you selected with the plus and minus
eyedroppers. The L, Y, R sliders control the first component of the specified color space; the a, U, G sliders control
the second component; and the b, V, B sliders control the third component. Drag the Min sliders to fine-tune the
beginning of the color range. Drag the Max sliders to fine-tune the end of the color range.
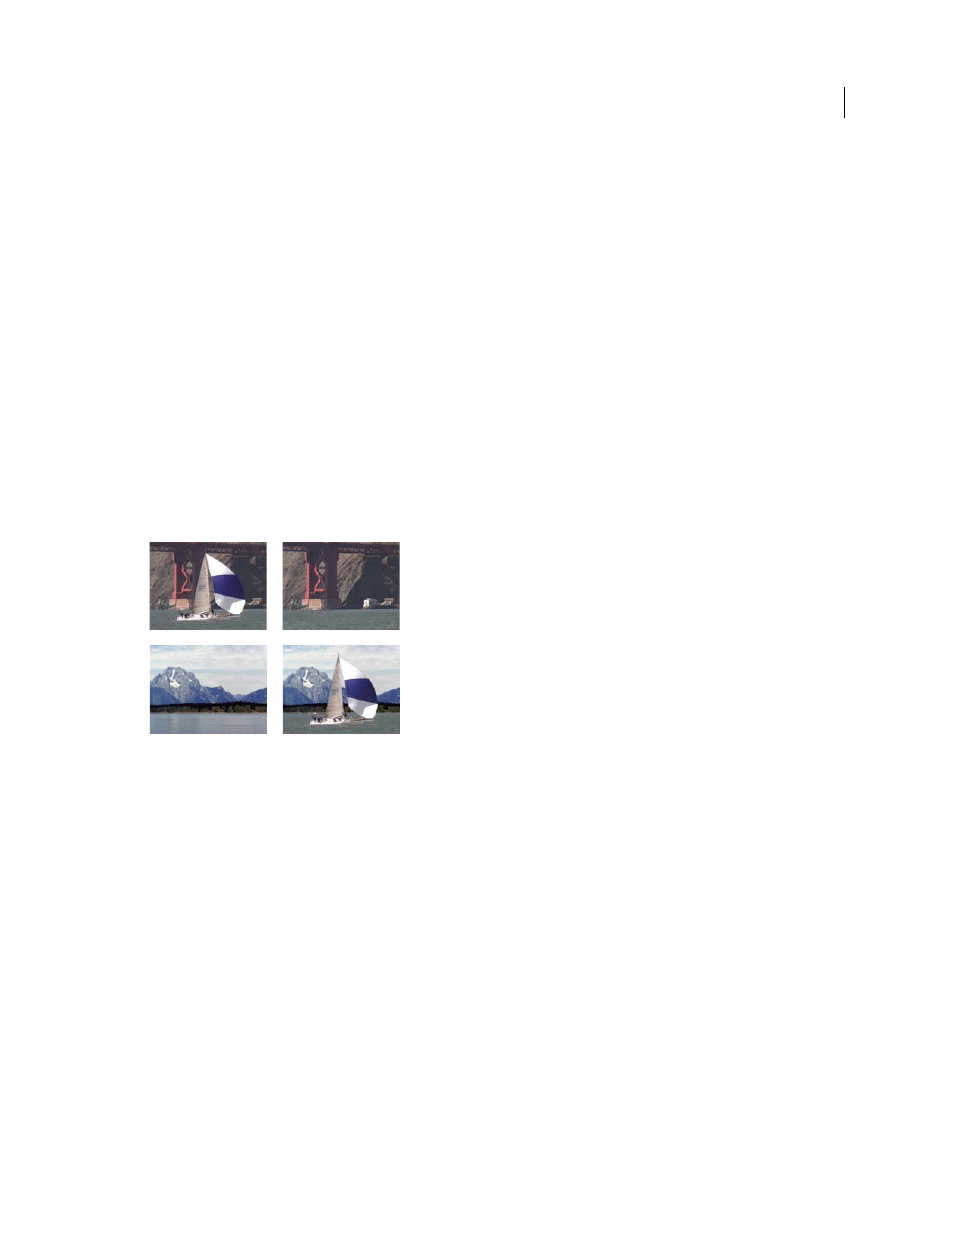
Difference Matte effect
The Difference Matte effect creates transparency by comparing a source layer with a difference layer, and then keying
out pixels in the source layer that match both the position and color in the difference layer. Typically, it’s used to key
out a static background behind a moving object, which is then placed on a different background. Often the difference
layer is simply a frame of background footage (before the moving object has entered the scene). For this reason, the
Difference Matte effect is best used for scenes that have been shot with a stationary camera and an unmoving
background.
This effect works with 8-bpc and 16-bpc color.
Difference Matte Key effect
A. Original image B. Background image C. New background image D. Final composite image
More Help topics
Keying introduction and resources
Use the Difference Matte effect
1
Select a motion footage layer as the source layer.
2
In the source layer, find a frame that consists only of background, and save the background frame as an image file.
(See “
Render and export a single frame of a composition
3
Import the image file into After Effects, and add it to the composition.
The imported image becomes the difference layer. Make sure that its duration is at least as long as the duration of the
source layer.
A
B
C D