Keyframe interpolation methods – Adobe After Effects CS4 User Manual
Page 239
233
USING AFTER EFFECTS CS4
Animation and keyframes
Last updated 12/21/2009
Keyframe interpolation methods
In layer bar mode, the appearance of a keyframe icon depends on the interpolation method you choose for the interval
between keyframes. When half of the icon is dark gray
, the dark half indicates that no keyframe is adjacent to that
side, or that its interpolation is overridden by the Hold interpolation applied to the preceding keyframe.
By default, a keyframe uses one interpolation method, but you can apply two methods: the incoming method applies
to the property value as the current time approaches a keyframe, and the outgoing method applies to the property value
as the current time leaves a keyframe. When you set different incoming and outgoing interpolation methods, the
keyframe icon in layer bar mode changes accordingly. It displays the left half of the incoming interpolation icon and
the right half of the outgoing interpolation icon.
To toggle between keyframe icons and keyframe numbers, select Use Keyframe Icons or Use Keyframe Indices from
the Timeline panel menu.
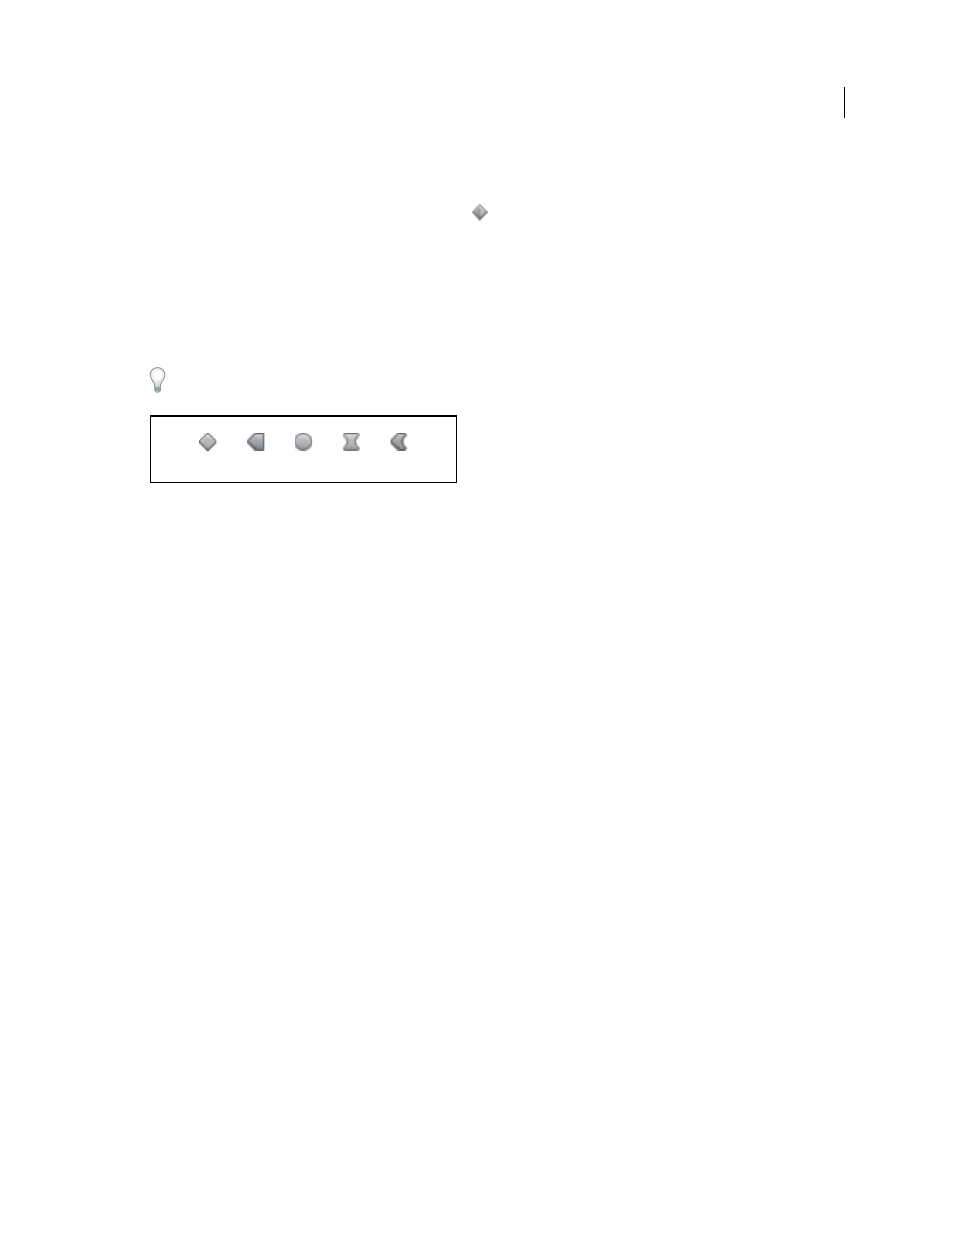
Examples of keyframe icons in Timeline panel in layer bar mode
A. Linear B. Linear in, Hold out C. Auto Bezier D. Continuous Bezier or Bezier E. Linear in, Bezier out
All interpolation methods used by After Effects are based on the Bezier interpolation method, which provides direction
handles so that you can control the transitions between keyframes. Interpolation methods that don’t use direction
handles are constrained versions of Bezier interpolation and are convenient for certain tasks.
To learn more about how different interpolation methods affect temporal properties, experiment by setting up at least
three keyframes with different values for a temporal layer property—such as Opacity—and change the interpolation
methods as you view the value graph in Graph Editor mode in the Timeline panel.
To learn more about how different interpolation methods affect a motion path, experiment by setting up three
keyframes for a spatial property—such as Position—with different values on a motion path, and change the
interpolation methods as you preview the motion in the Composition panel.
Note: To change interpolation methods, right-click a keyframe, select Keyframe Interpolation from the menu that
appears, and then select an option from the Temporal Interpolation menu.
To clarify the examples in the following descriptions of interpolation methods, the result of each method is described
as if you had applied it to all of the keyframes for a layer property. In practice, you can apply any available interpolation
method to any keyframe.
More Help topics
About animation, keyframes, and expressions
Keyframes and the Graph Editor (keyboard shortcuts)
Showing properties and groups in the Timeline panel (keyboard shortcuts)
A
B
C
D
E