Assorted animation tools, Motion paths, Motion path – Adobe After Effects CS4 User Manual
Page 229
223
USING AFTER EFFECTS CS4
Animation and keyframes
Last updated 12/21/2009
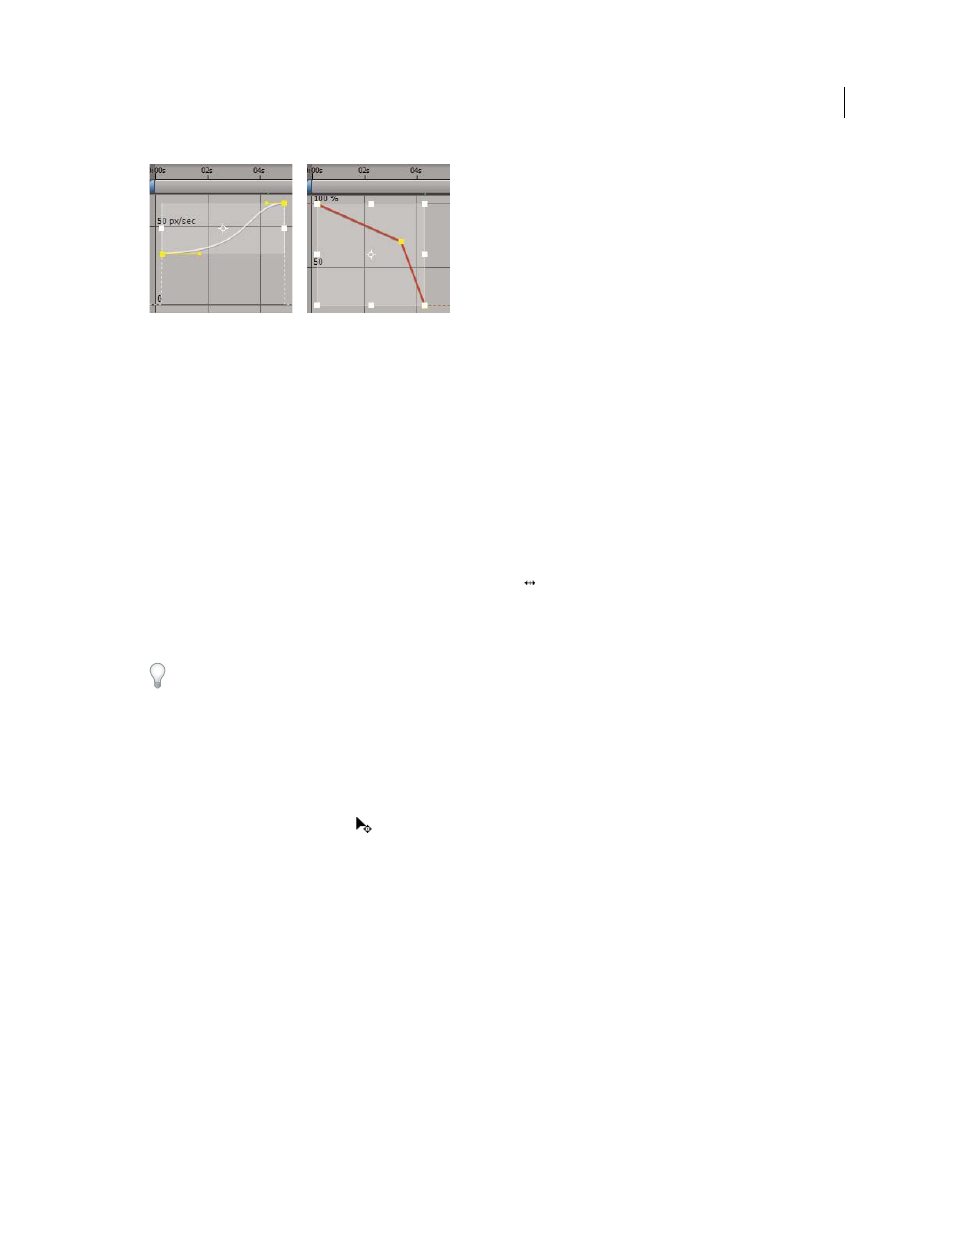
When you select multiple keyframes in the Graph Editor, a free-transform bounding box appears.
1
Switch to the Graph Editor view and display the keyframes you want to adjust.
2
Using the Selection tool, do one of the following:
•
To select keyframes, Shift-click the keyframes or drag to draw a marquee around the keyframes.
•
To select all keyframes for a property, Alt-click (Windows) or Option-click (Mac OS) a segment between two
keyframes.
3
Do any of the following:
•
To move keyframes in time or value, place the pointer inside the bounding box and drag. Shift-drag to constrain
the move horizontally or vertically.
•
To move keyframes in time or value by scaling the bounding box, place the pointer on a bounding box handle.
When the pointer changes to a straight, double-sided arrow
, drag the bounding box to a new size. Shift-drag to
constrain the ratio of width to height. Ctrl-drag (Windows) or Command-drag (Mac OS) to scale around the
anchor point of the bounding box. When dragging a corner handle, Alt-drag (Windows) or Option-drag (Mac OS)
to move only that handle.
Scale by negative amounts to reverse the keyframes in time.
•
To taper keyframe values vertically, Ctrl+Alt-drag (Windows) or Command+Option-drag (Mac OS). Tapering
keyframe values allows you to reduce or expand the amplitude of a repeated animation.
•
To move one side of the bounding box up or down, Ctrl+Alt+Shift-drag (Windows) or Command+Option+Shift-
drag (Mac OS).
•
To move the anchor point of the bounding box, place the Selection tool over the anchor point until the tool changes
to the Move Anchor Point tool
, and then drag.
Assorted animation tools
Motion paths
When you animate spatial properties—including Position, Anchor Point, and effect control point properties—the
motion is shown as a motion path. A motion path appears as a sequence of dots, where each dot marks the position of
the layer at each frame. A box in the path marks the position of a keyframe.
Motion paths are simply an alternative visual, spatial way of viewing and working with spatial properties and their
keyframes, in addition to the ways that you work with properties in the Timeline panel. You can modify a motion path
by changing an existing keyframe or adding a new keyframe. You can modify the shape of a motion path by changing
the spatial interpolation methods for its keyframes. (See “
About spatial and temporal keyframe interpolation
page 231.)