Animating with puppet tools, Puppet tools overview and resources – Adobe After Effects CS4 User Manual
Page 260
254
USING AFTER EFFECTS CS4
Animation and keyframes
Last updated 12/21/2009
A check mark by the appropriate Frame Blending command (Frame Mix or Pixel Motion) indicates that it is applied
to the selected layer. Also, the Frame Blending switch
appears in the Switches column for the layer in the Timeline
panel. Remove frame blending either by clicking the Frame Blending switch or by choosing the appropriate Frame
Blending command again.
Regardless of the state of the layer switches, if frame blending is off for the composition, it is off for all layers in the
composition. You set frame blending for the composition by choosing Enable Frame Blending from the Timeline
panel menu, or clicking the Enable Frame Blending button
at the top of the Timeline panel.
Motion blur can make it harder for Pixel Motion to find discrete objects in each frame, which makes the calculation
of motion vectors less reliable. For better results when using Pixel Motion to create slow motion, use footage with less
motion blur.
More Help topics
About animation, keyframes, and expressions
Layer image quality and subpixel positioning
Animating with Puppet tools
Puppet tools overview and resources
Use the Puppet tools to quickly add natural motion to raster images and vector graphics, including still images, shapes,
and text characters.
Note: Though the Puppet tools work within an effect (the Puppet effect), you seldom apply the effect using the Effect menu
or the Effects & Presets panel. Use the Puppet tools in the Tools panel to directly apply and work with the effect in the
Layer panel or Composition panel.
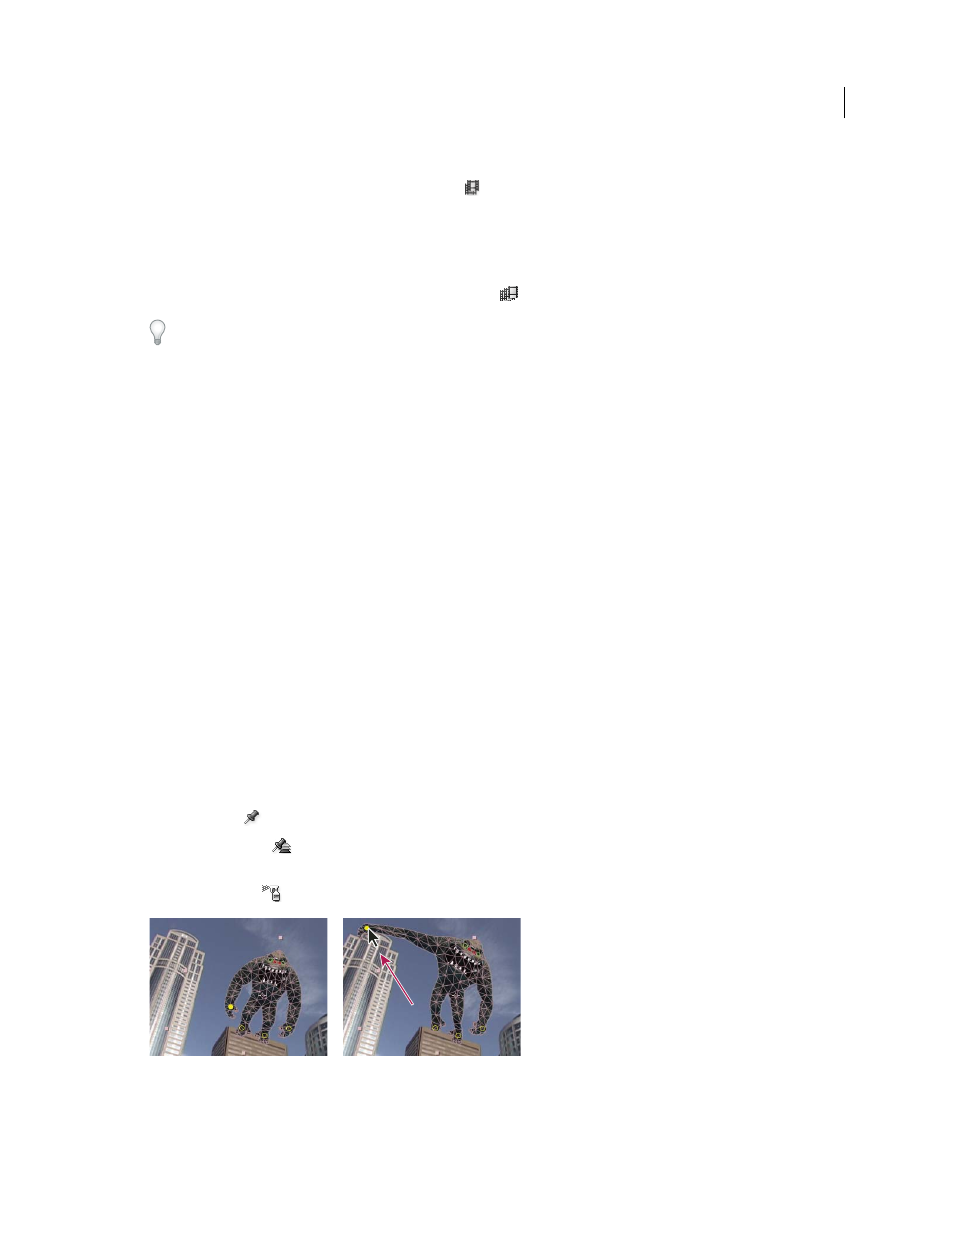
The Puppet effect works by deforming part of an image according to the positions of pins that you place and move.
These pins define what parts of the image should move, what parts should remain rigid, and what parts should be in
front when parts overlap.
Each Puppet tool is used to place and modify a specific type of pin:
Puppet Pin tool
Use this tool to place and move Deform pins.
Puppet Overlap tool
Use this tool to place Overlap pins, which indicate which parts of an image should appear in
front of others when distortion causes parts of the image to overlap one another.
Puppet Starch tool
Use this tool to place Starch pins, which stiffen parts of the image so that they are distorted less.
Mesh created by placing Deform pins (left), and result of dragging a Deform pin